


Welcome to another episode of my podcast!
Meaningful conversations with architects, artists, and designers.
Meet my today's guest -- Joe Skibba!
Joe is an architectural illustrator from America, he runs his own illustration studio Depiction.
His work has received international acclaim in the form of over 20 awards of Excellence from the American Society of Architectural Illustrators.
Joe combines the traditional craft of illustration while also keeping up with the latest technological advances. He also teaches with his online tutorials, live classes, and guest lectures.
Some of the questions I asked Joe:
How you came to architectural illustration?
How it all started? What’s the Story?
What the process of illustration looks like? Draw by hand or on iPad then colour in Photoshop?
Could you please tell us more about the Charette working session you hosted?
How people can learn from you? Do you offer online trainings?
What would be your advice for beginners ?

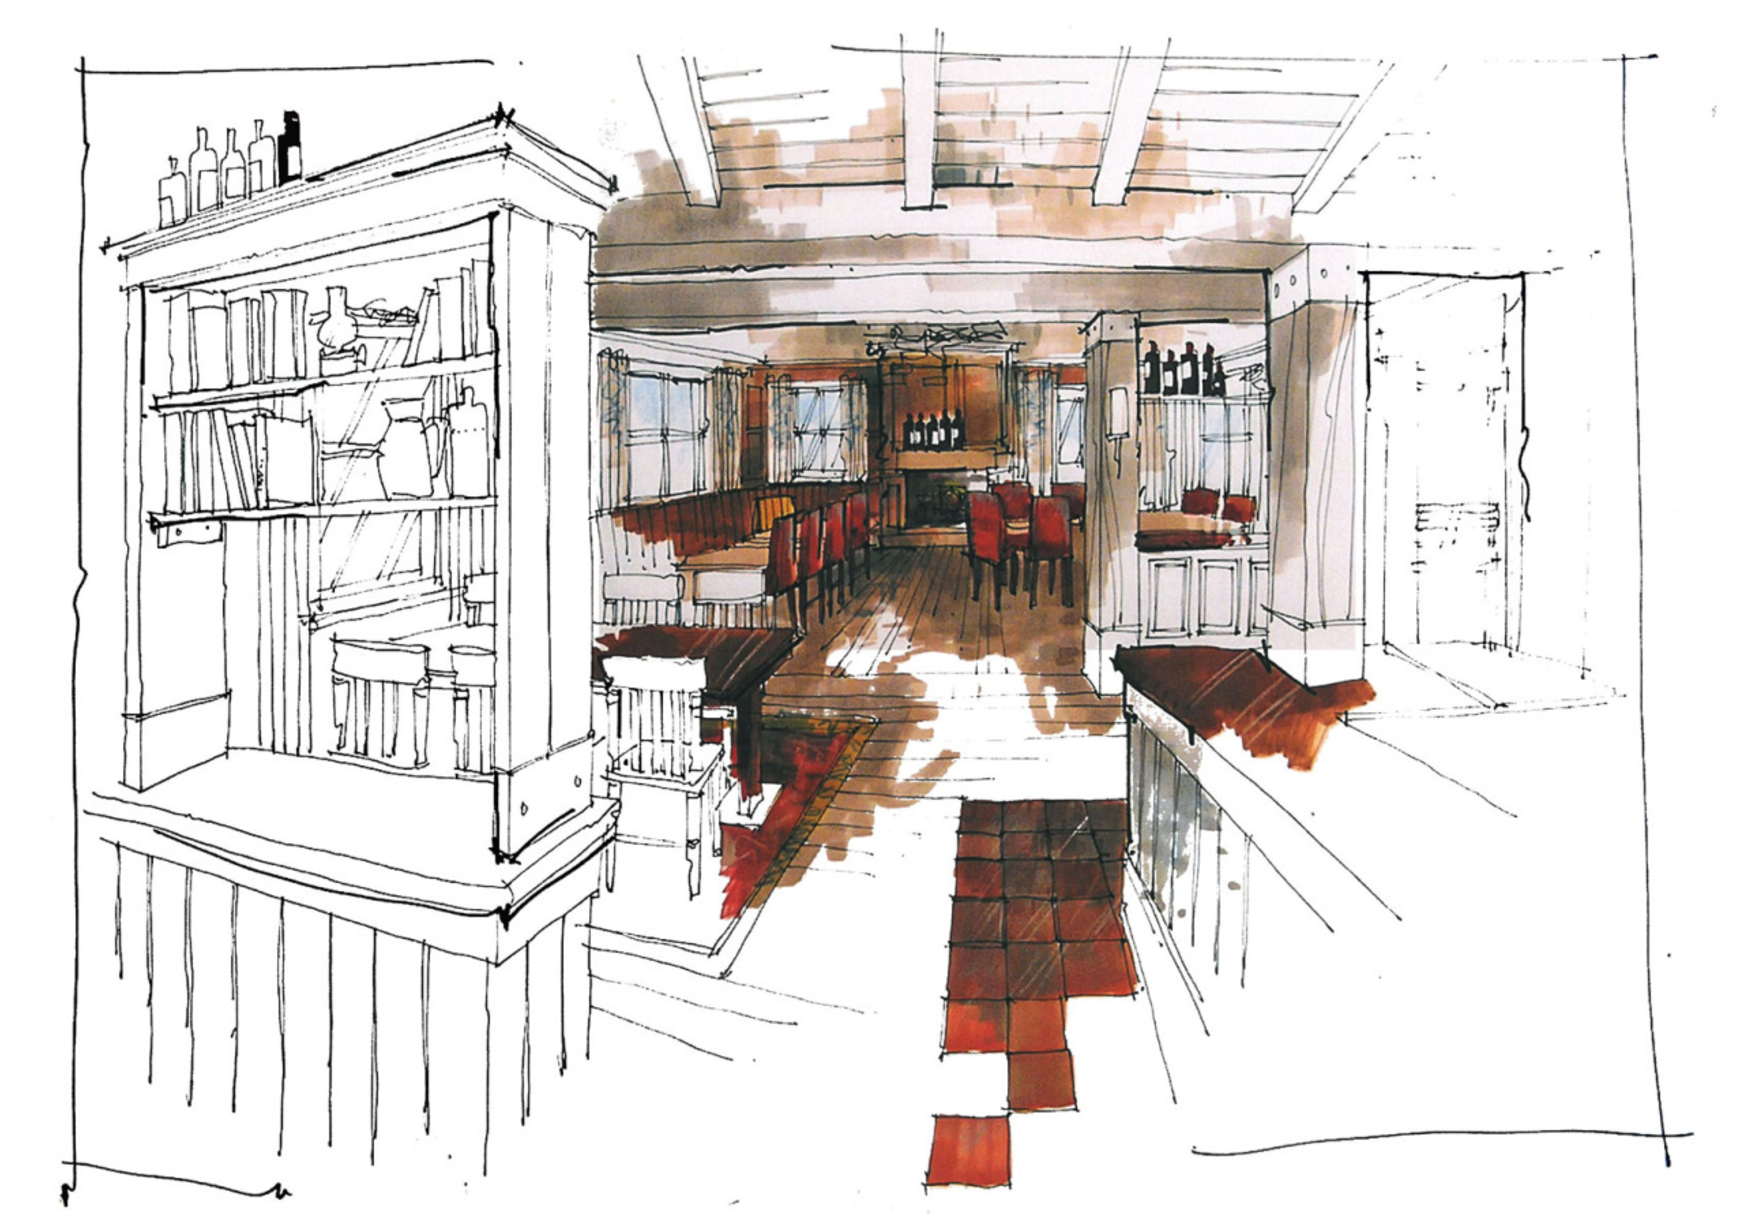
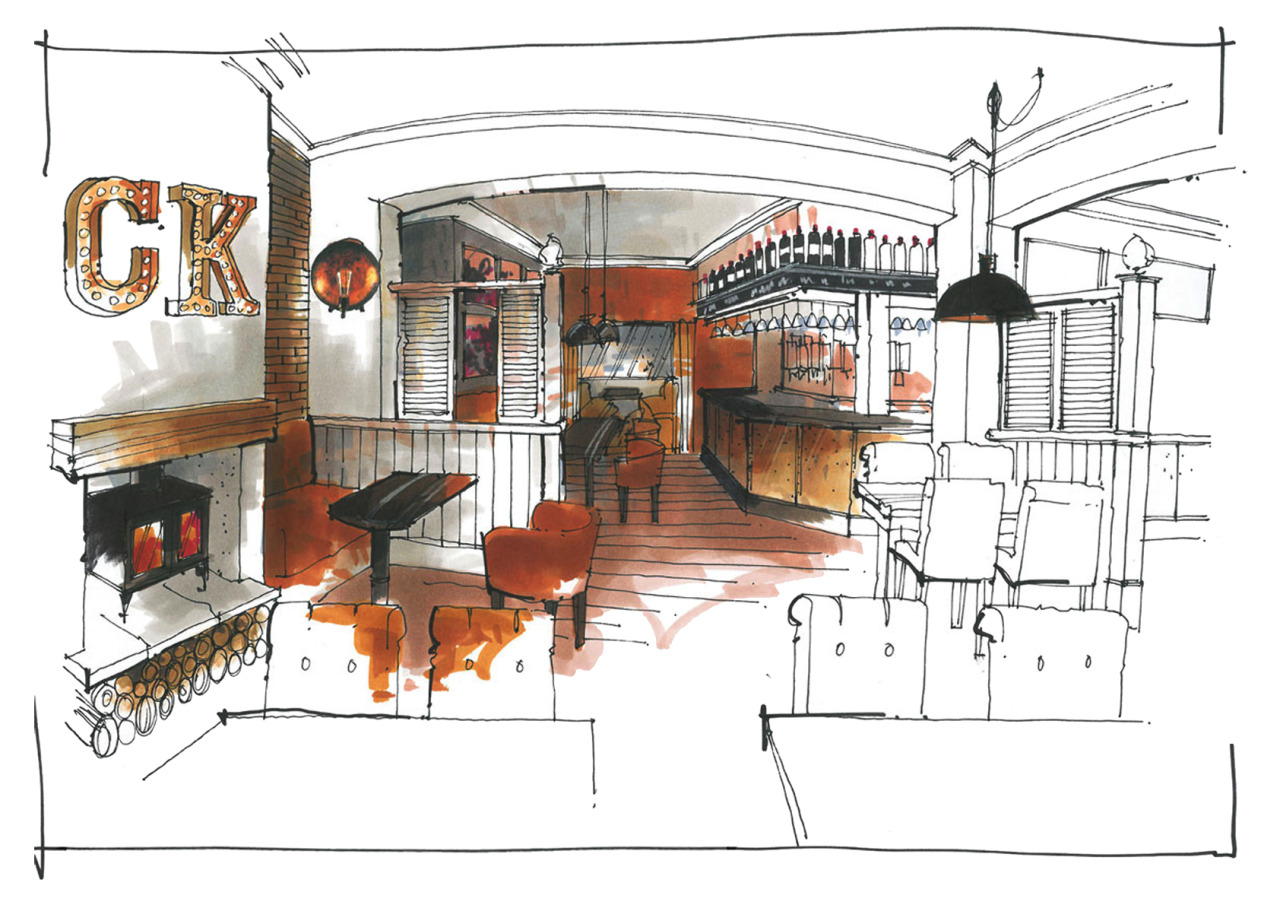
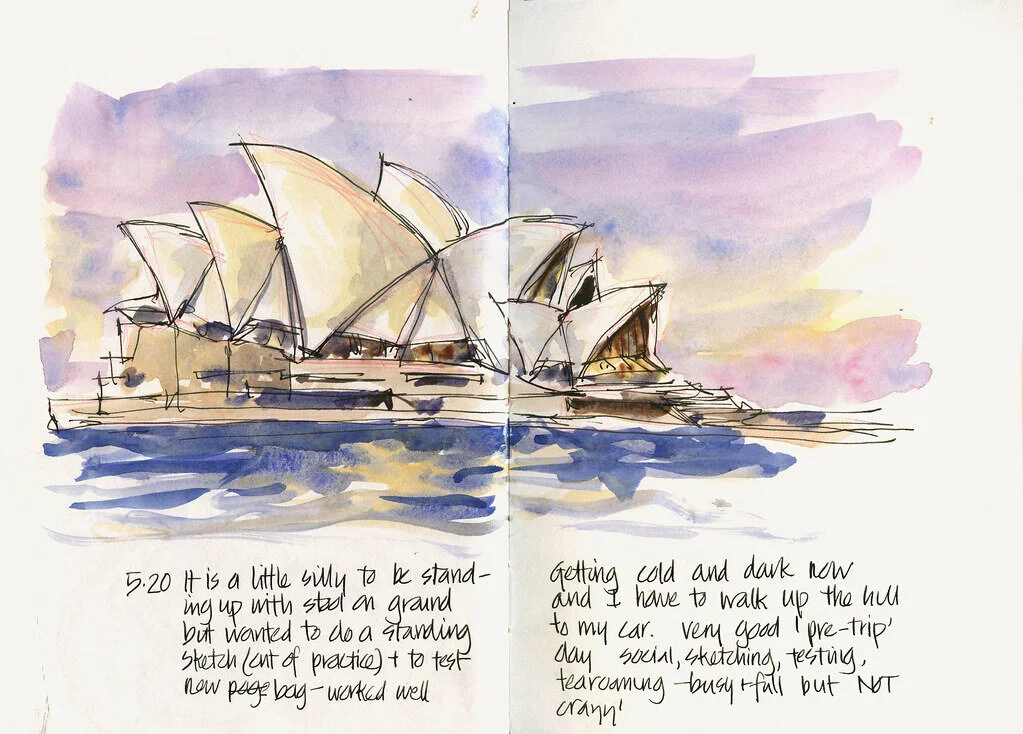
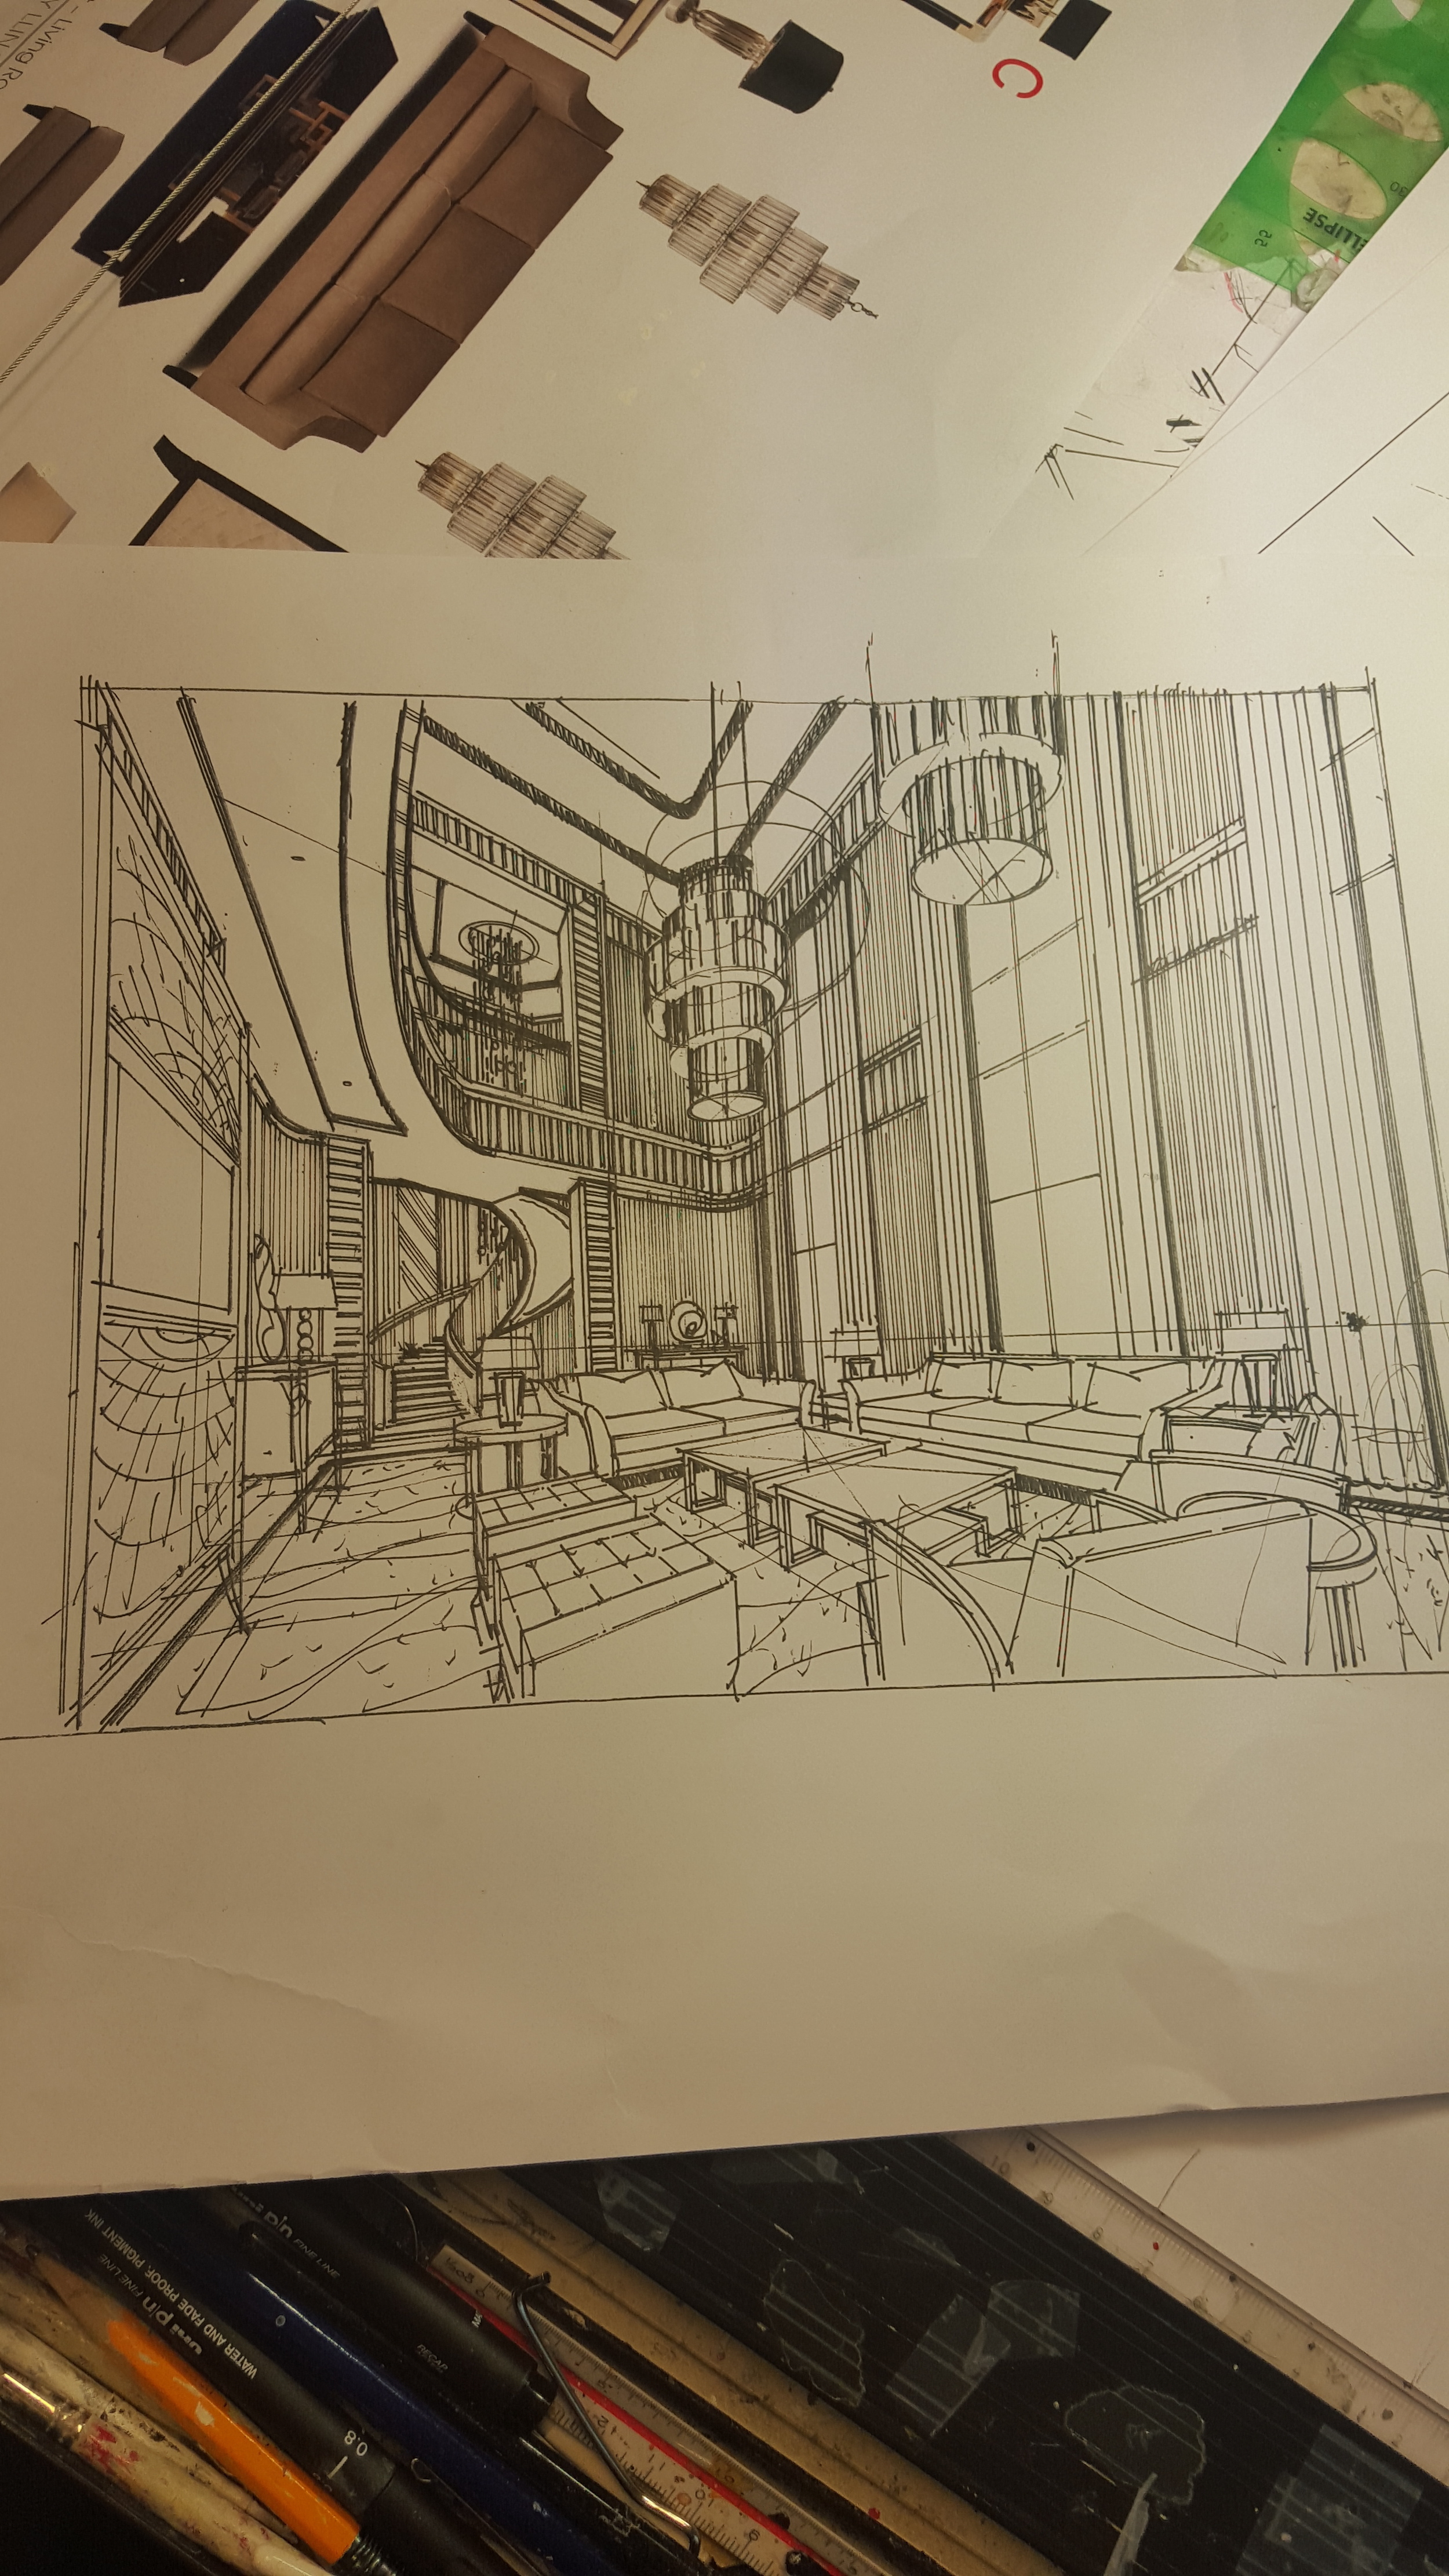
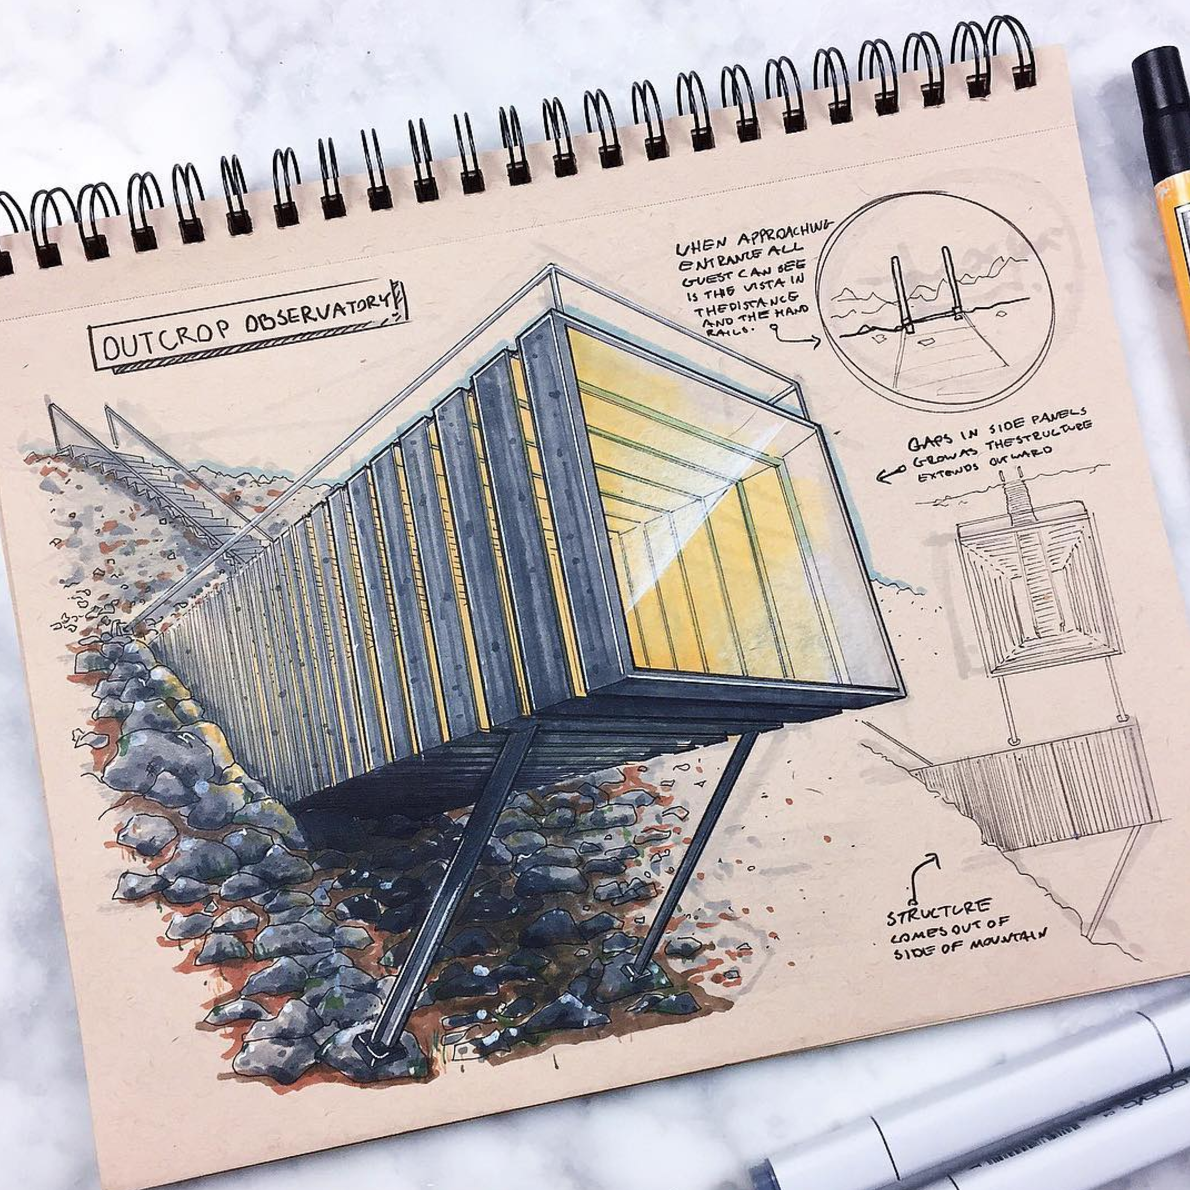
Drawing by Joe Skibba
Joe Skibba began his professional career in architectural rendering in Madison, Wisconsin in 1997, after which, in 2005, he was recruited by Urban Design Associates in Pittsburgh, Pennsylvania.
In 2013, he began his own illustration studio - Skibba Illustration, and later founded Depiction in 2017. His work has received international acclaim in the form of over 20 awards of Excellence with the American Society of Architectural Illustrators, a fairly substantial following on his educational channels in social media as well as promotion in Apple’s App Store following a collaboration with the mobile app Morpholio Trace.
Other projects outside of the traditional architectural rendering space also include illustrations for the motion picture film Where'd You Go Bernadette. As is evident in his career accomplishments, Joe is able to both honor the traditional craft of illustration while also keeping up with the latest technological advances. He is constantly innovating ways in which to share the craft through teaching, online tutorials, and guest lectures.
After 25 years in the field, hundreds of clients, and thousands of followers, Joe continues to hone his craft and fine-tune his skills.

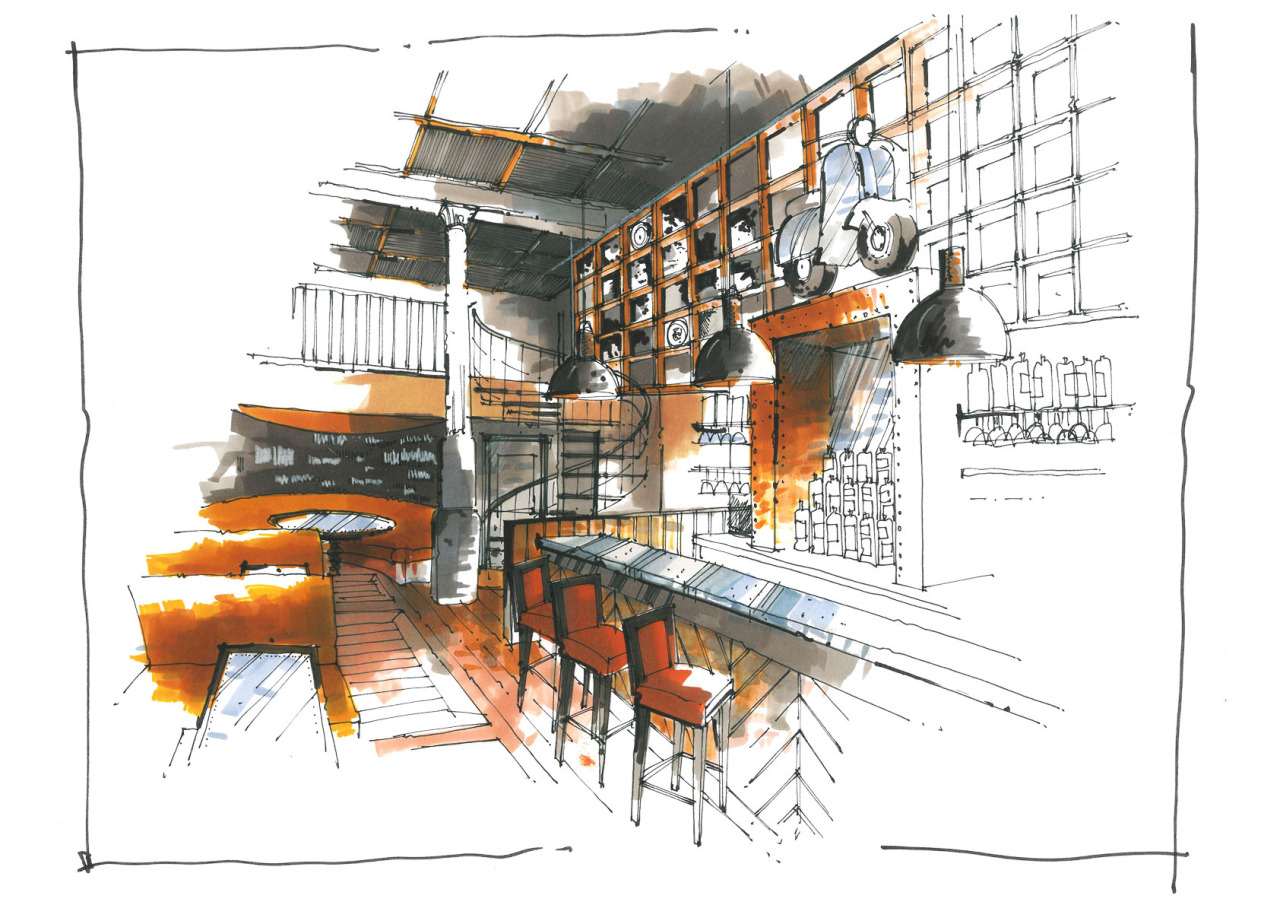
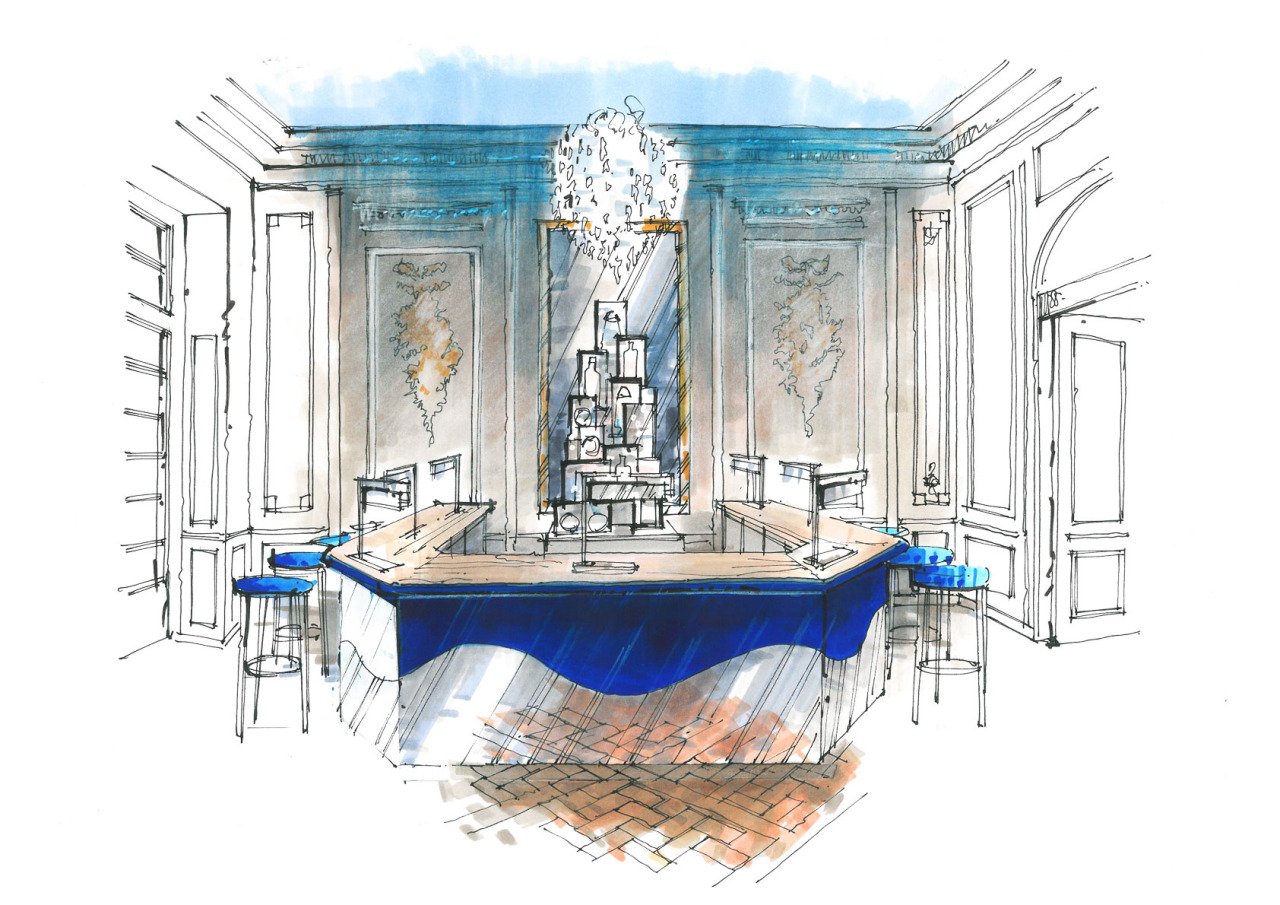
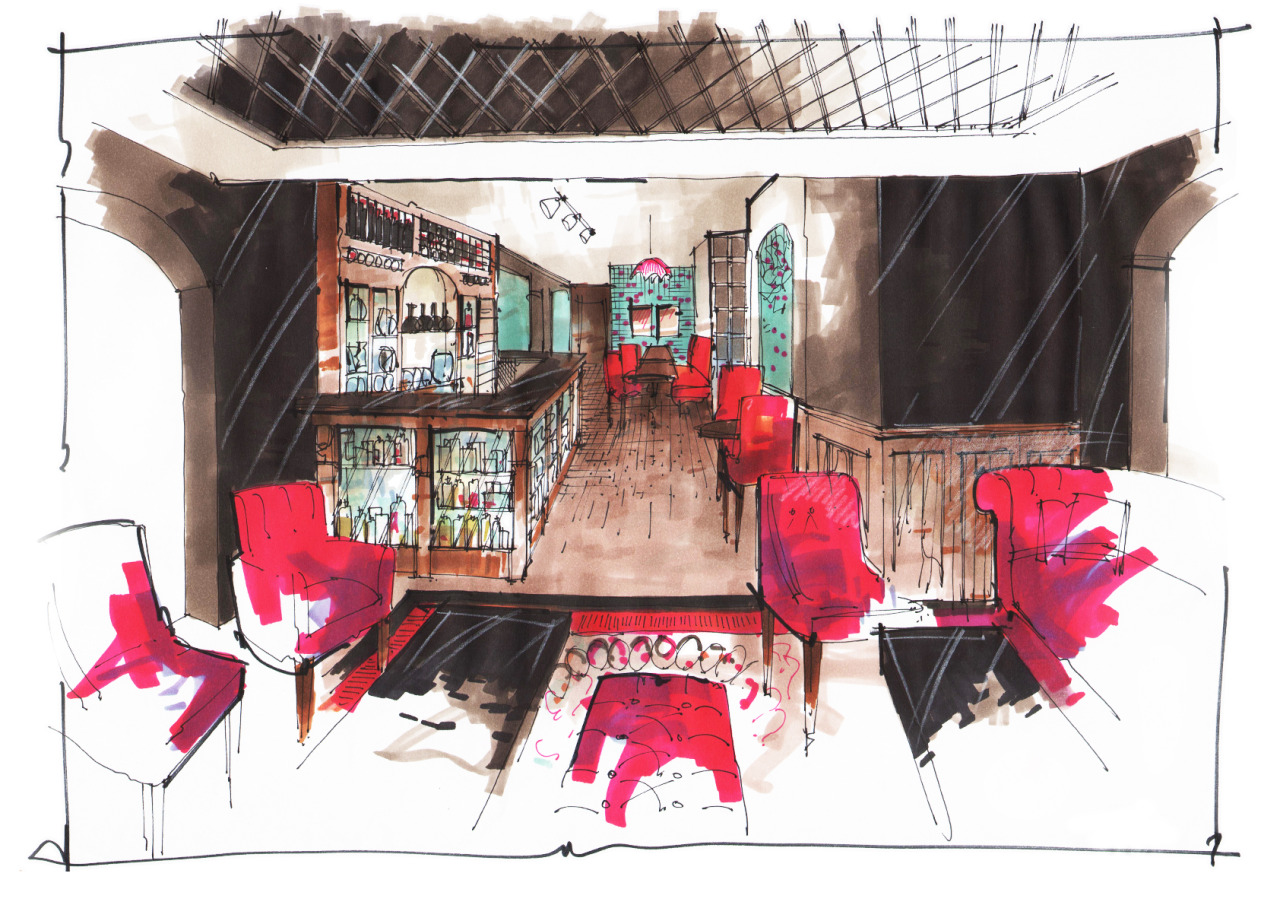
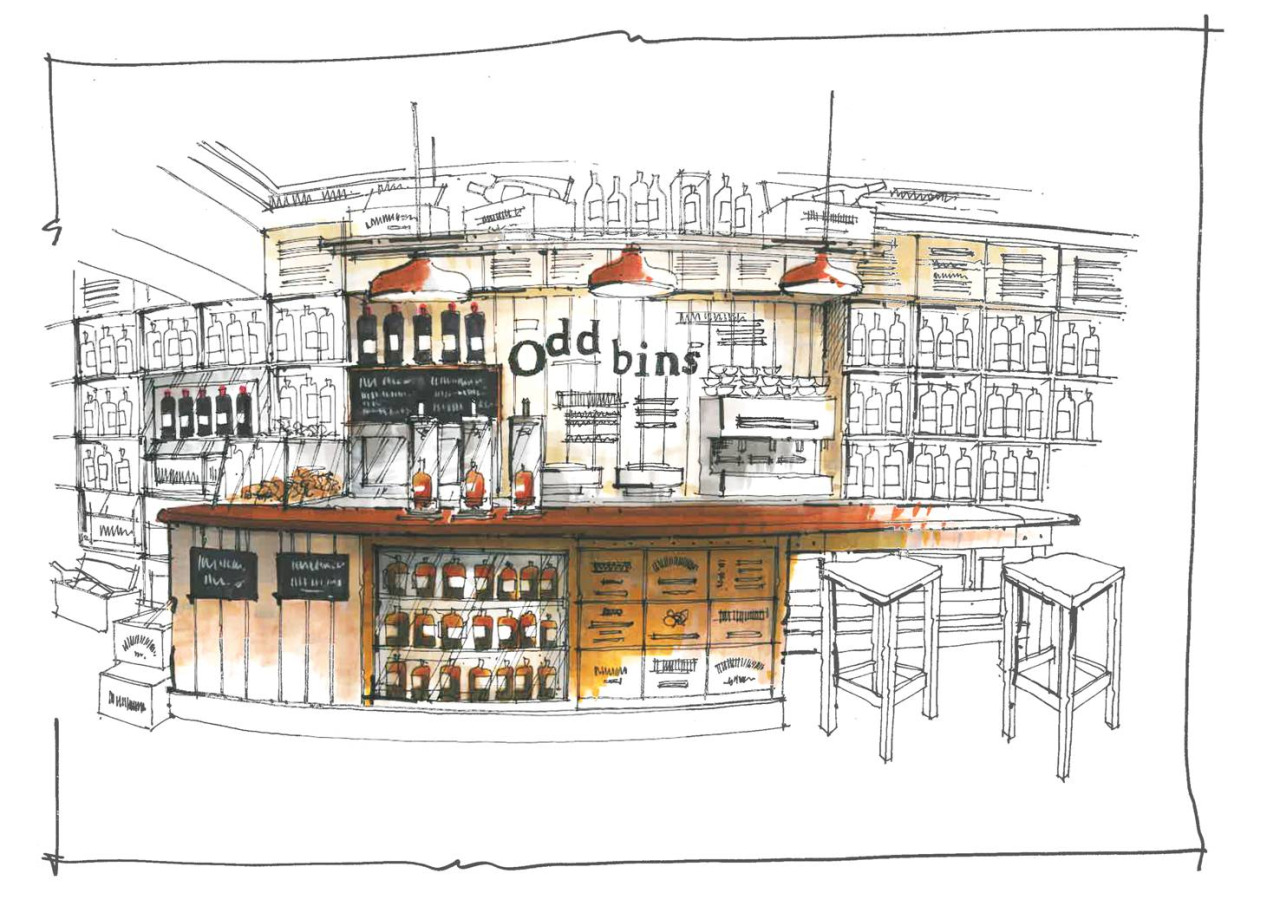
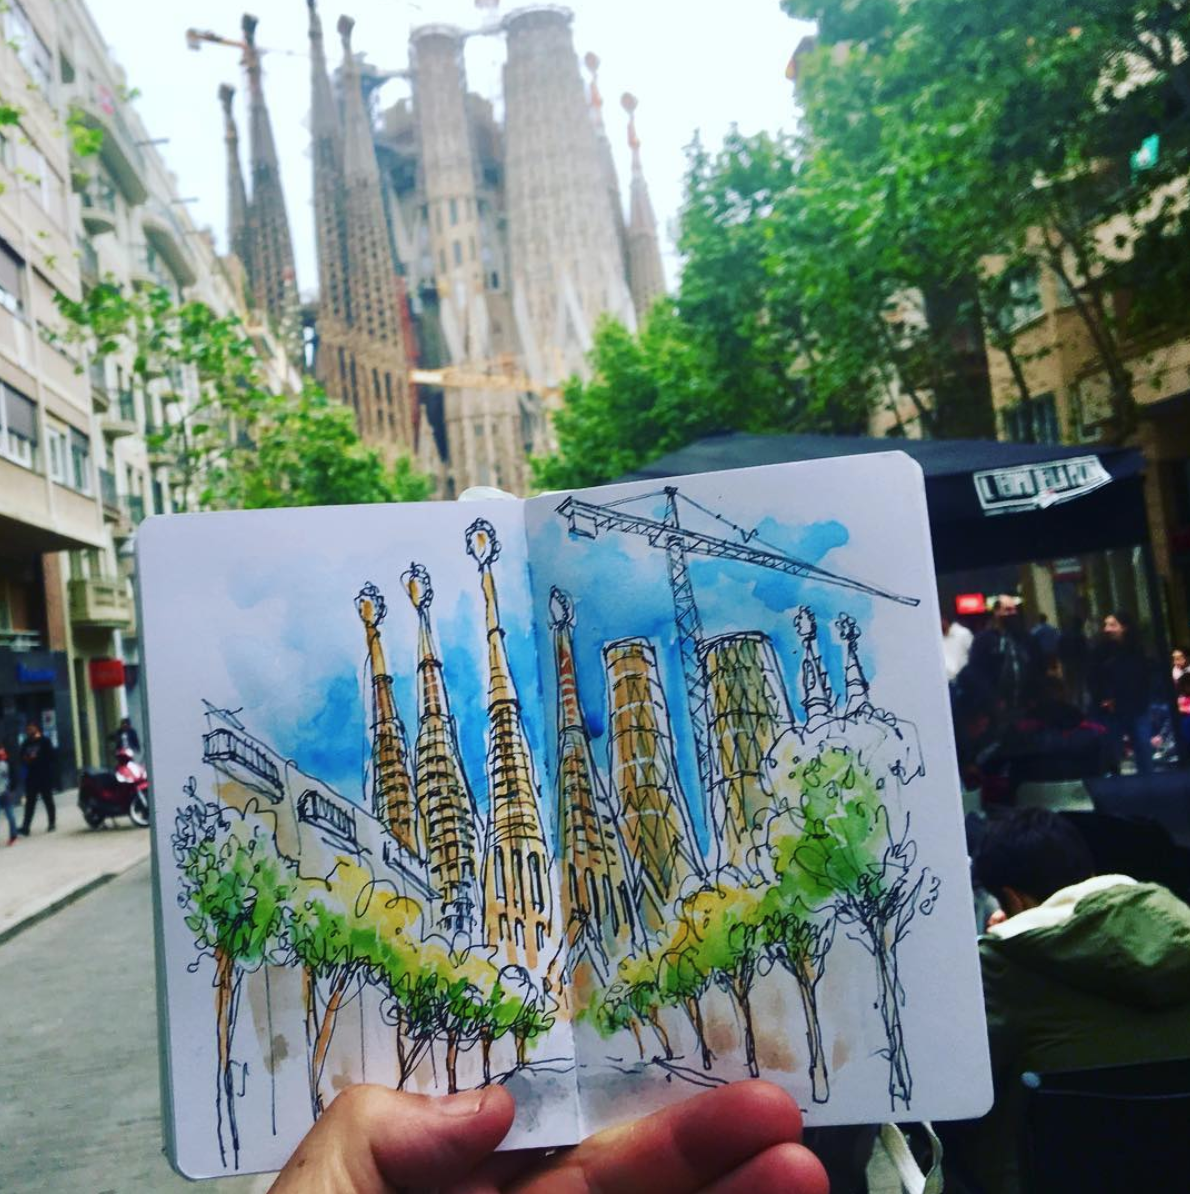
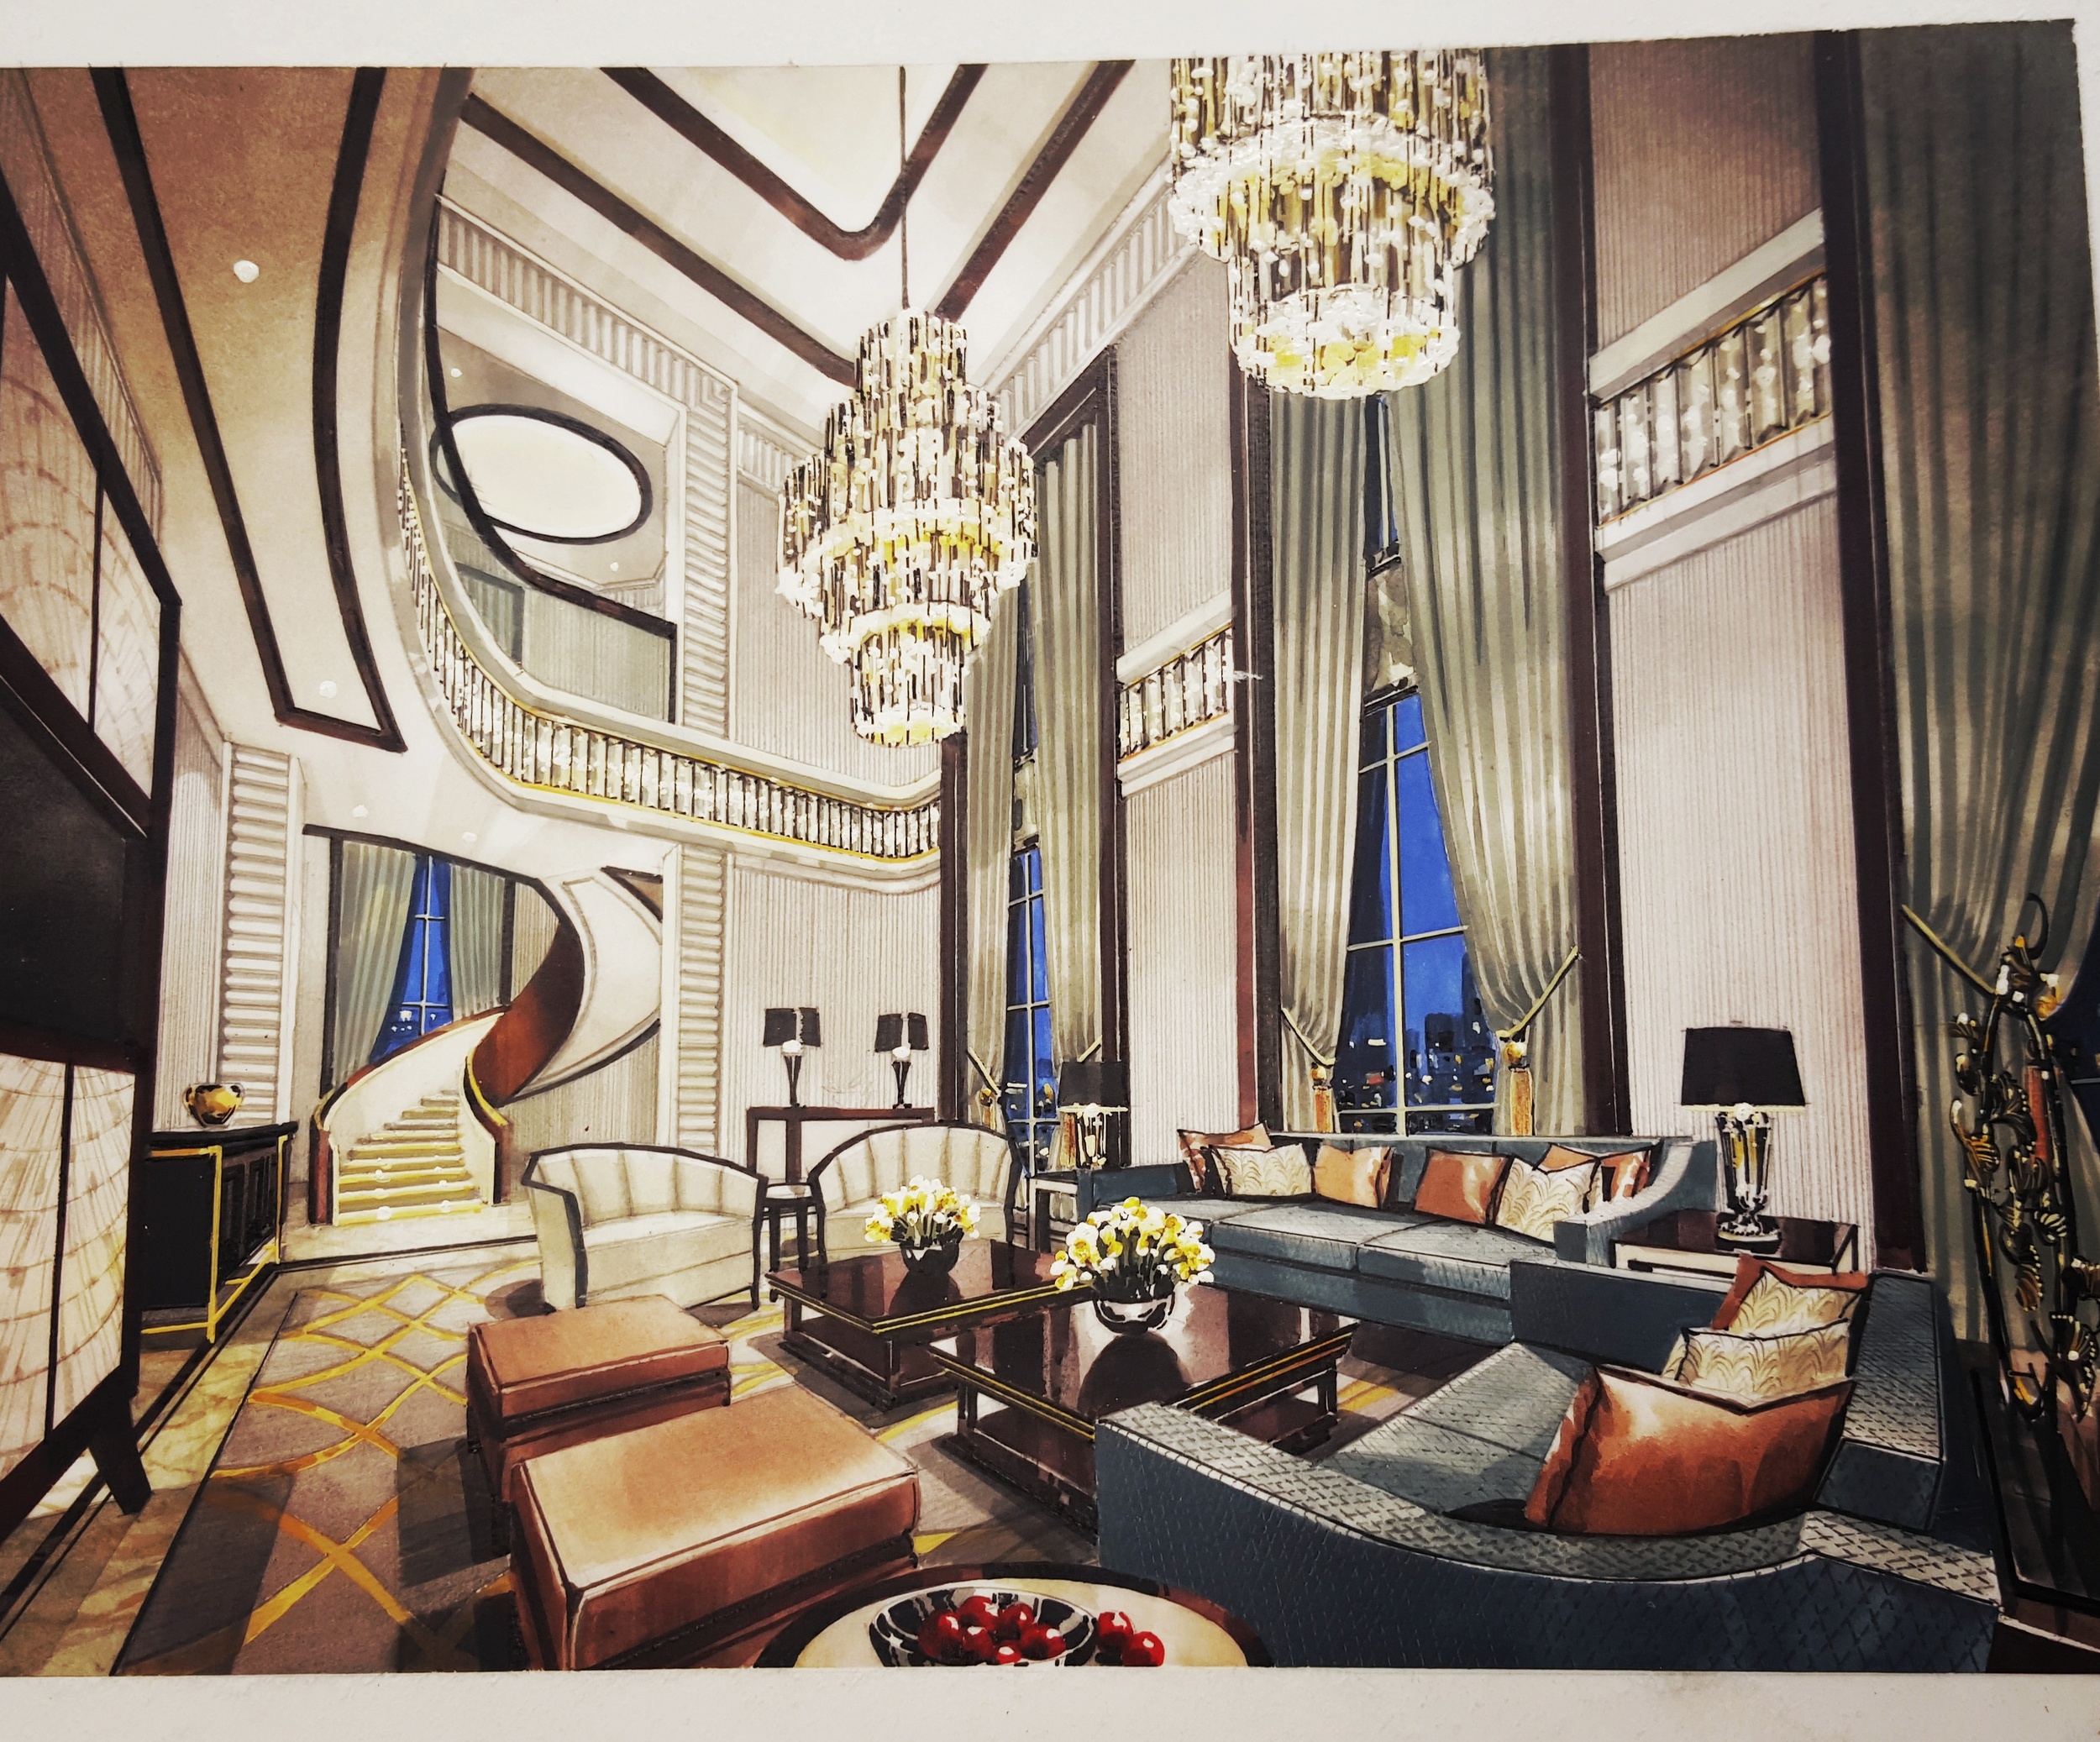
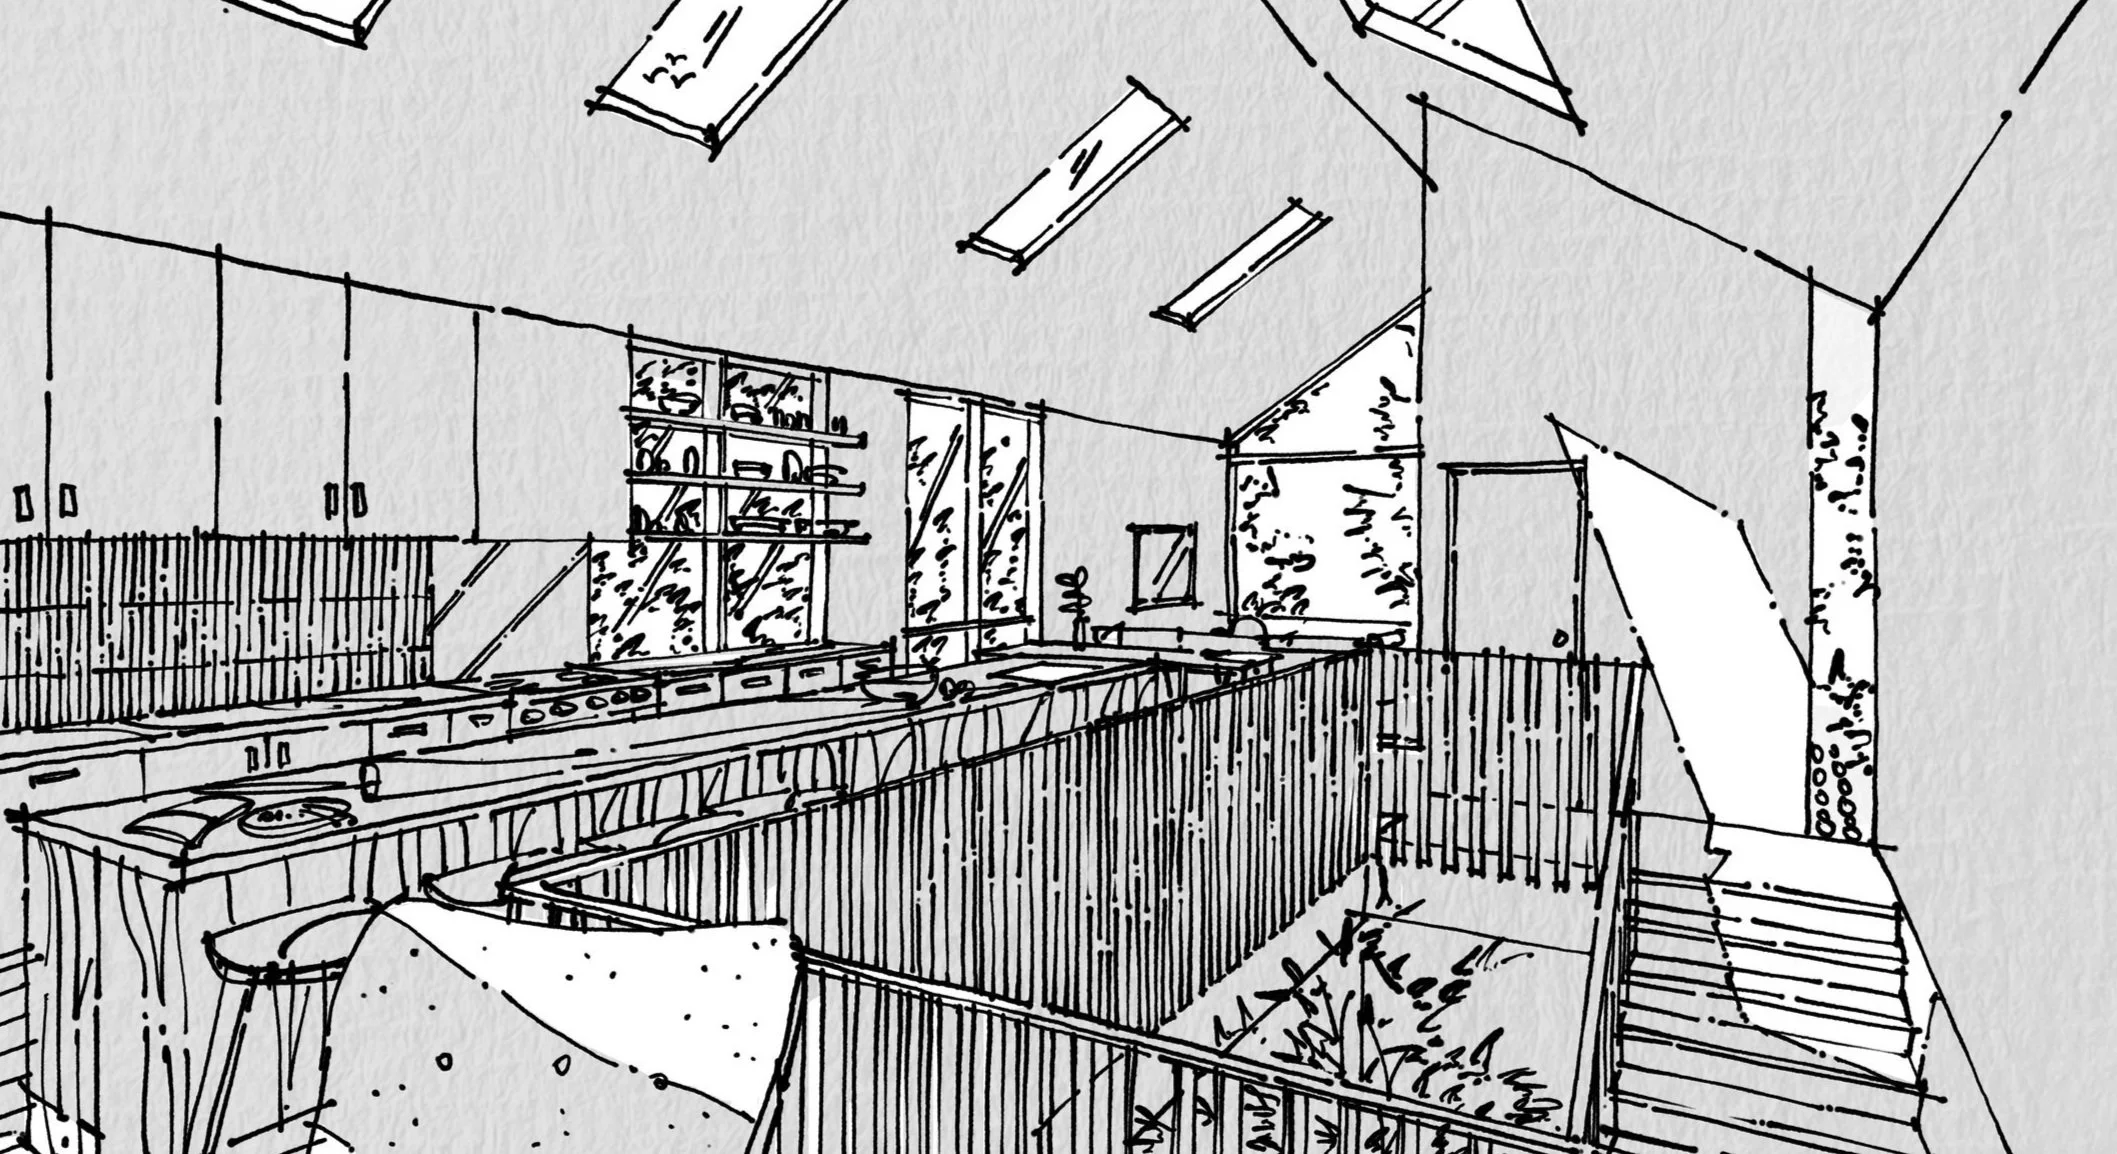
Drawing by Joe Skibba
CHECK MY OTHER PODCAST EPISODES:


read my blog on sketching: