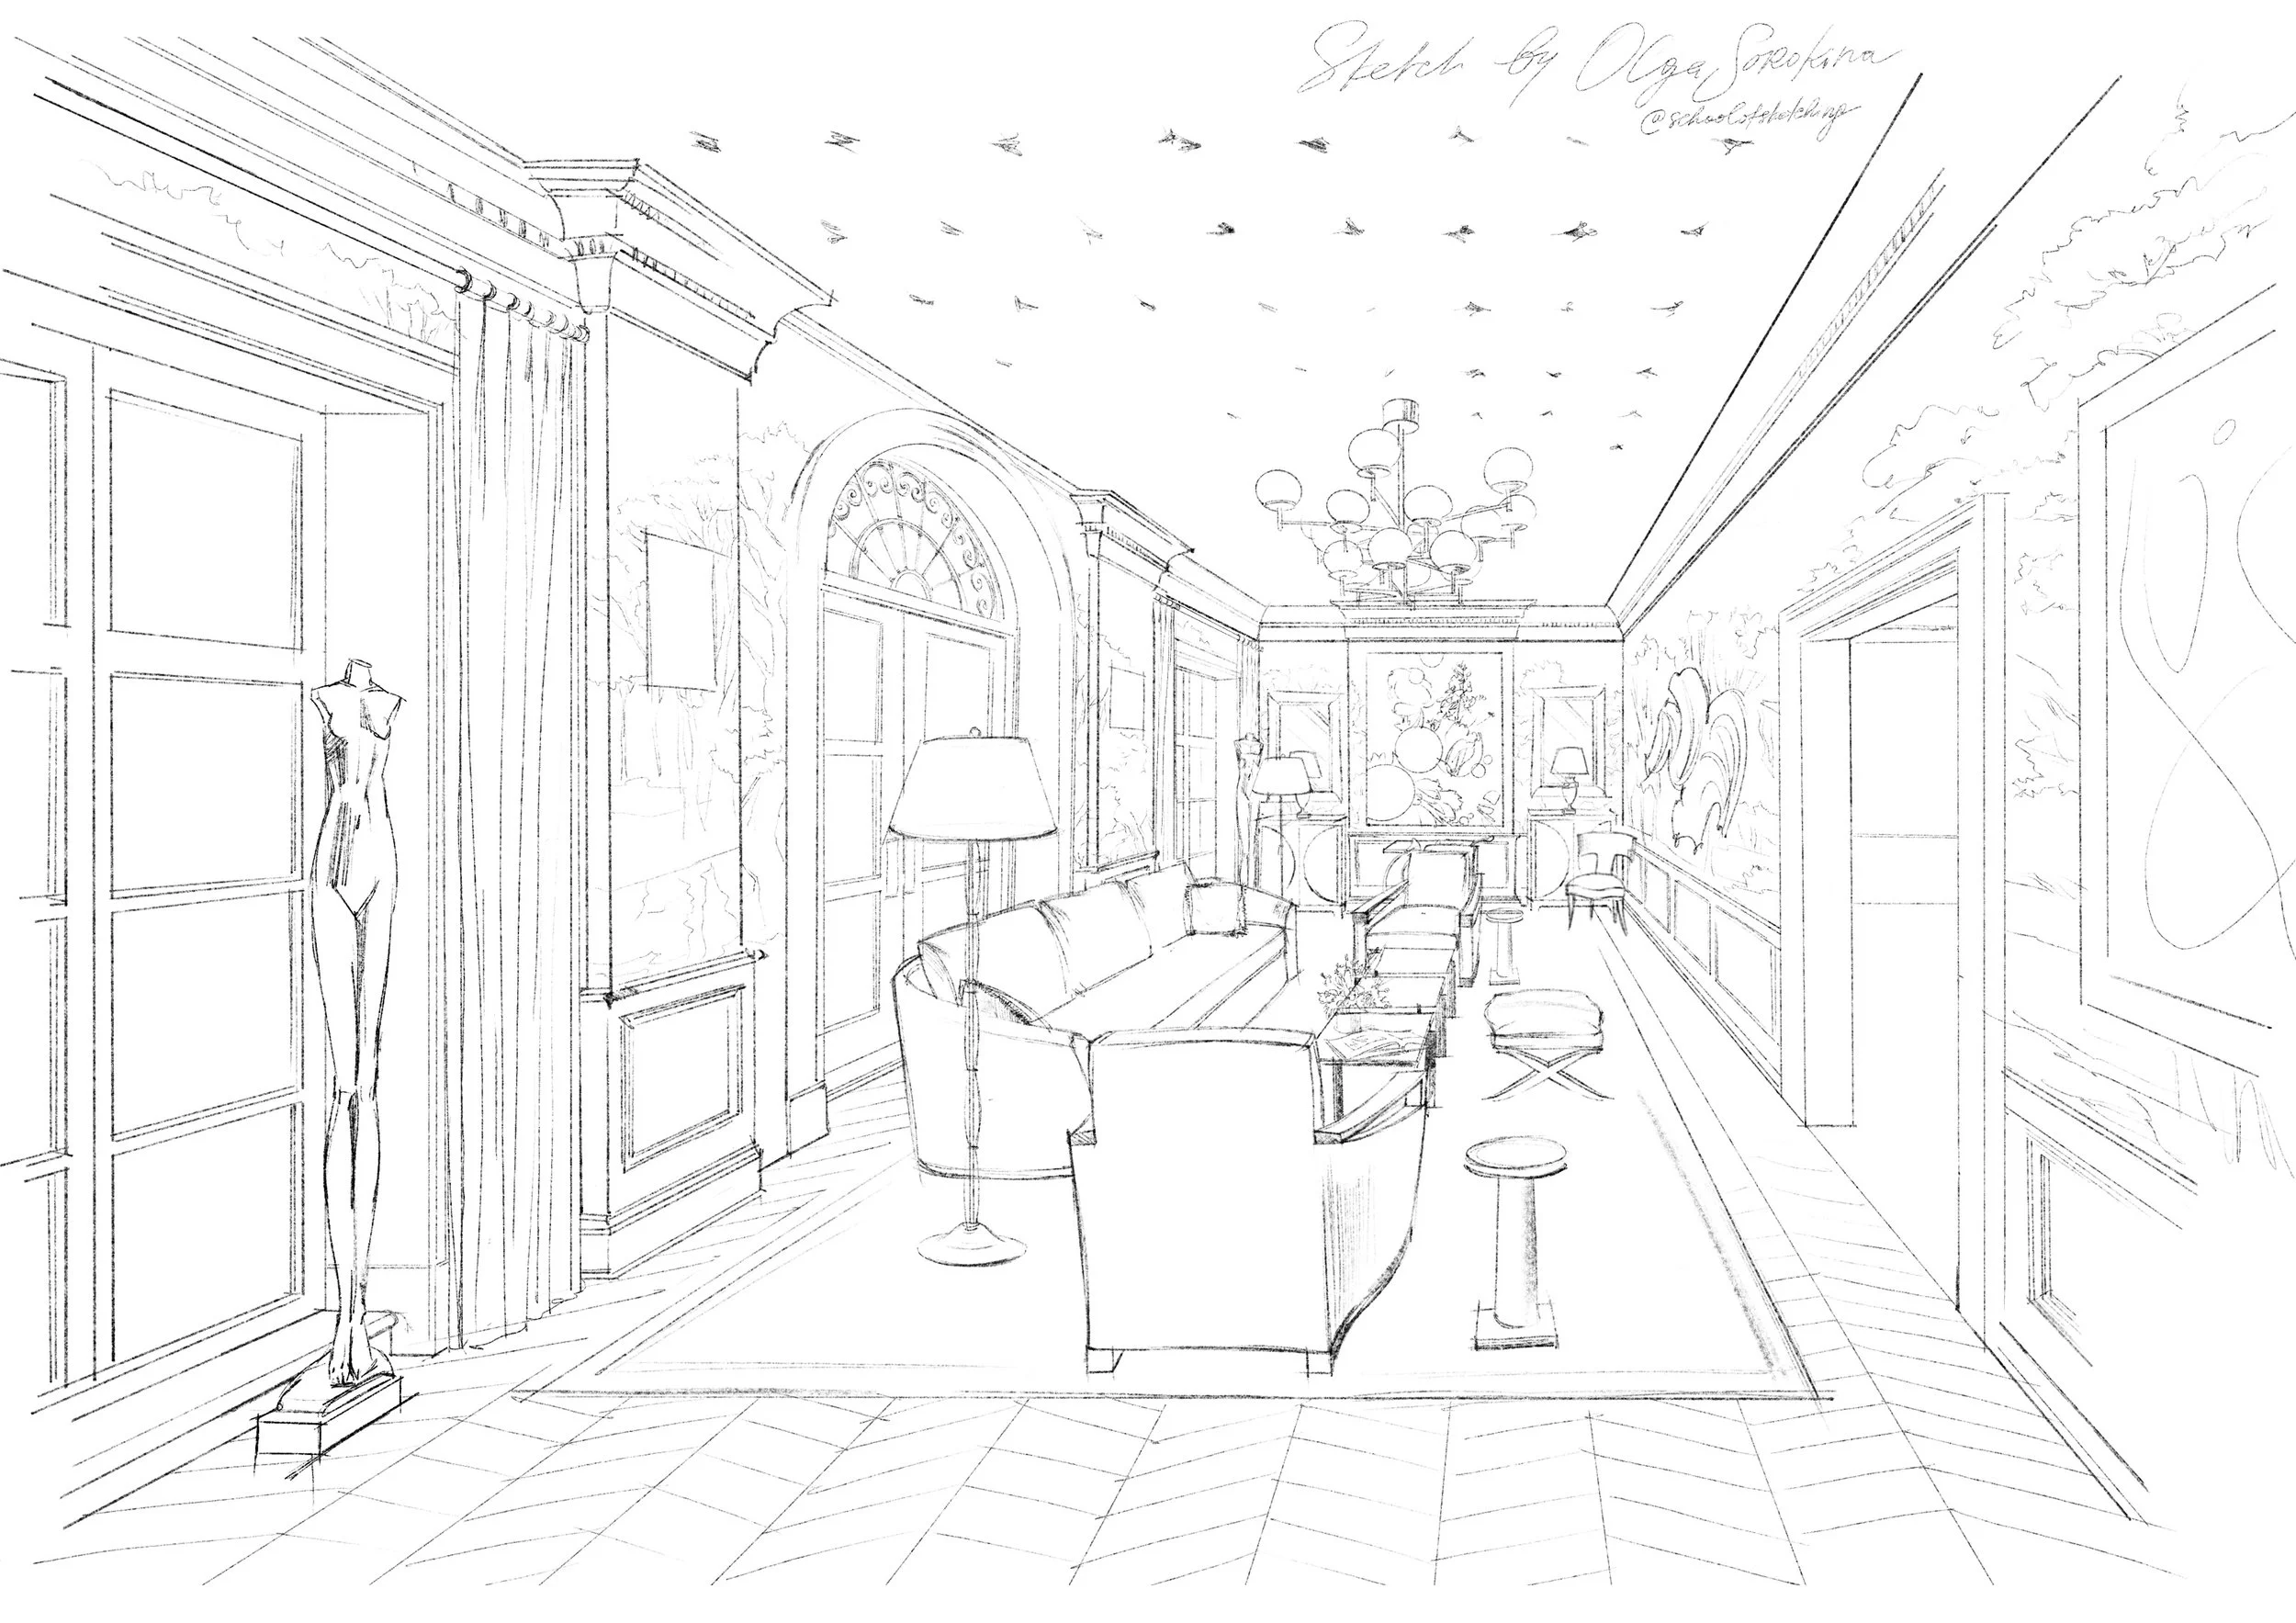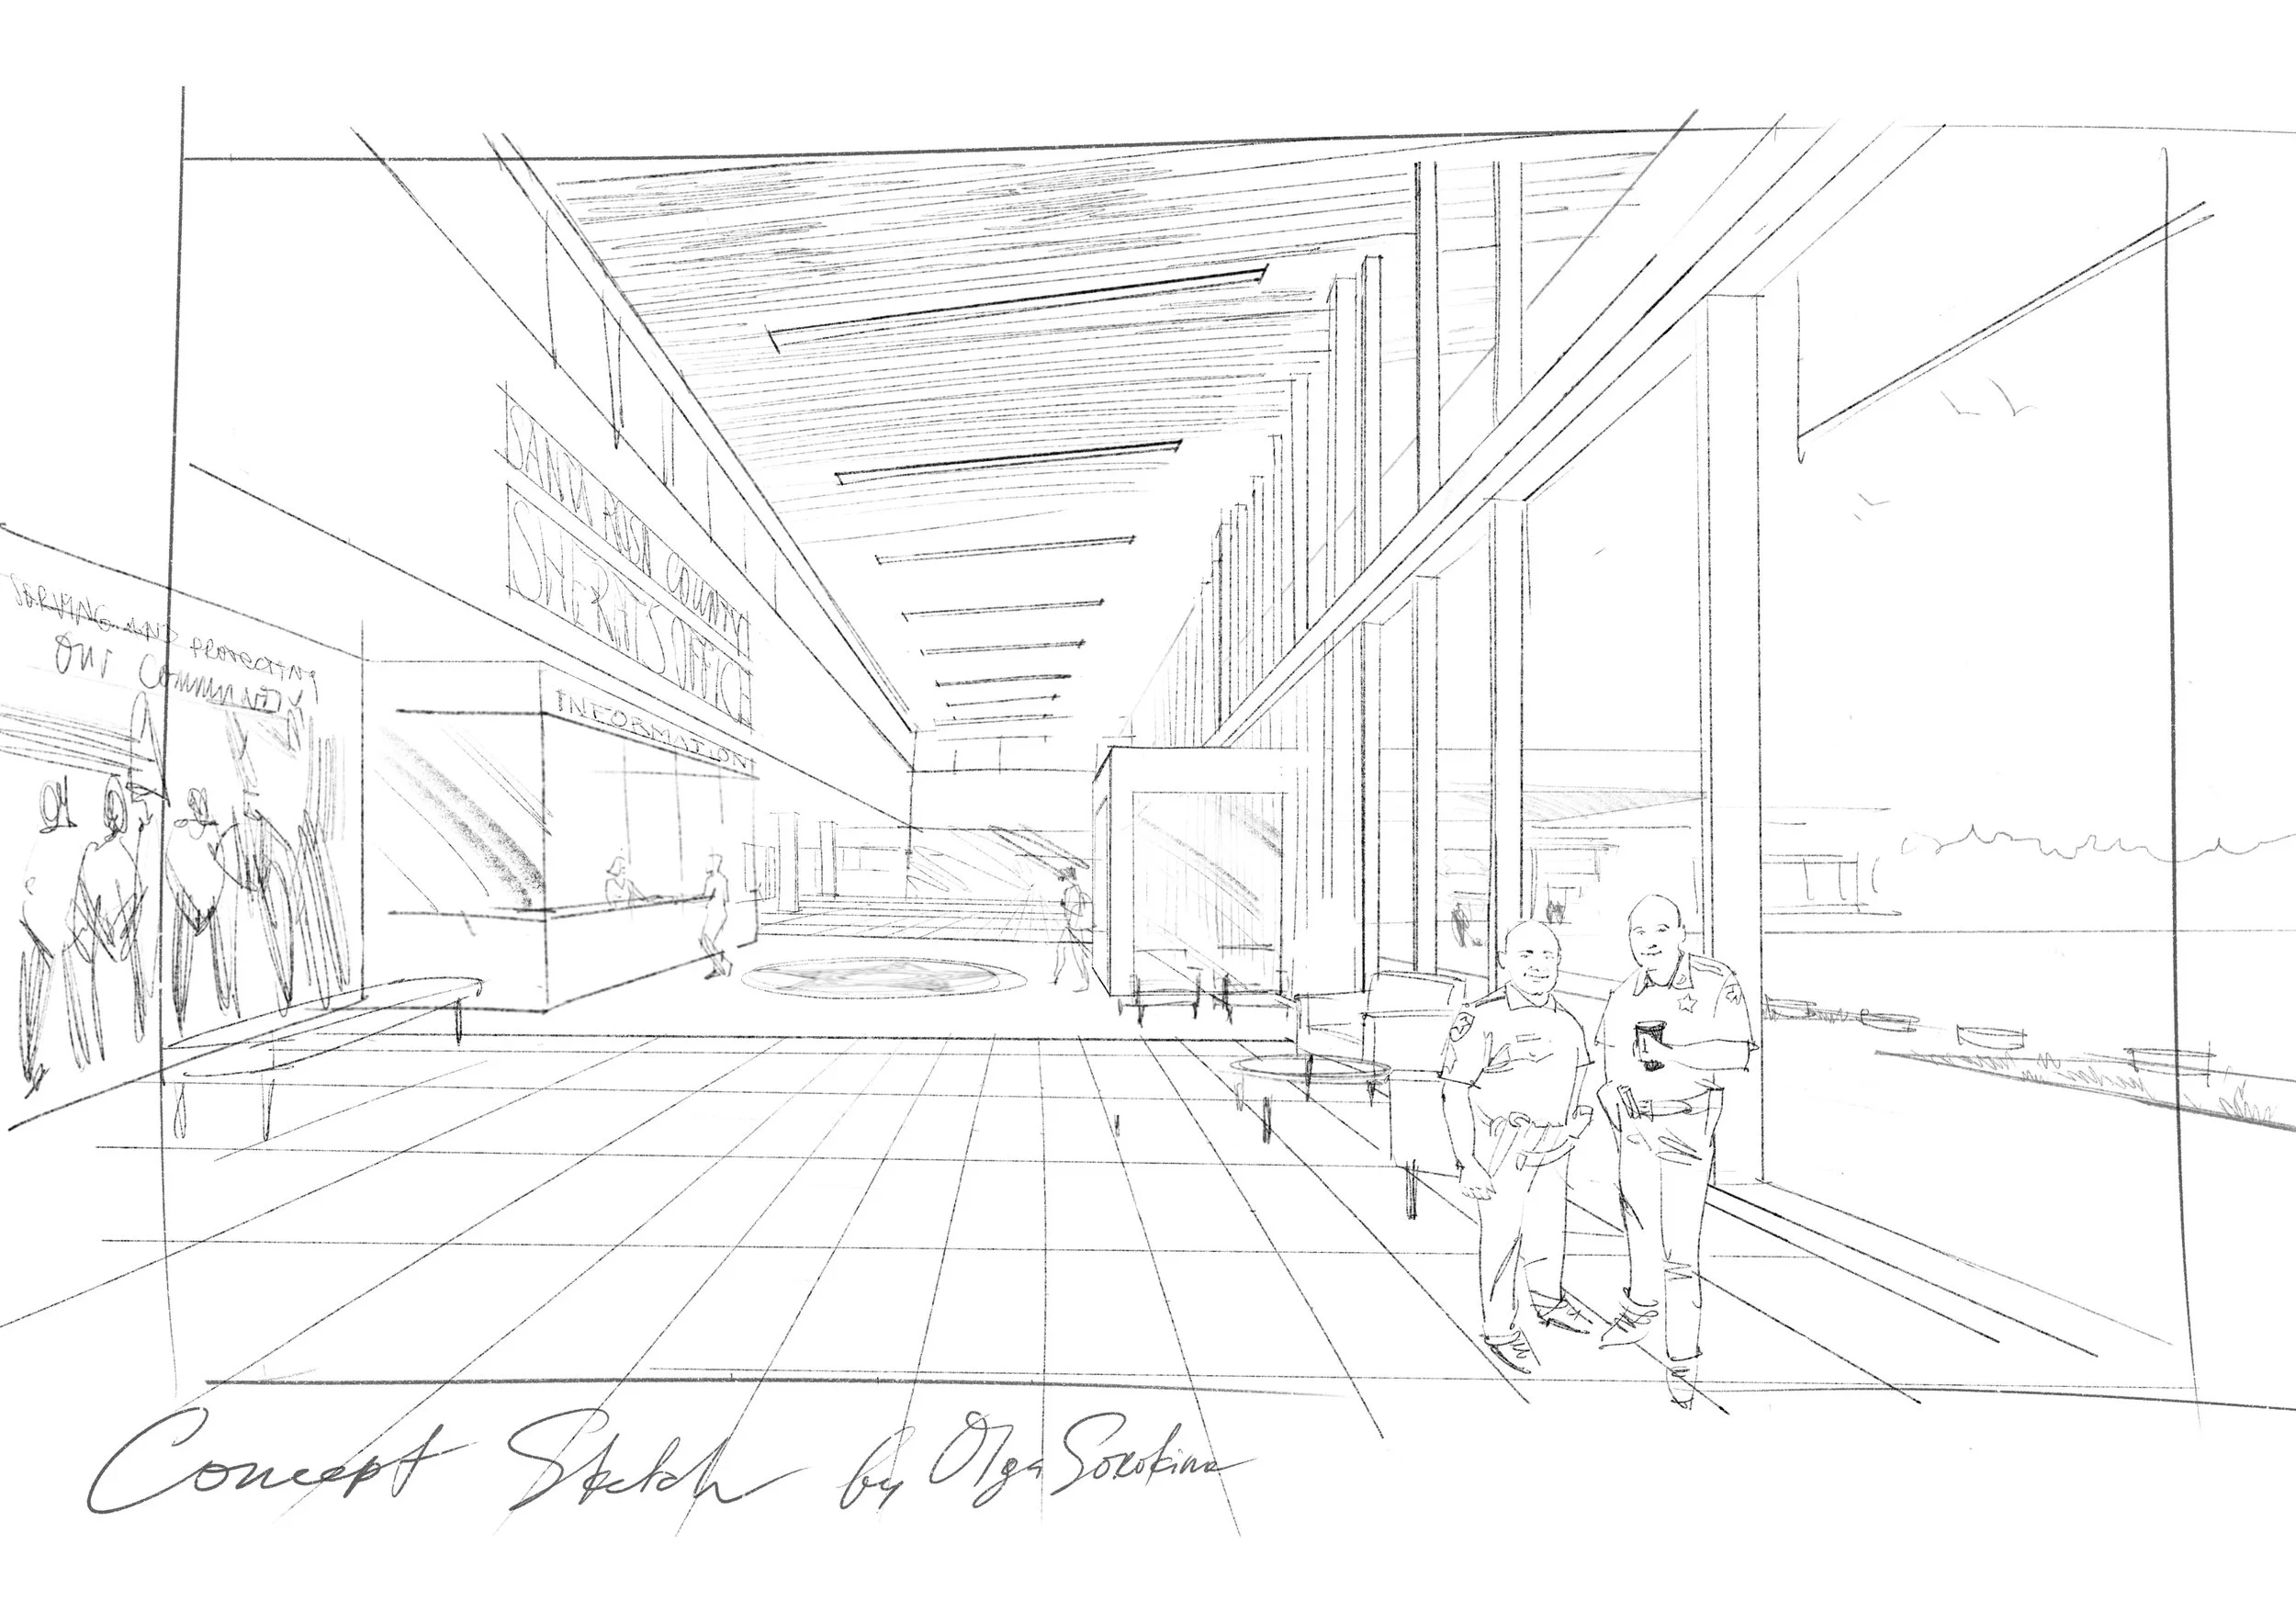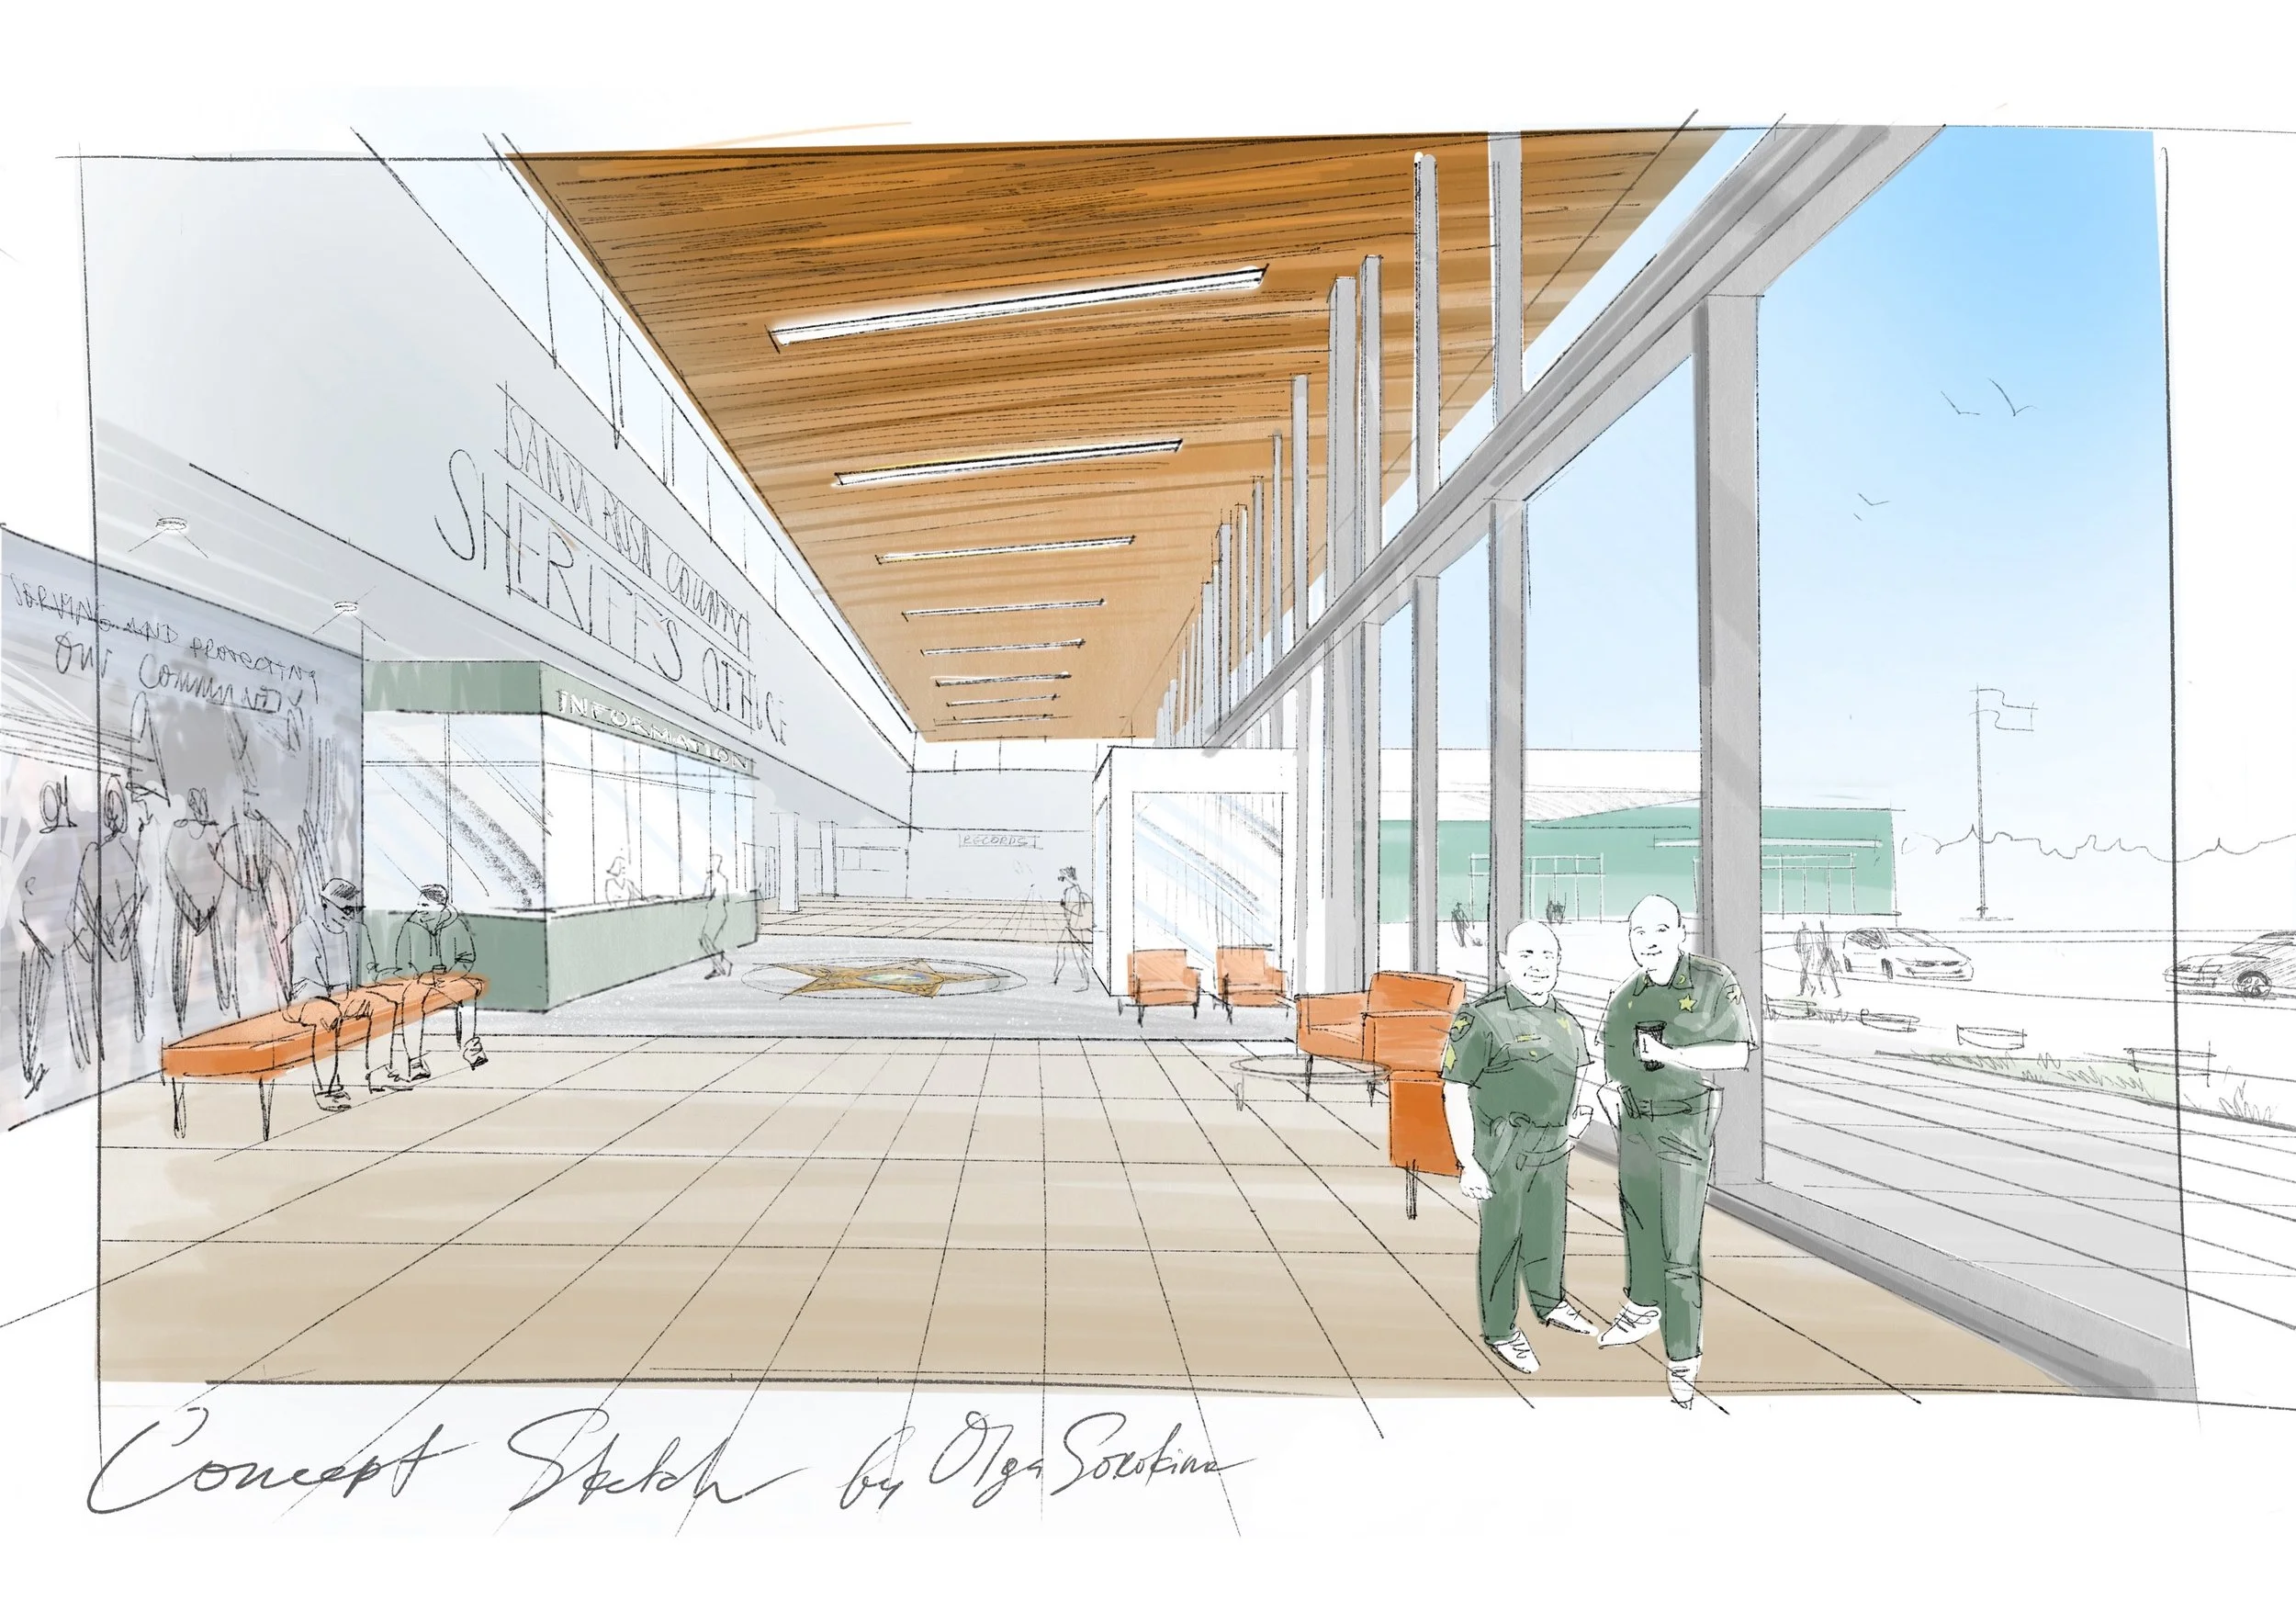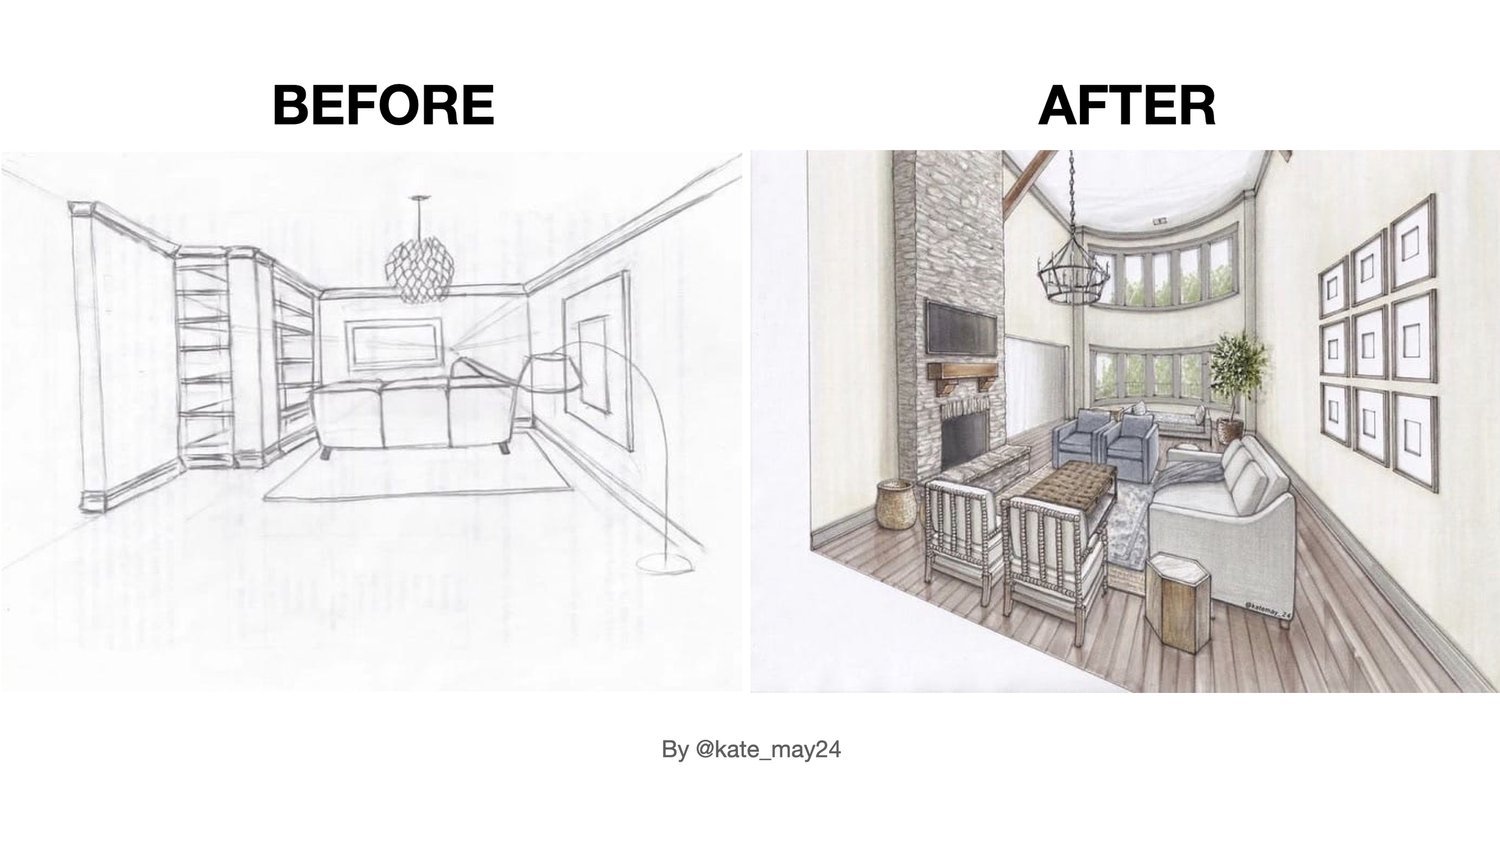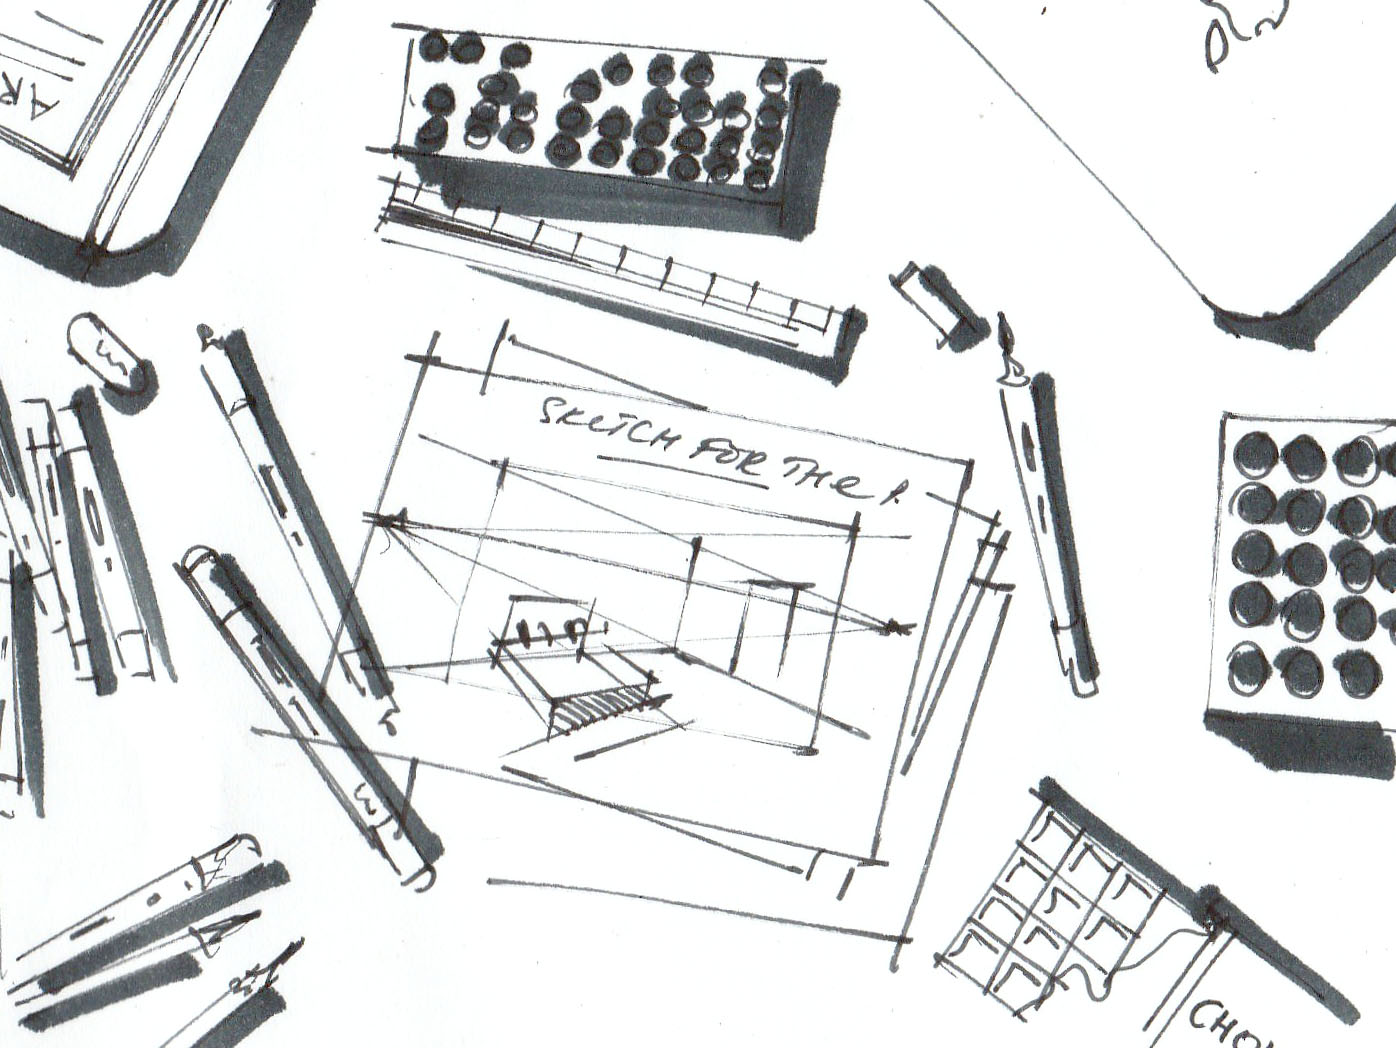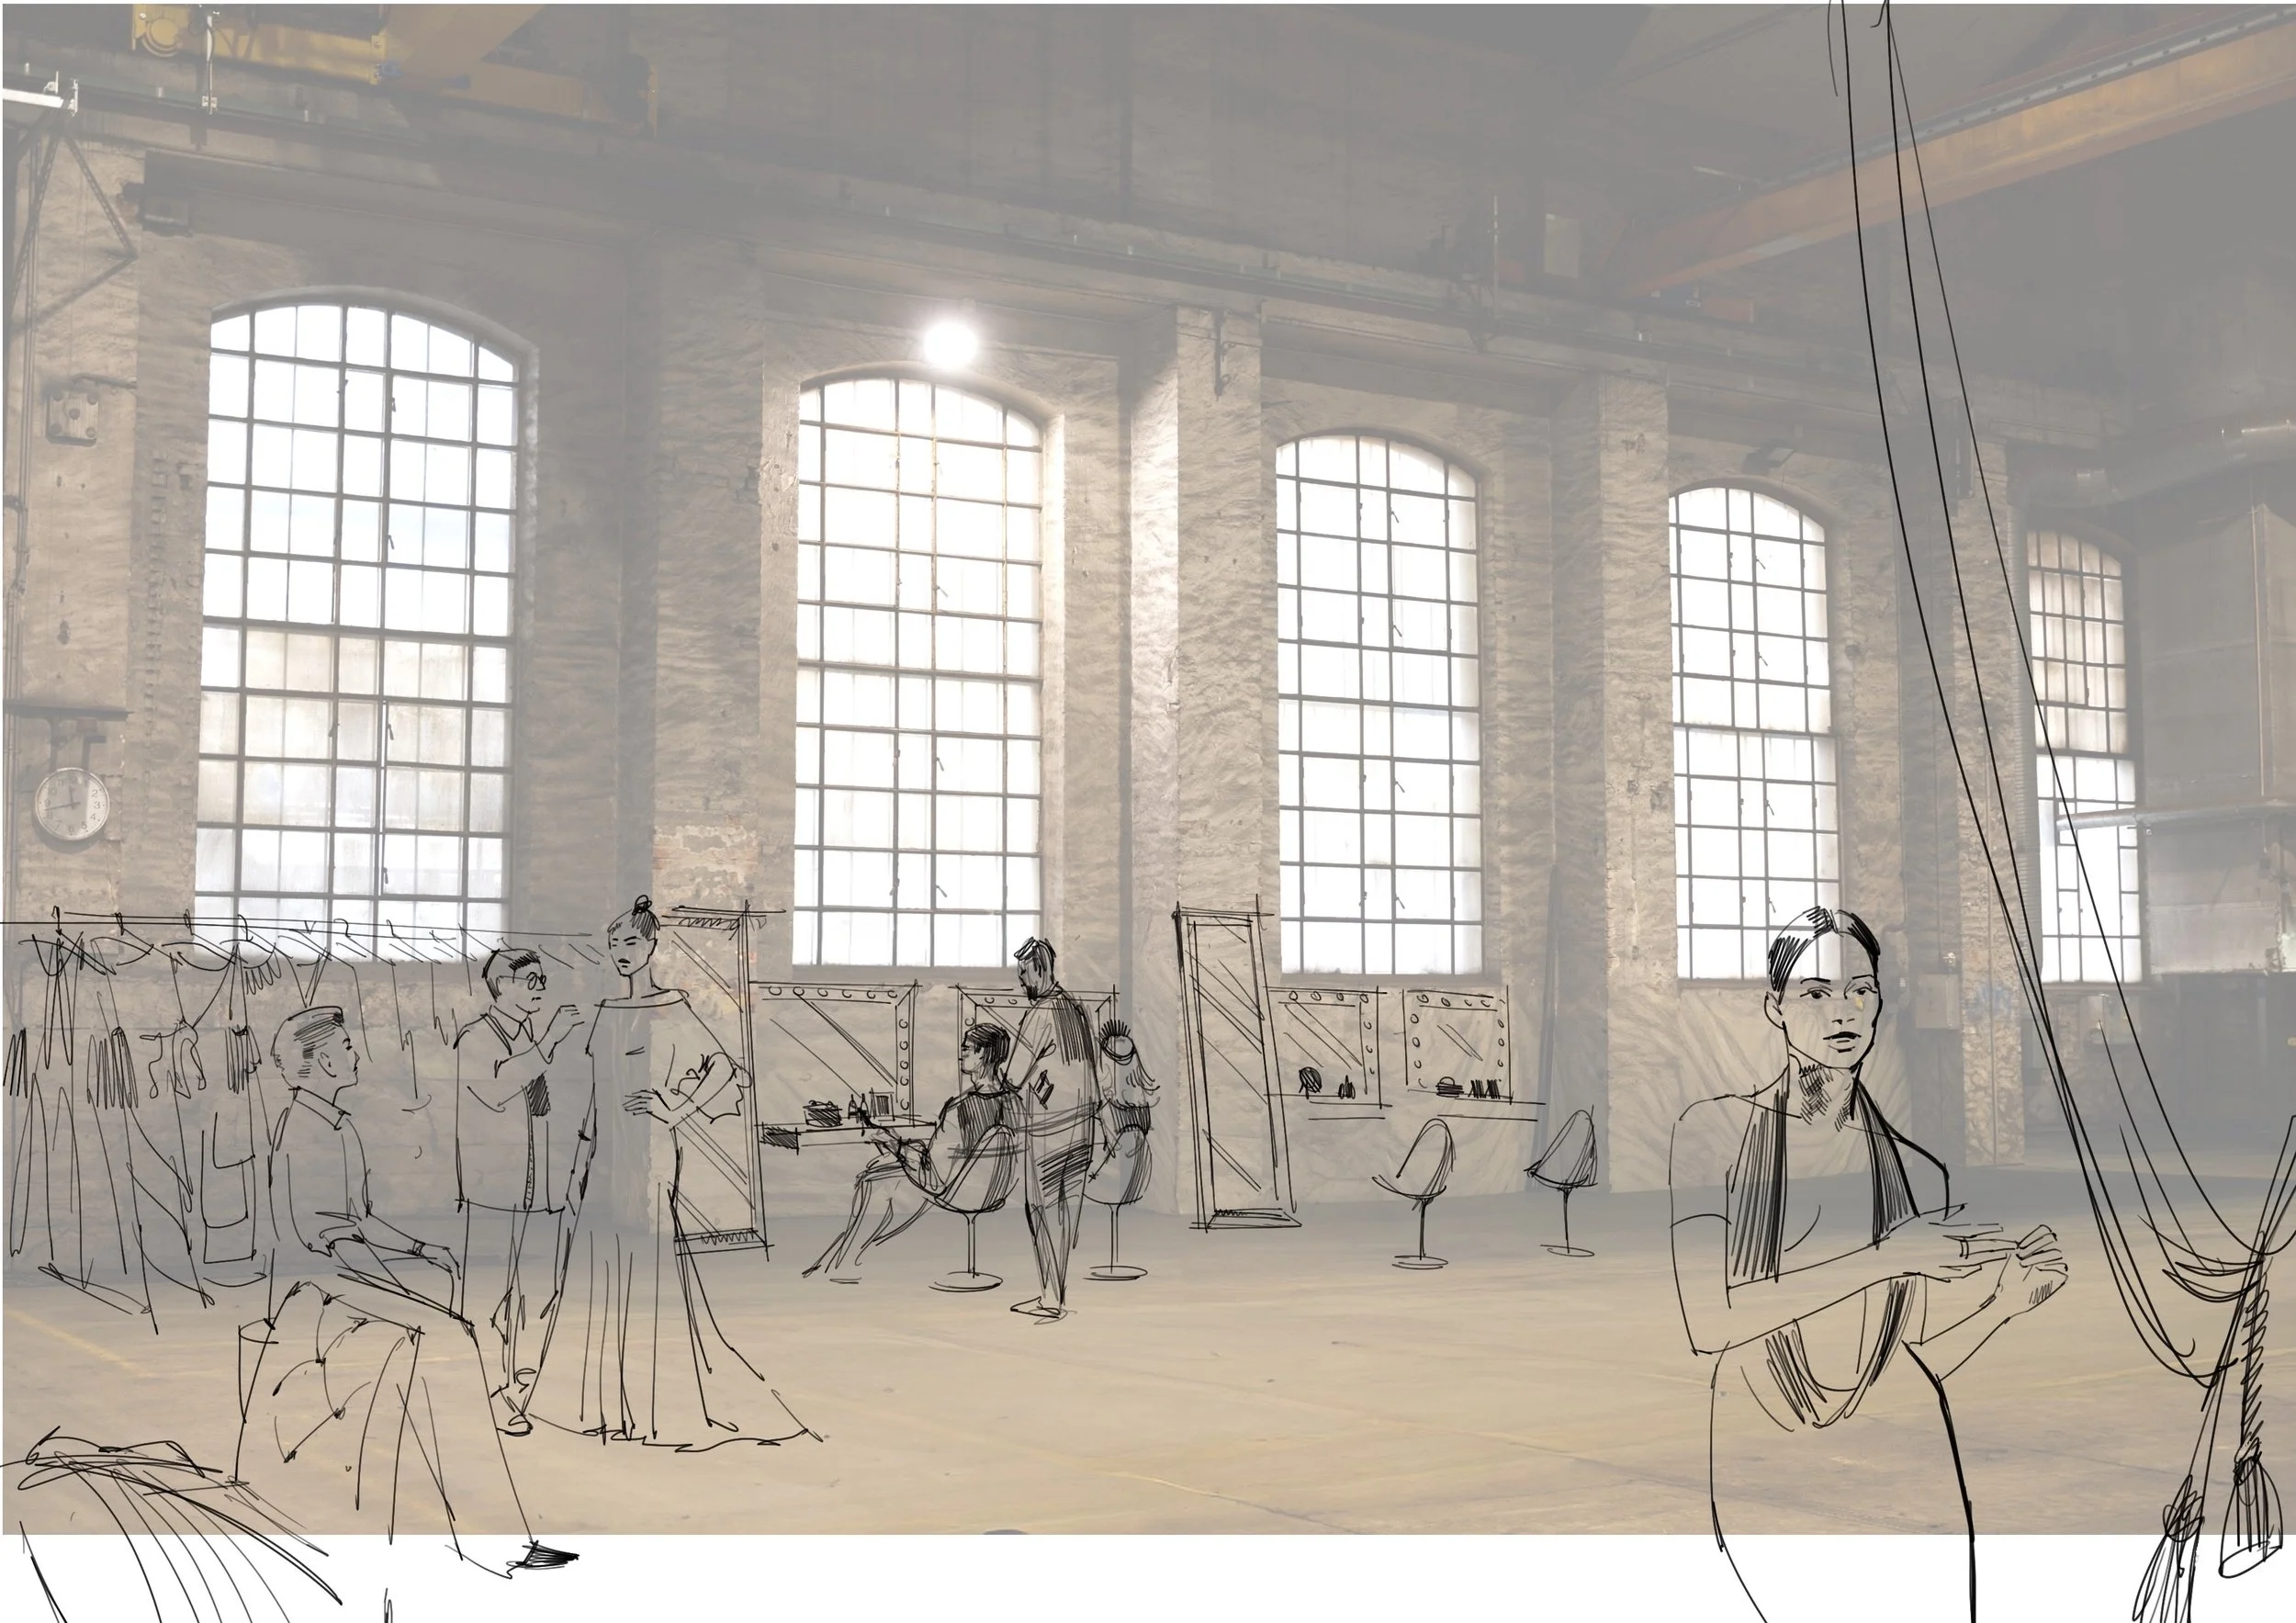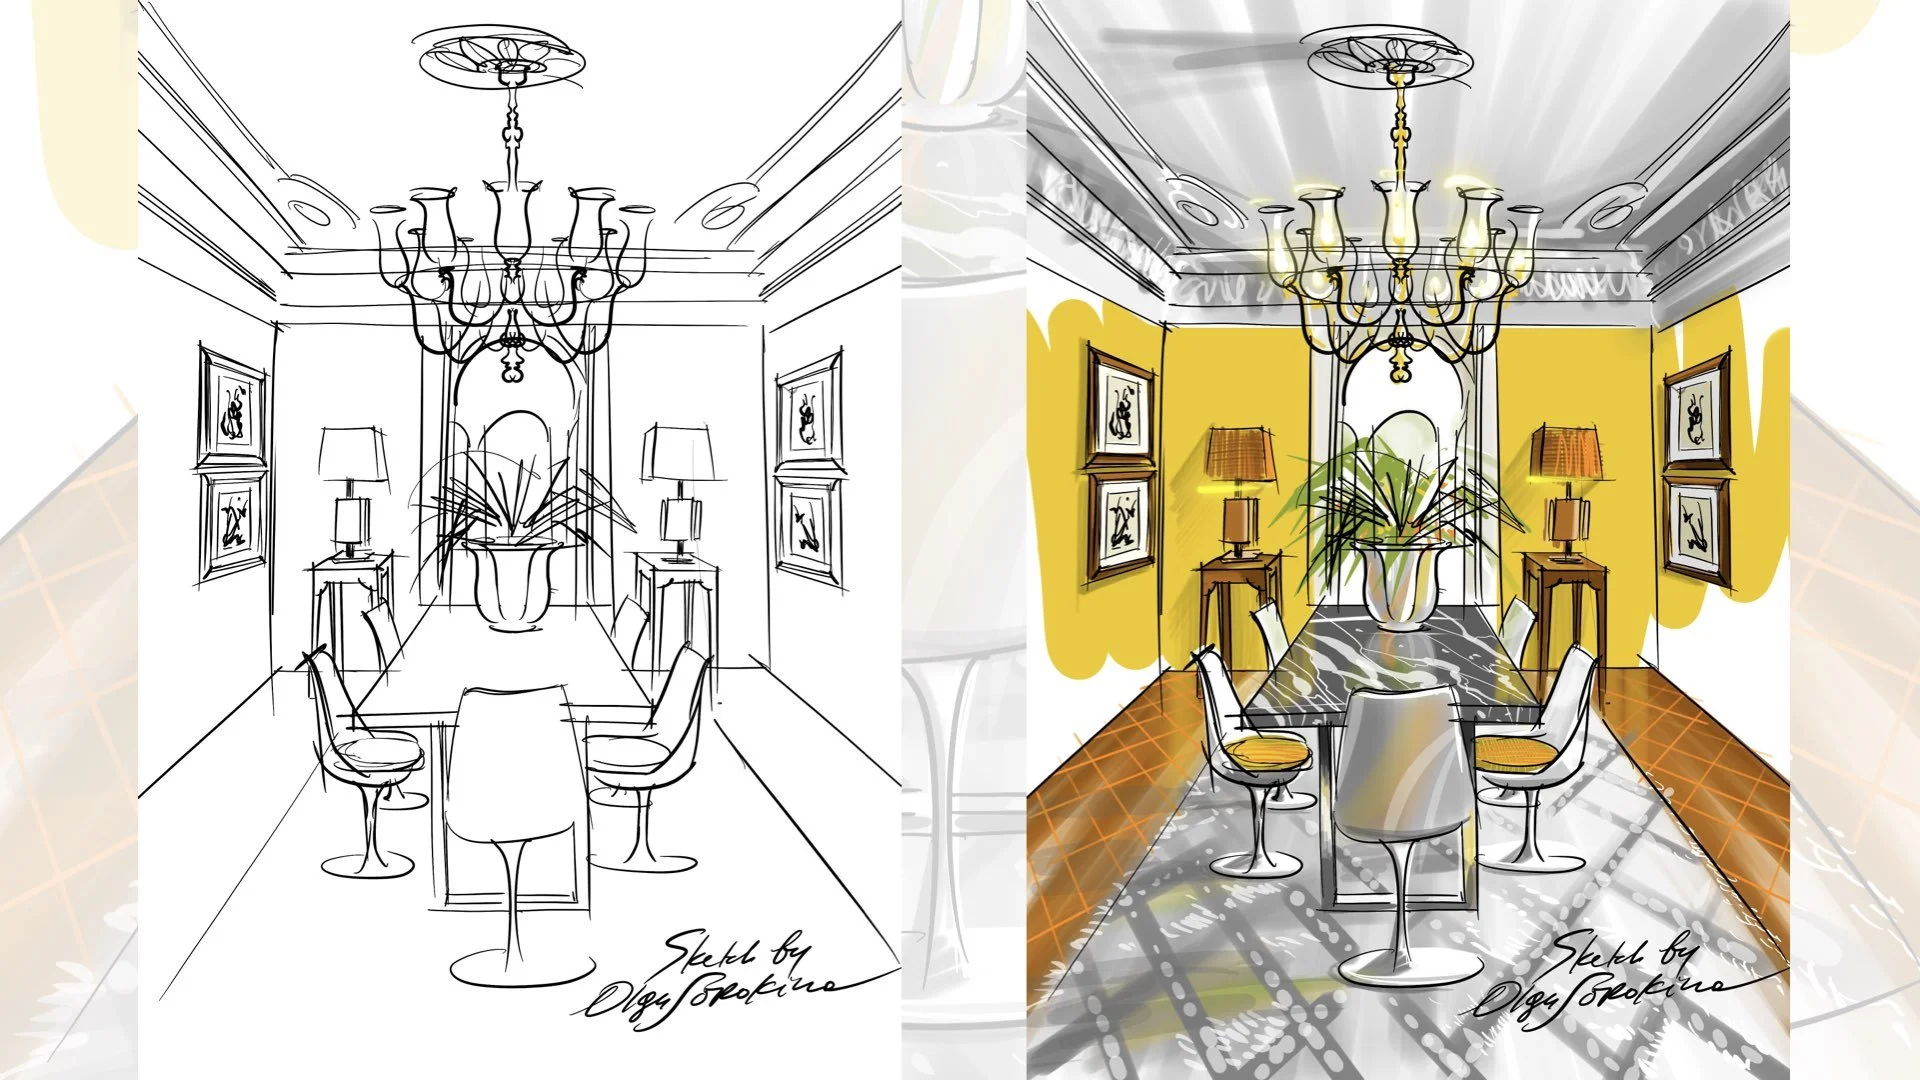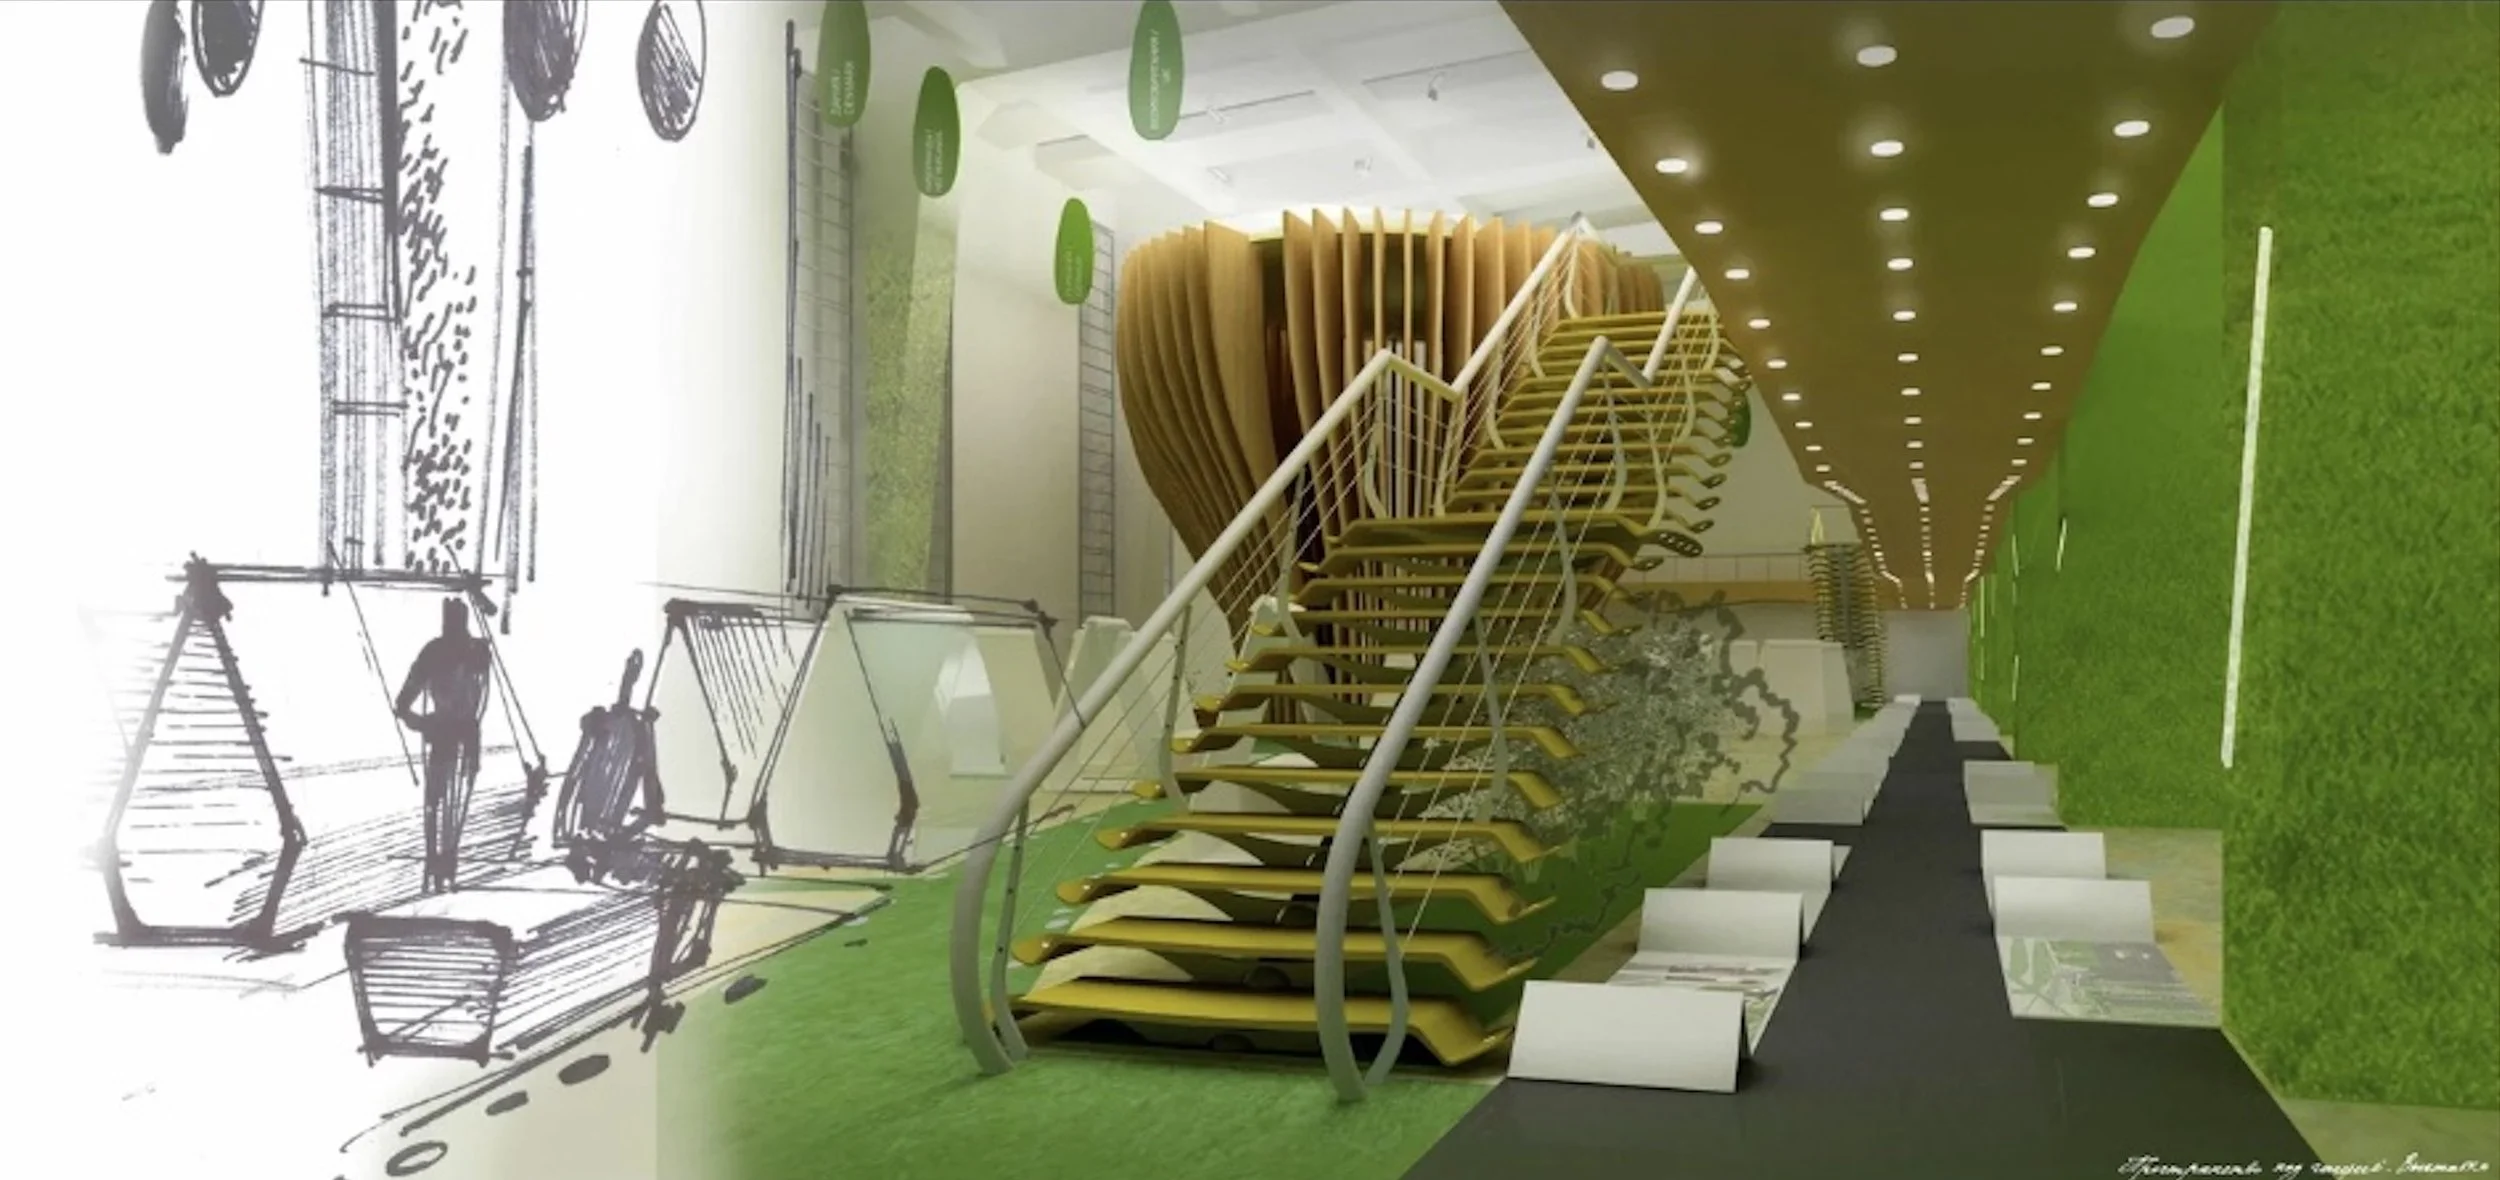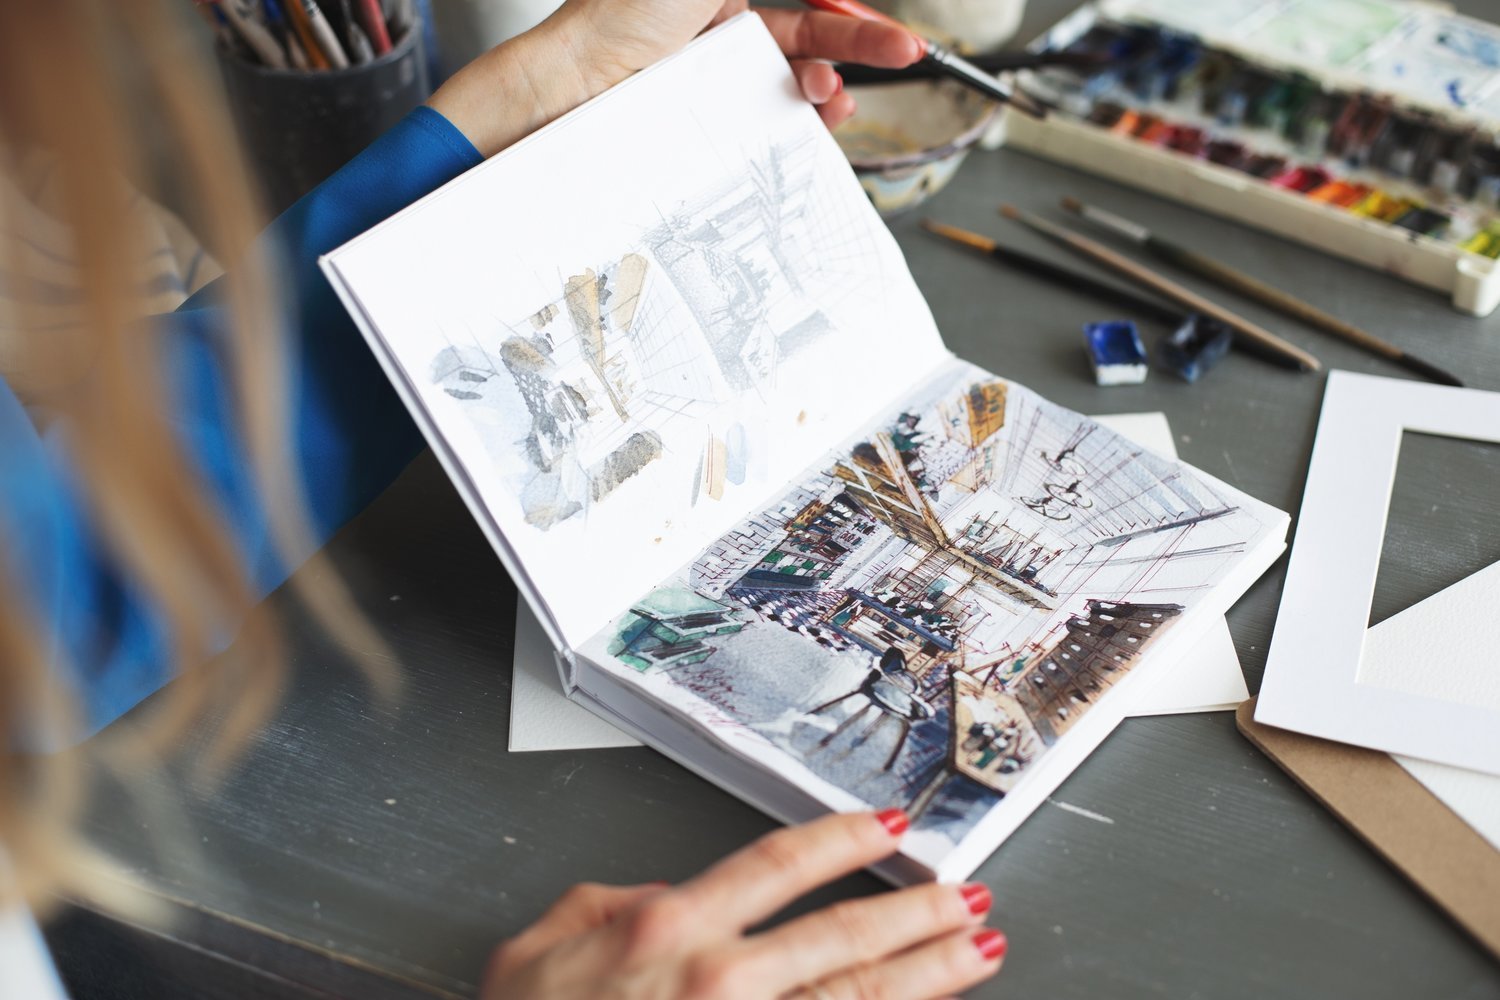

Perspective drawing is one of the most valuable skills an interior designer can develop. It helps you think spatially, communicate ideas clearly and present concepts long before they become photorealistic renderings.
Whether you're a student, a practicing interior designer or simply passionate about interior sketching, this guide will help you understand perspective from the ground up.
This page brings together my most comprehensive articles, tutorials, videos and learning resources into one place, creating a complete learning path for mastering perspective drawing in interior design.

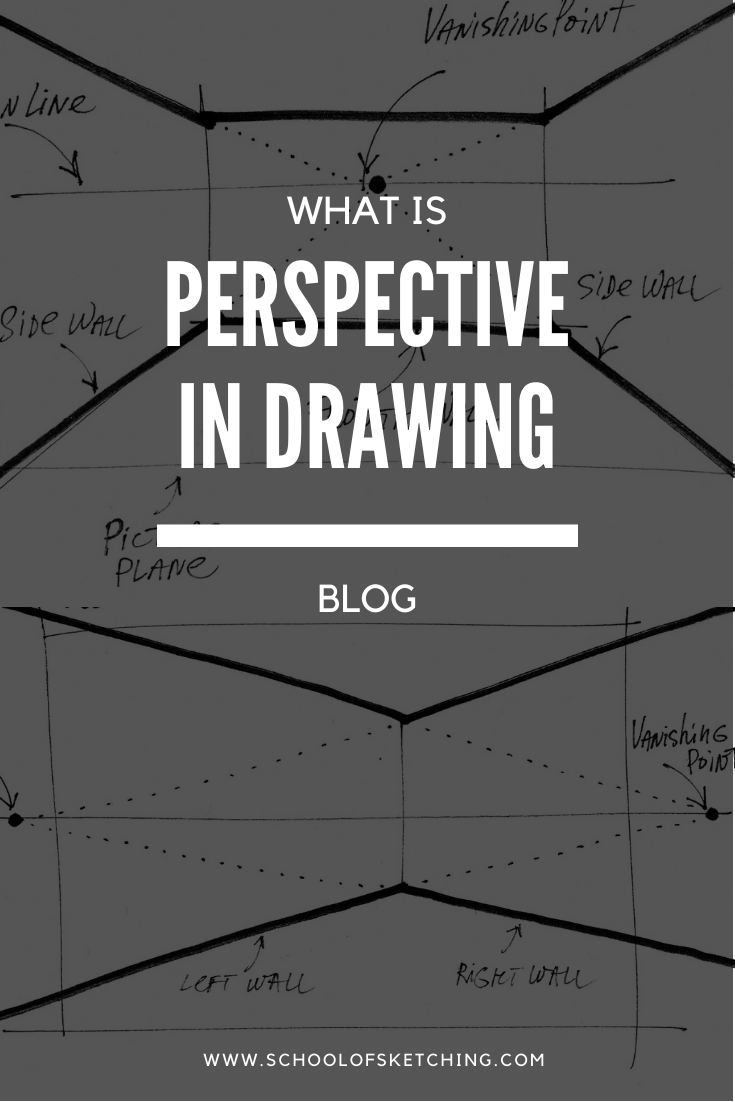
What Is Perspective Drawing?
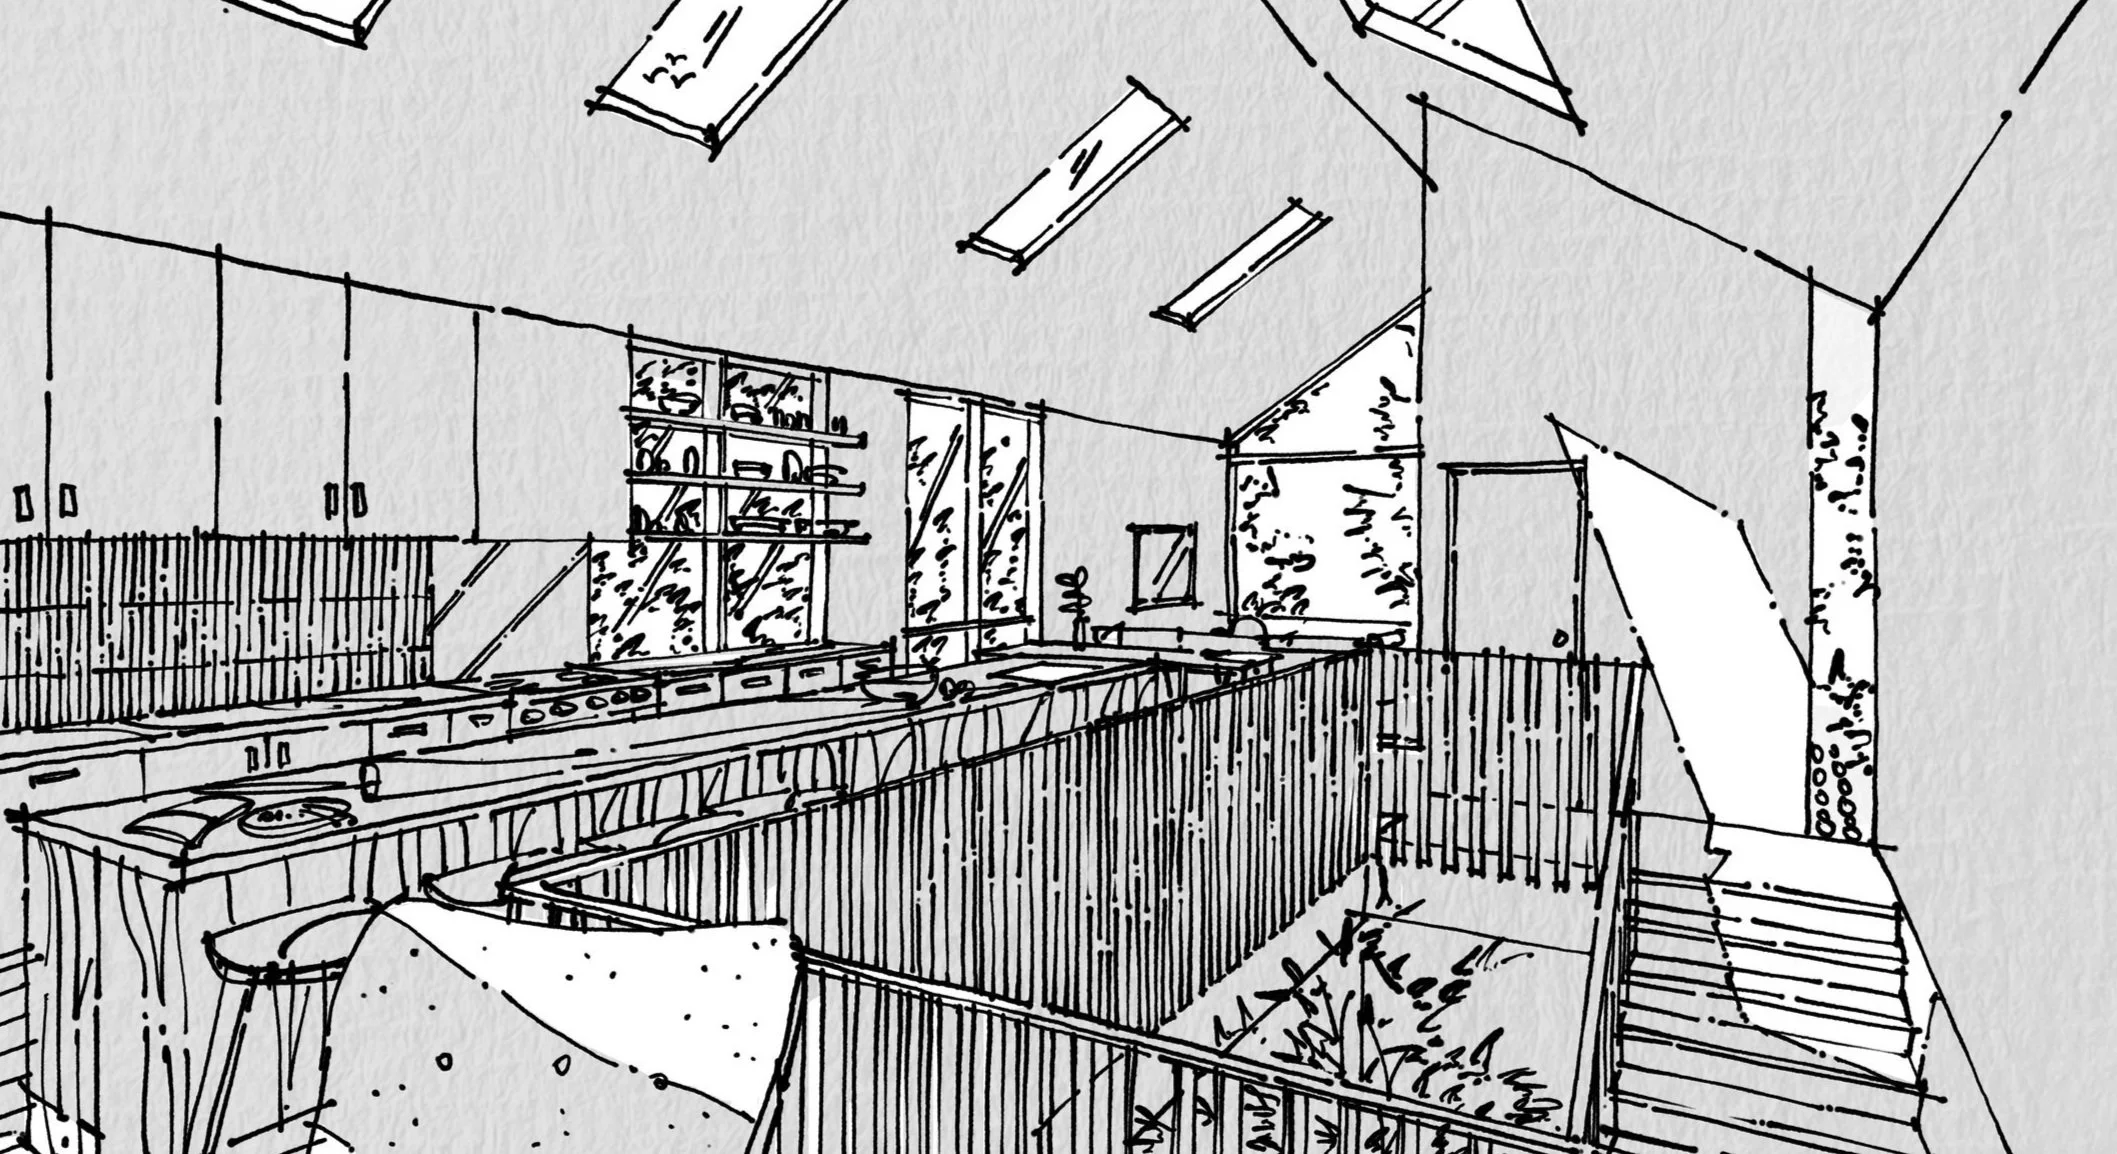
Perspective drawing is the method designers use to represent three-dimensional space on a two-dimensional surface. But perspective is much more than a technical drawing method.
For interior designers, perspective is a way of thinking. It helps us understand space, proportions, relationships between objects and the atmosphere of a room before any digital model or rendering is created. In my teaching, I see perspective not simply as geometry, but as the visual language of spatial design.
Why Perspective Matters for Interior Designers
Perspective drawing helps interior designers:
• communicate ideas quickly
• explore design concepts
• present projects to clients
• think through space before modelling
• improve creativity and observation
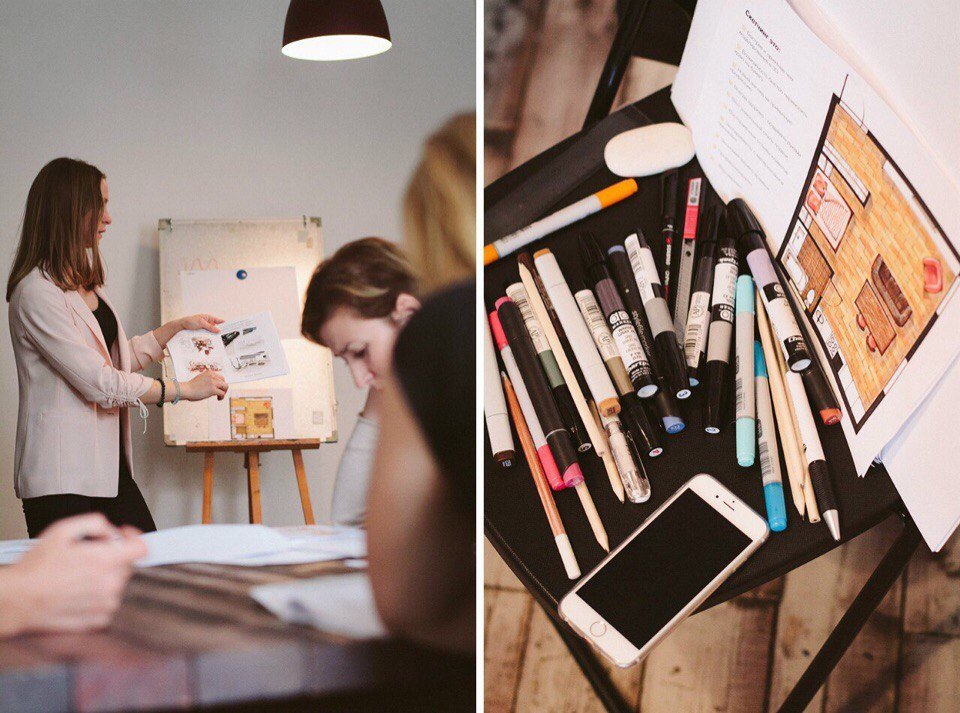
• sketch confidently during meetings and site visits
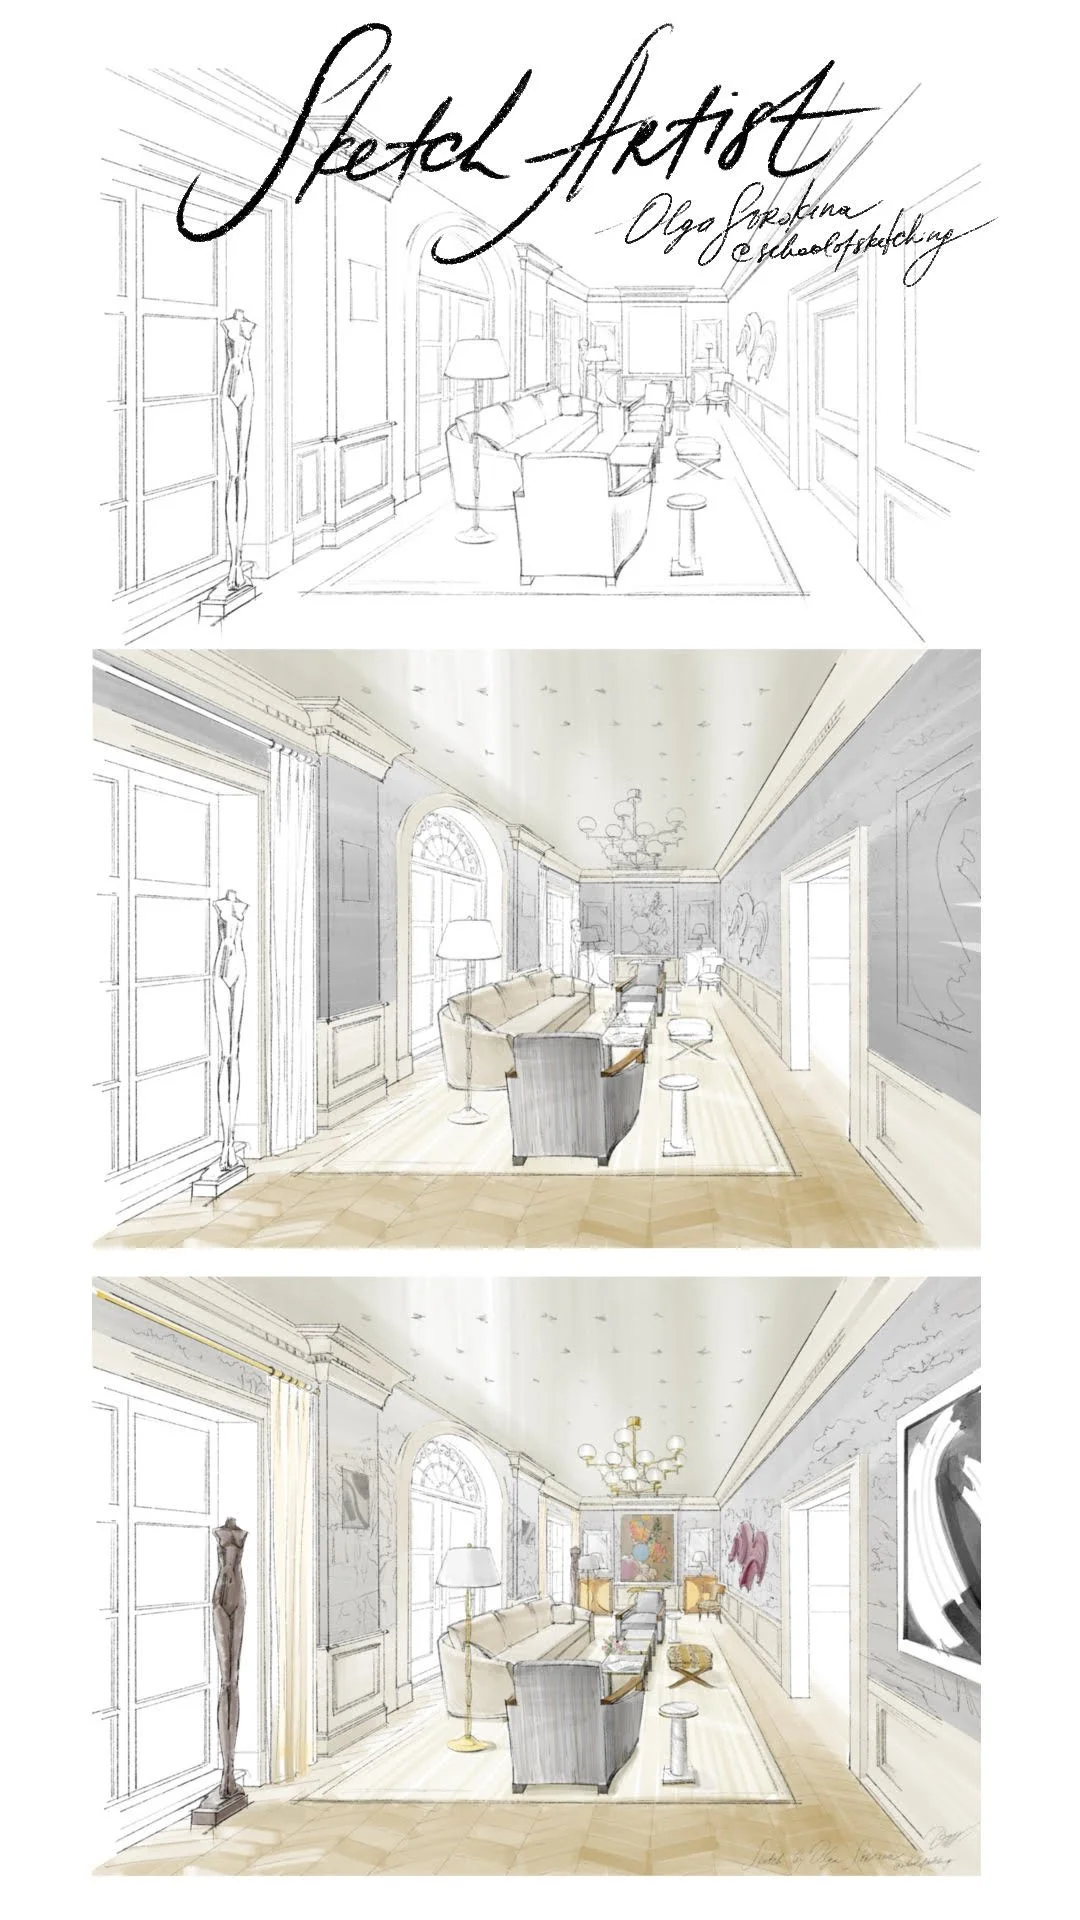
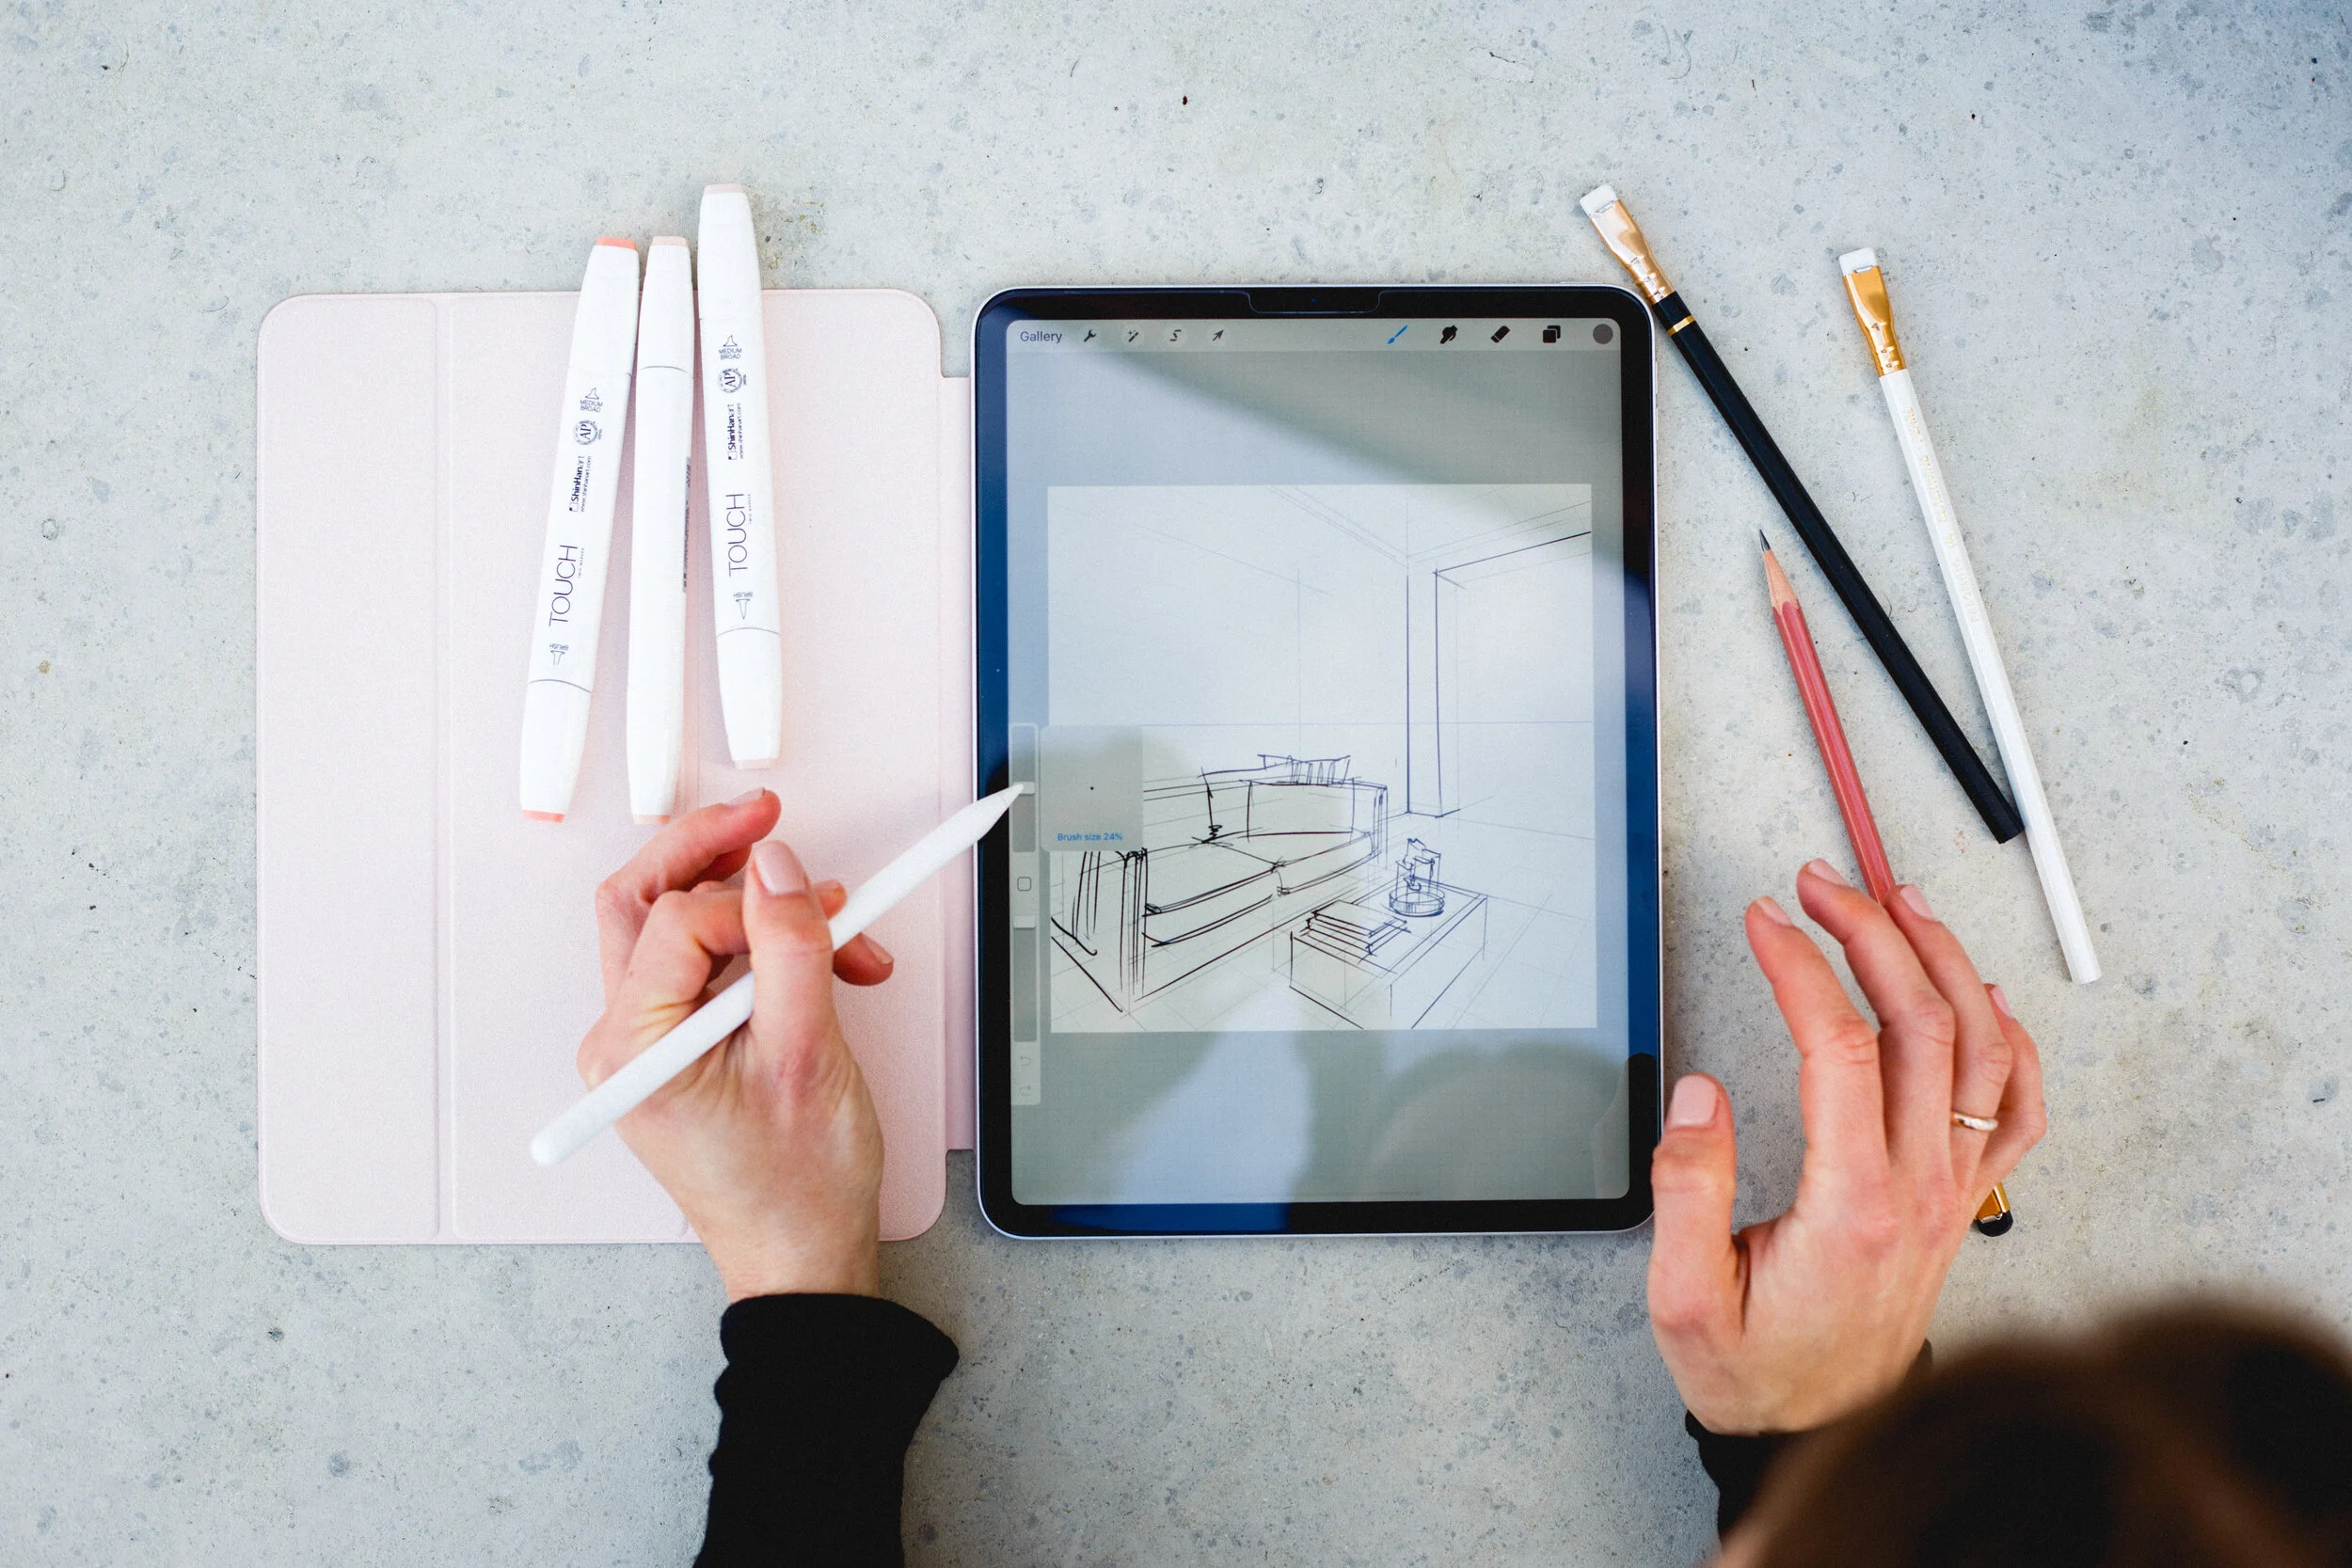
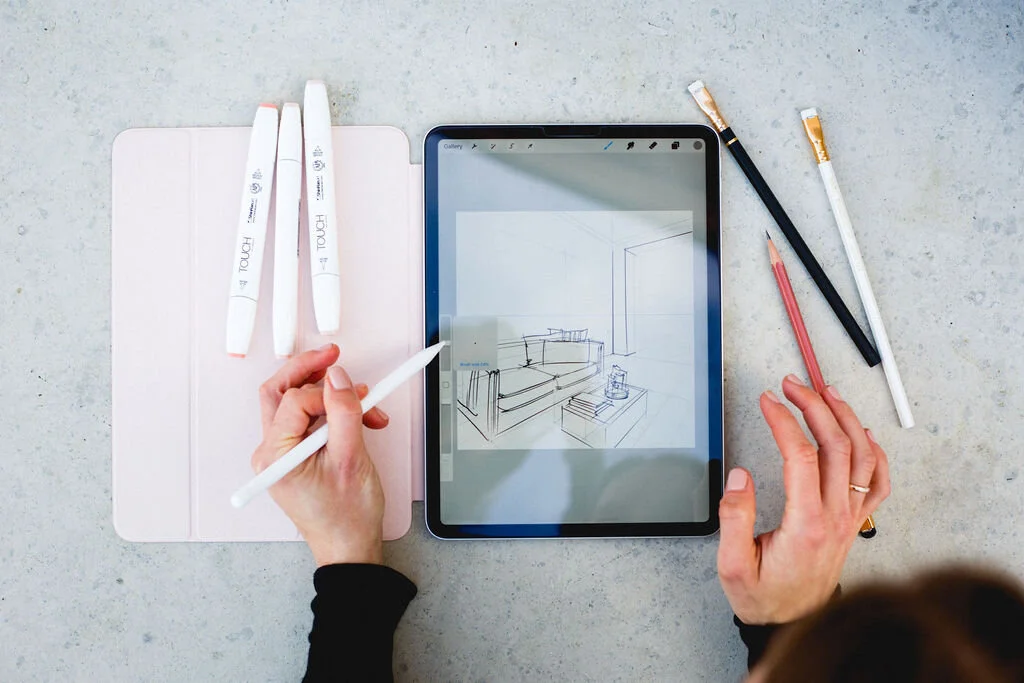
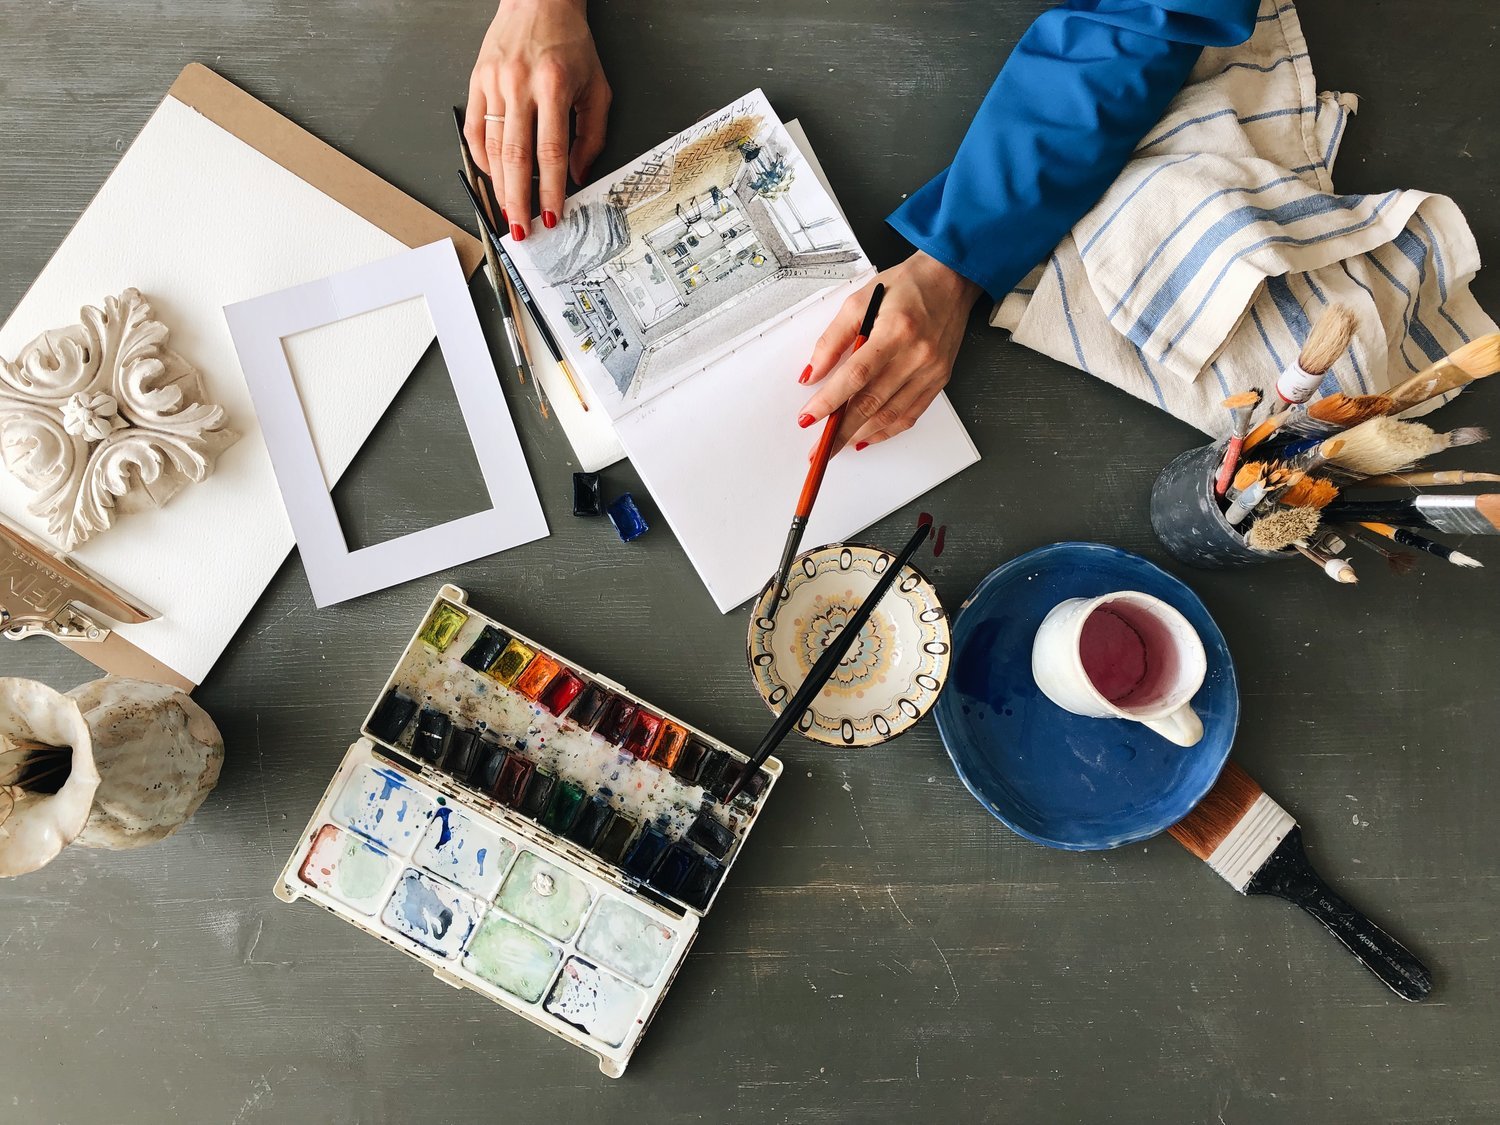
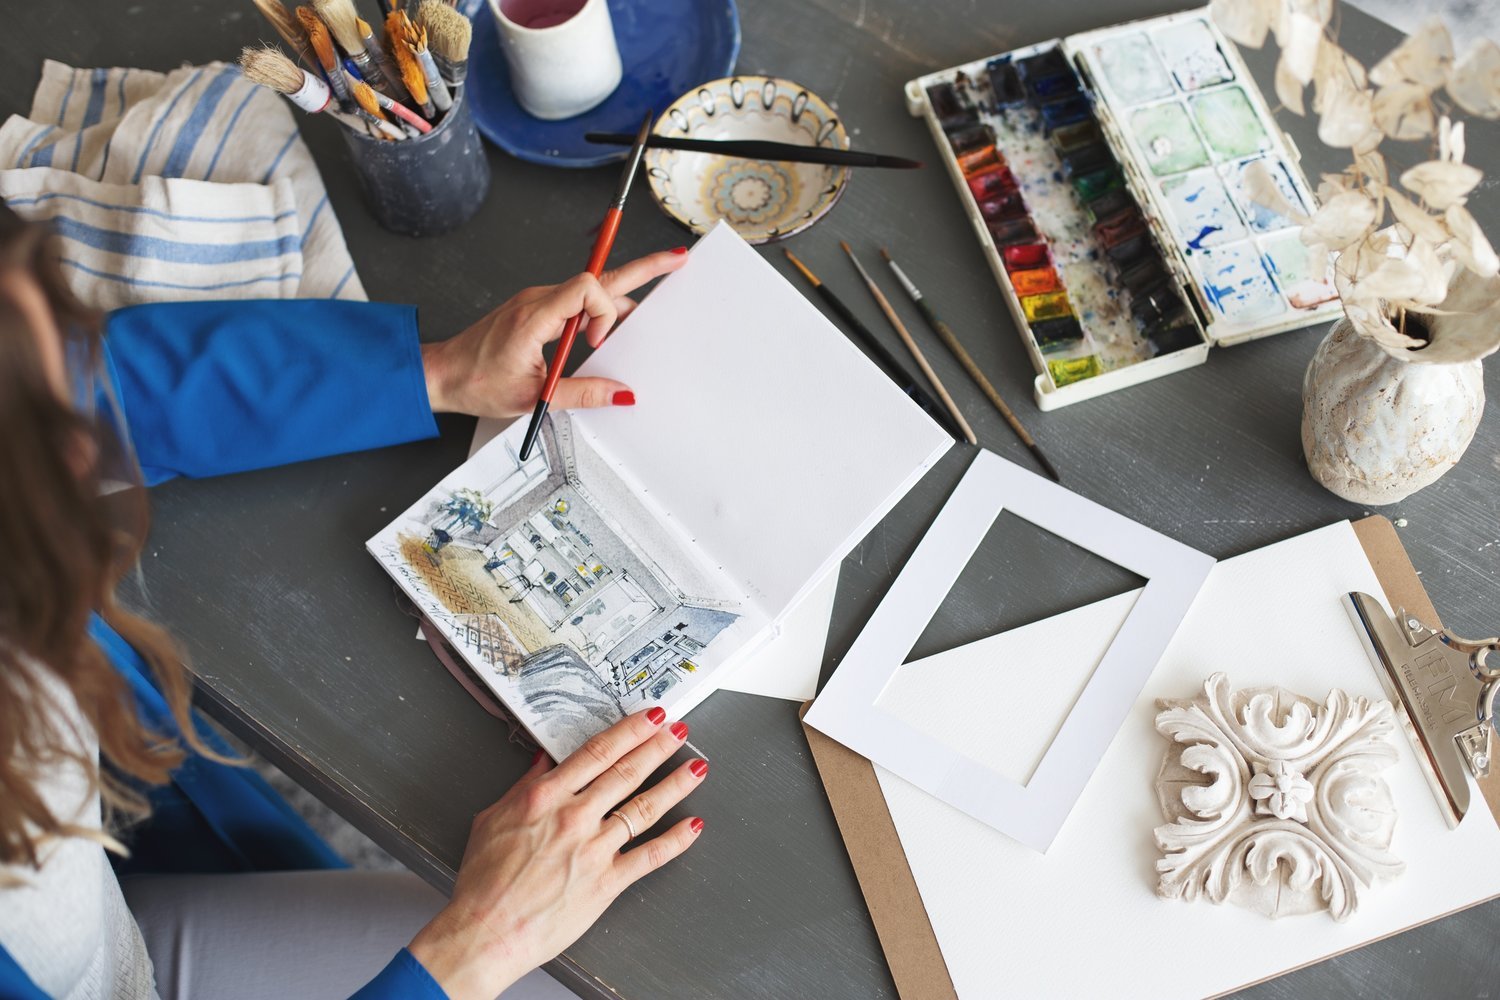
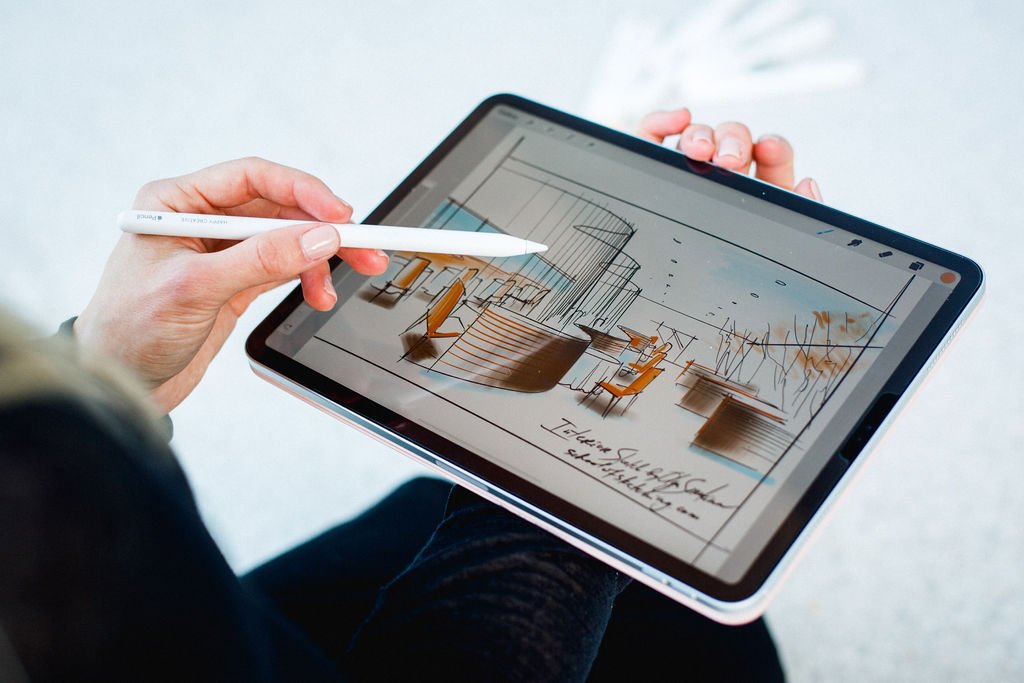
Hand sketching remains one of the fastest ways to capture and communicate design thinking, even in the age of AI and advanced rendering software.
Start Here: Learn the Fundamentals
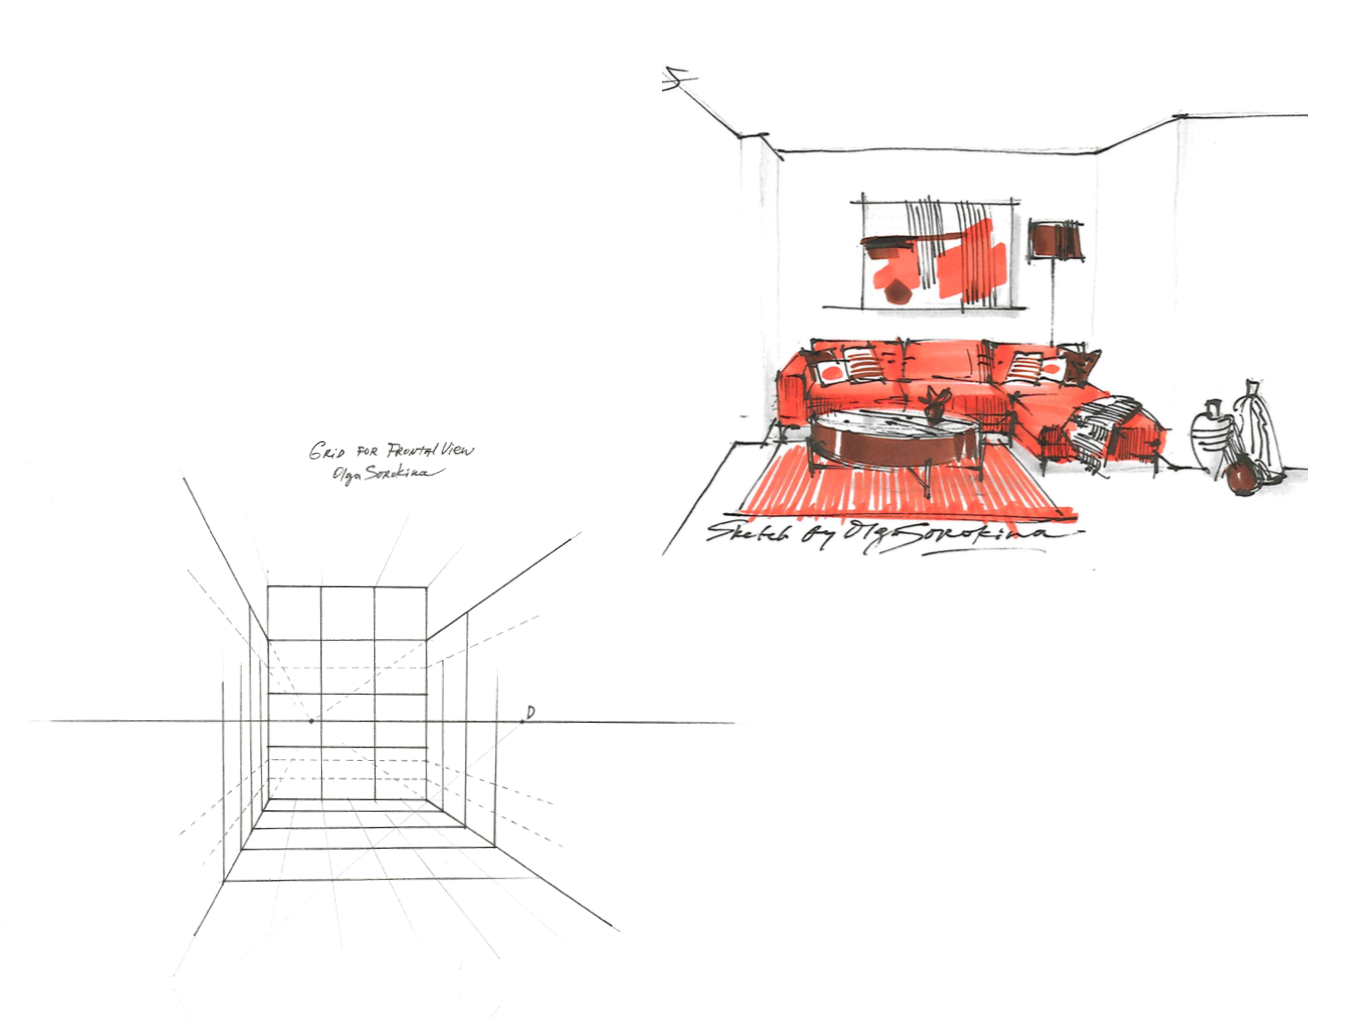
Understanding Perspective
If you're completely new to perspective drawing, begin with these articles on my blog:
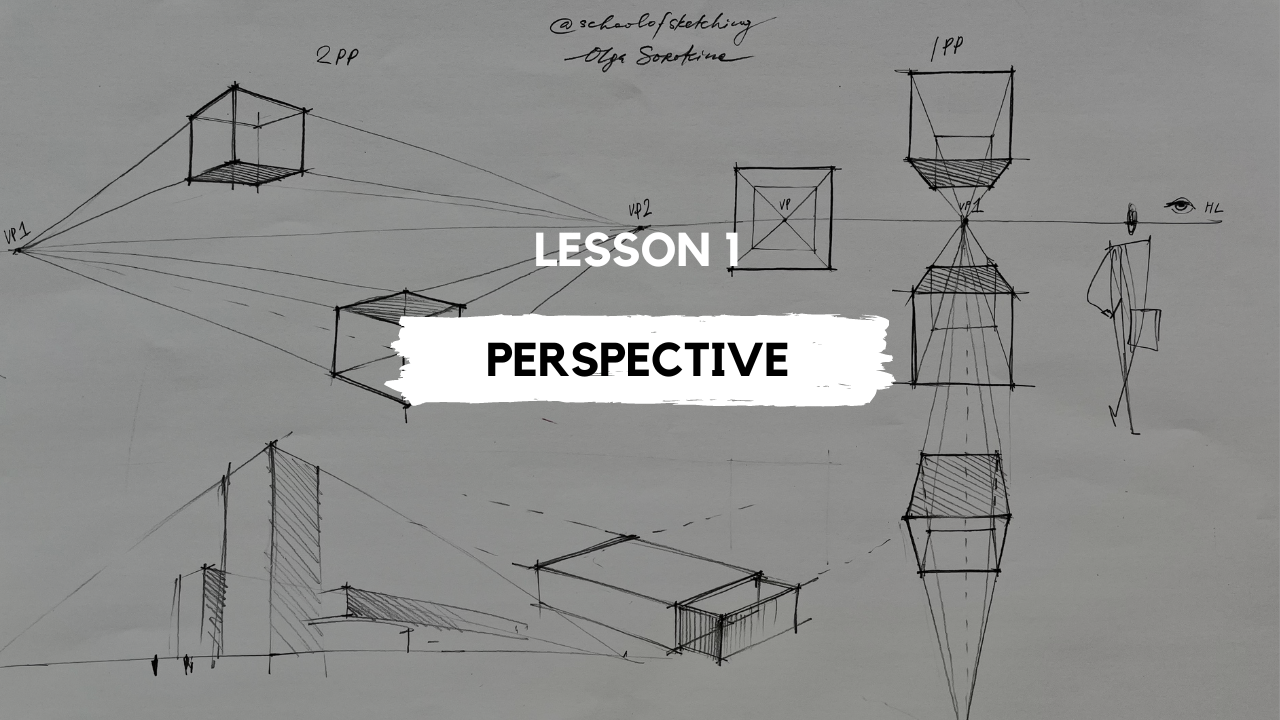
→ What Is Perspective Drawing? Two Most Important Types of Perspective
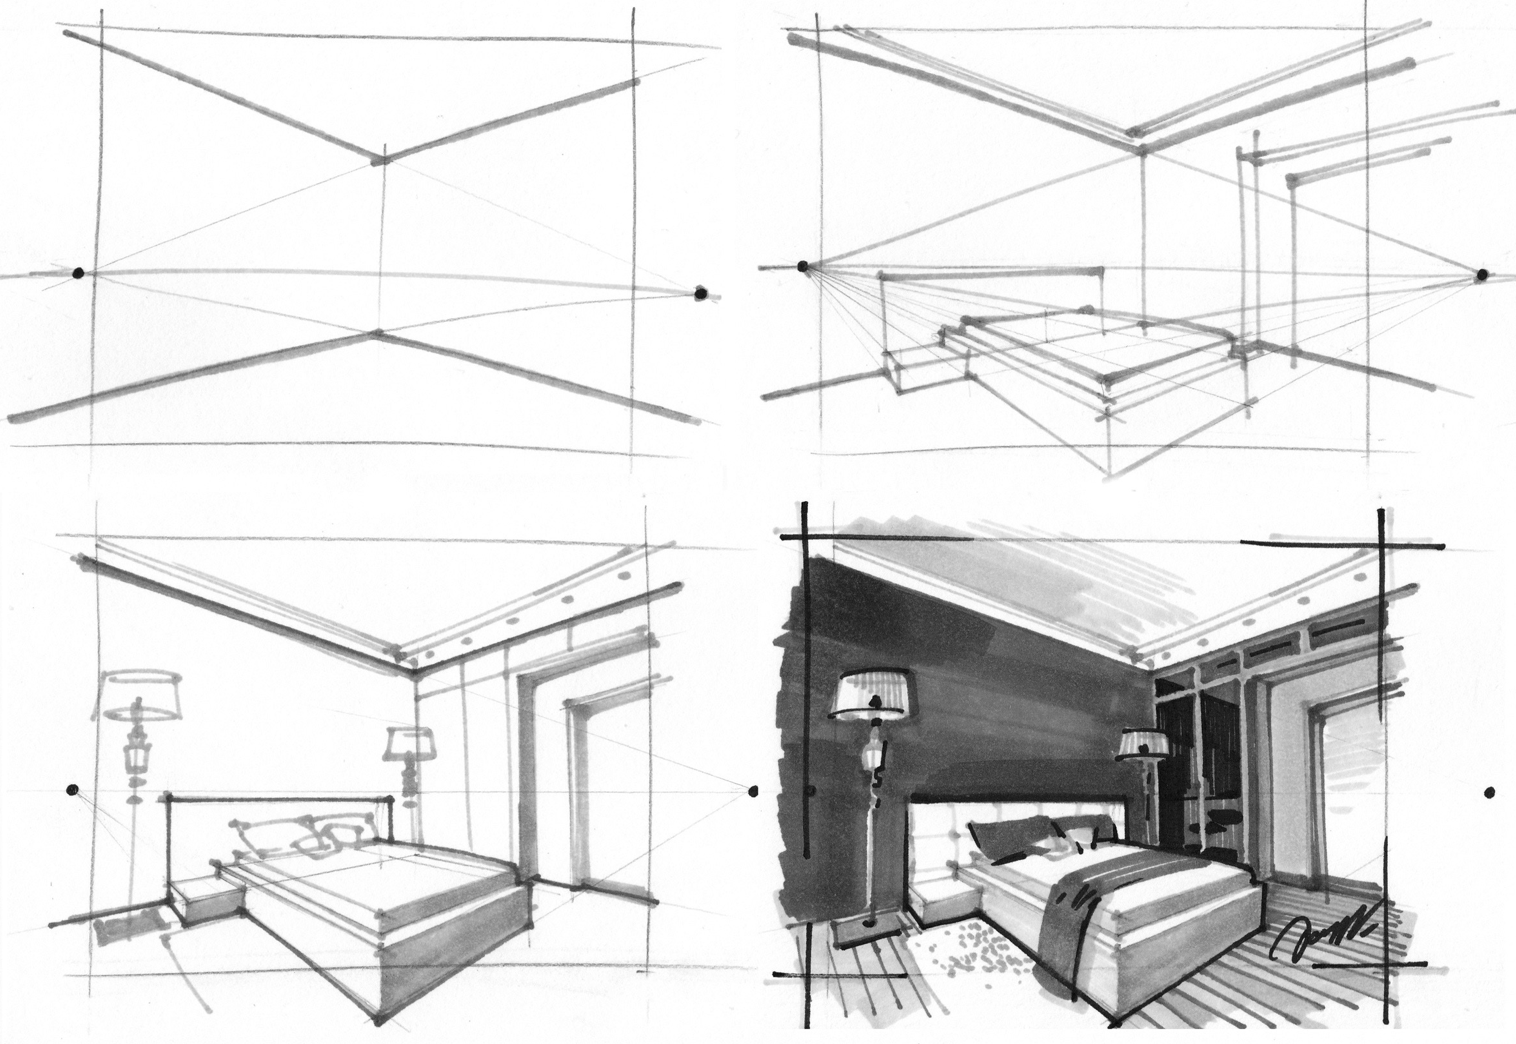
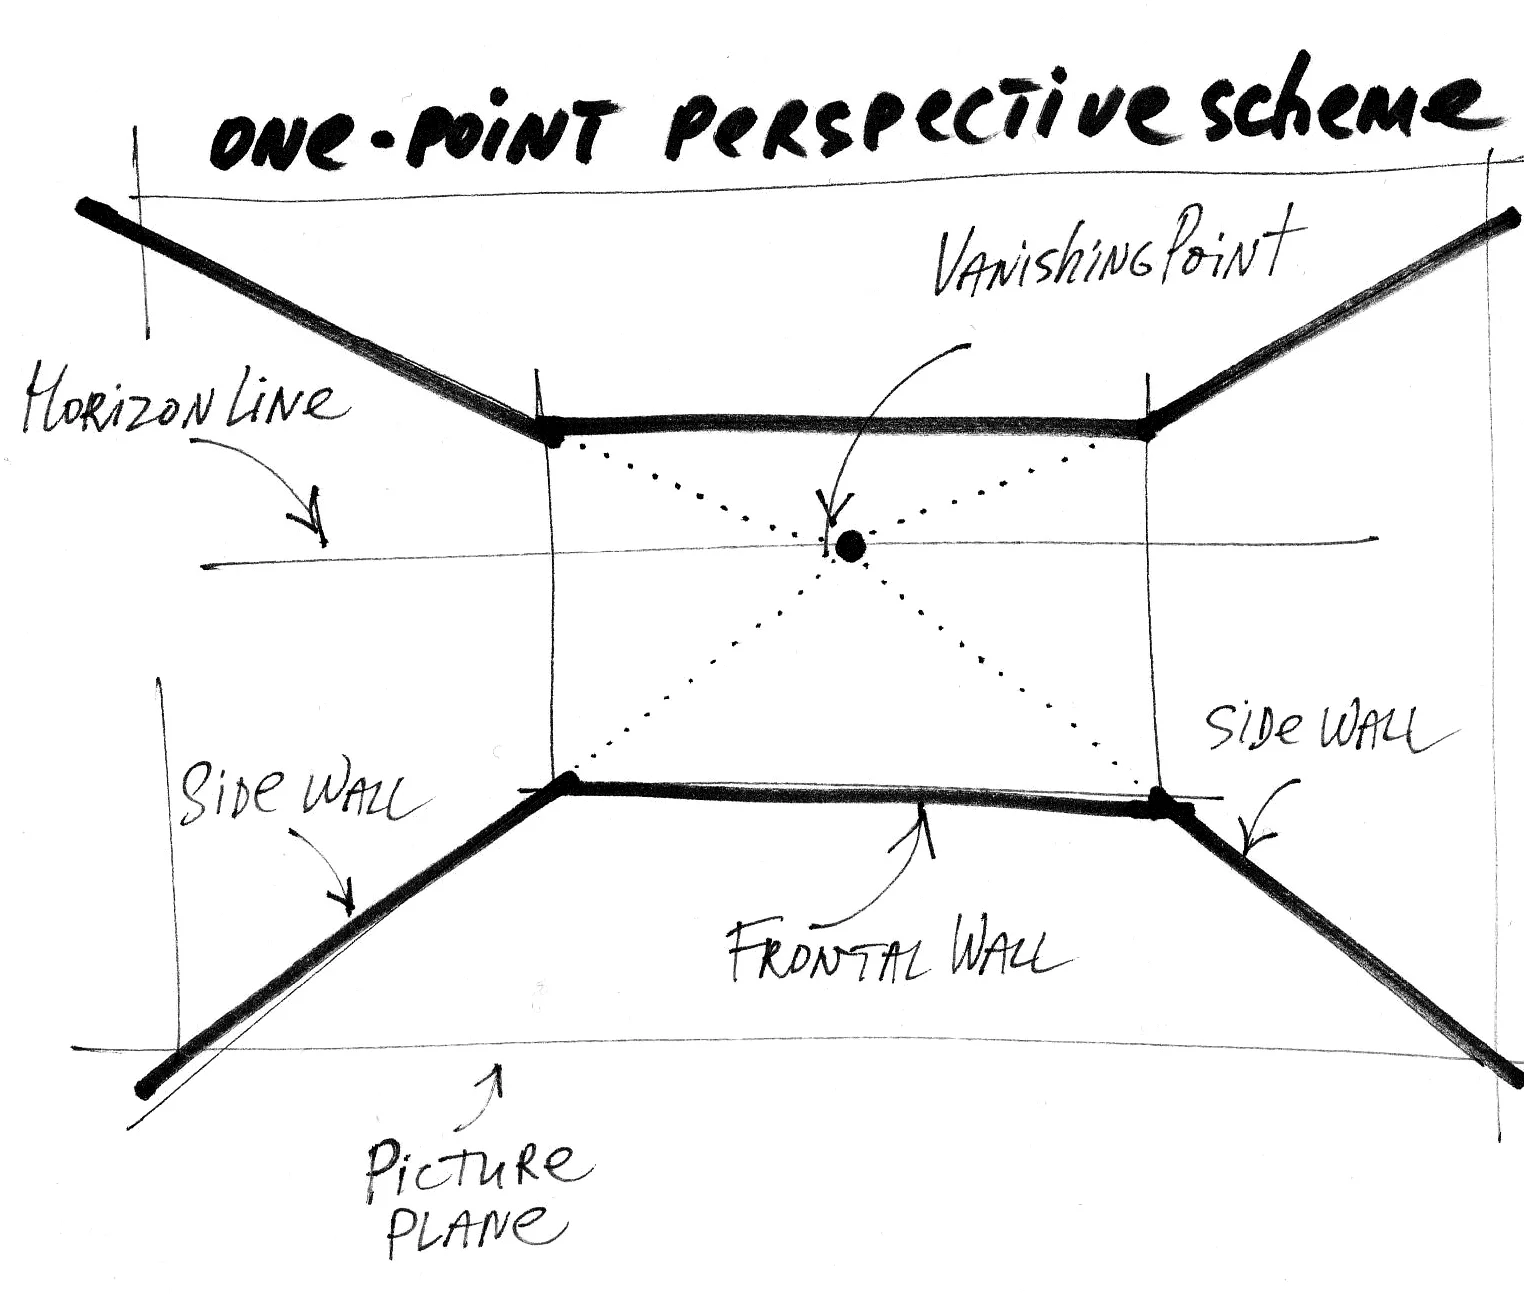
→ The 9 Principles of One-Point Perspective in Interior Sketching
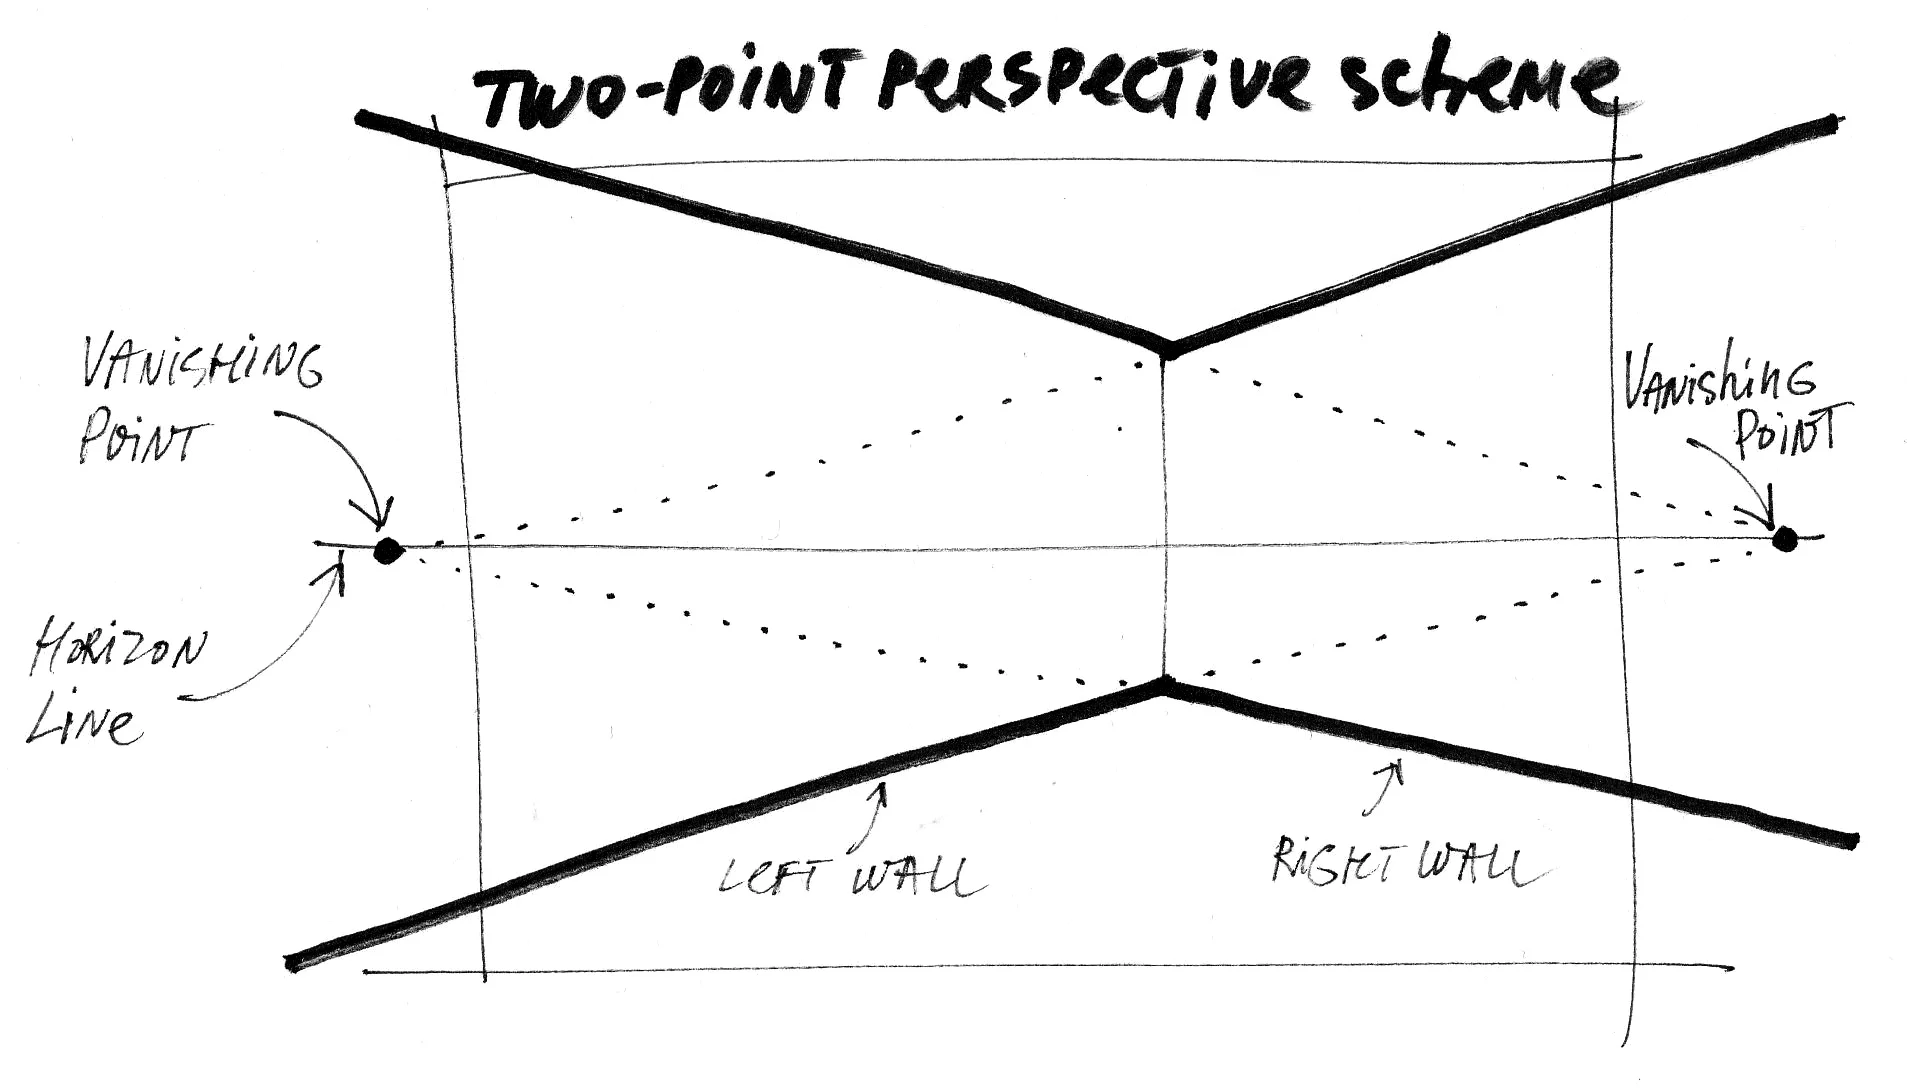
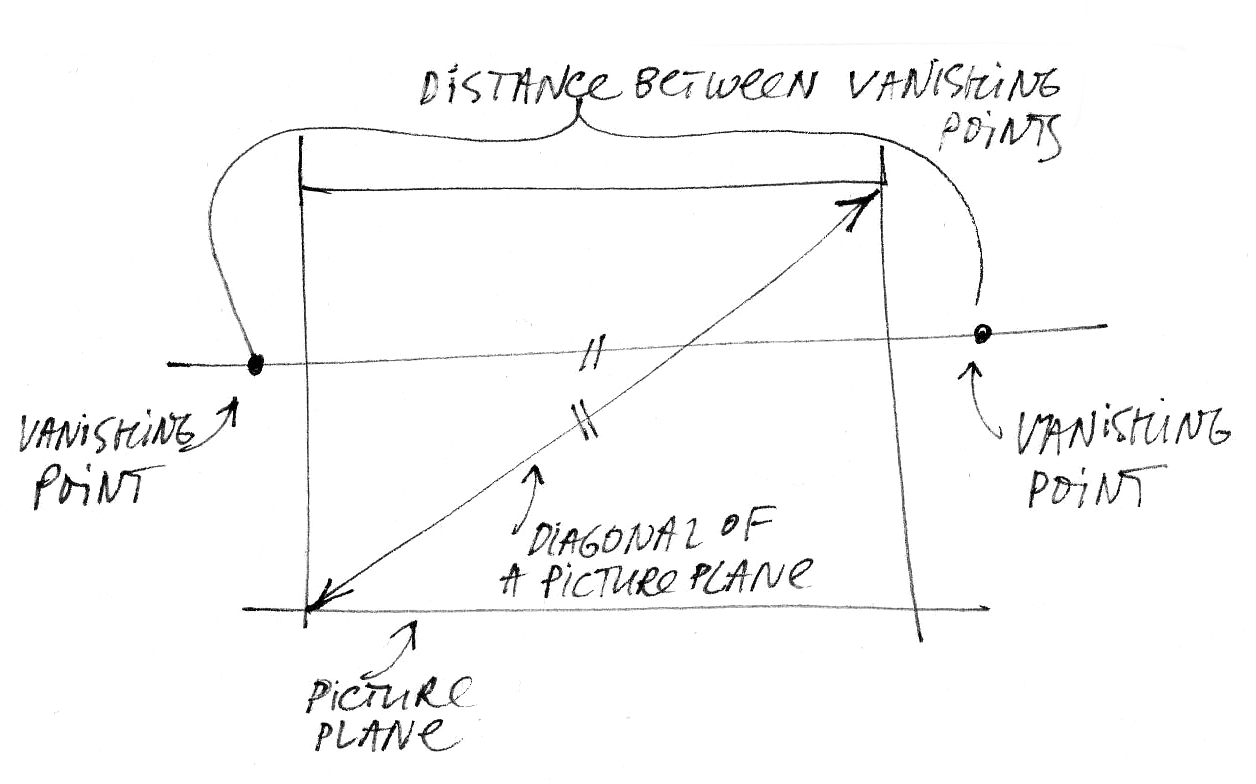
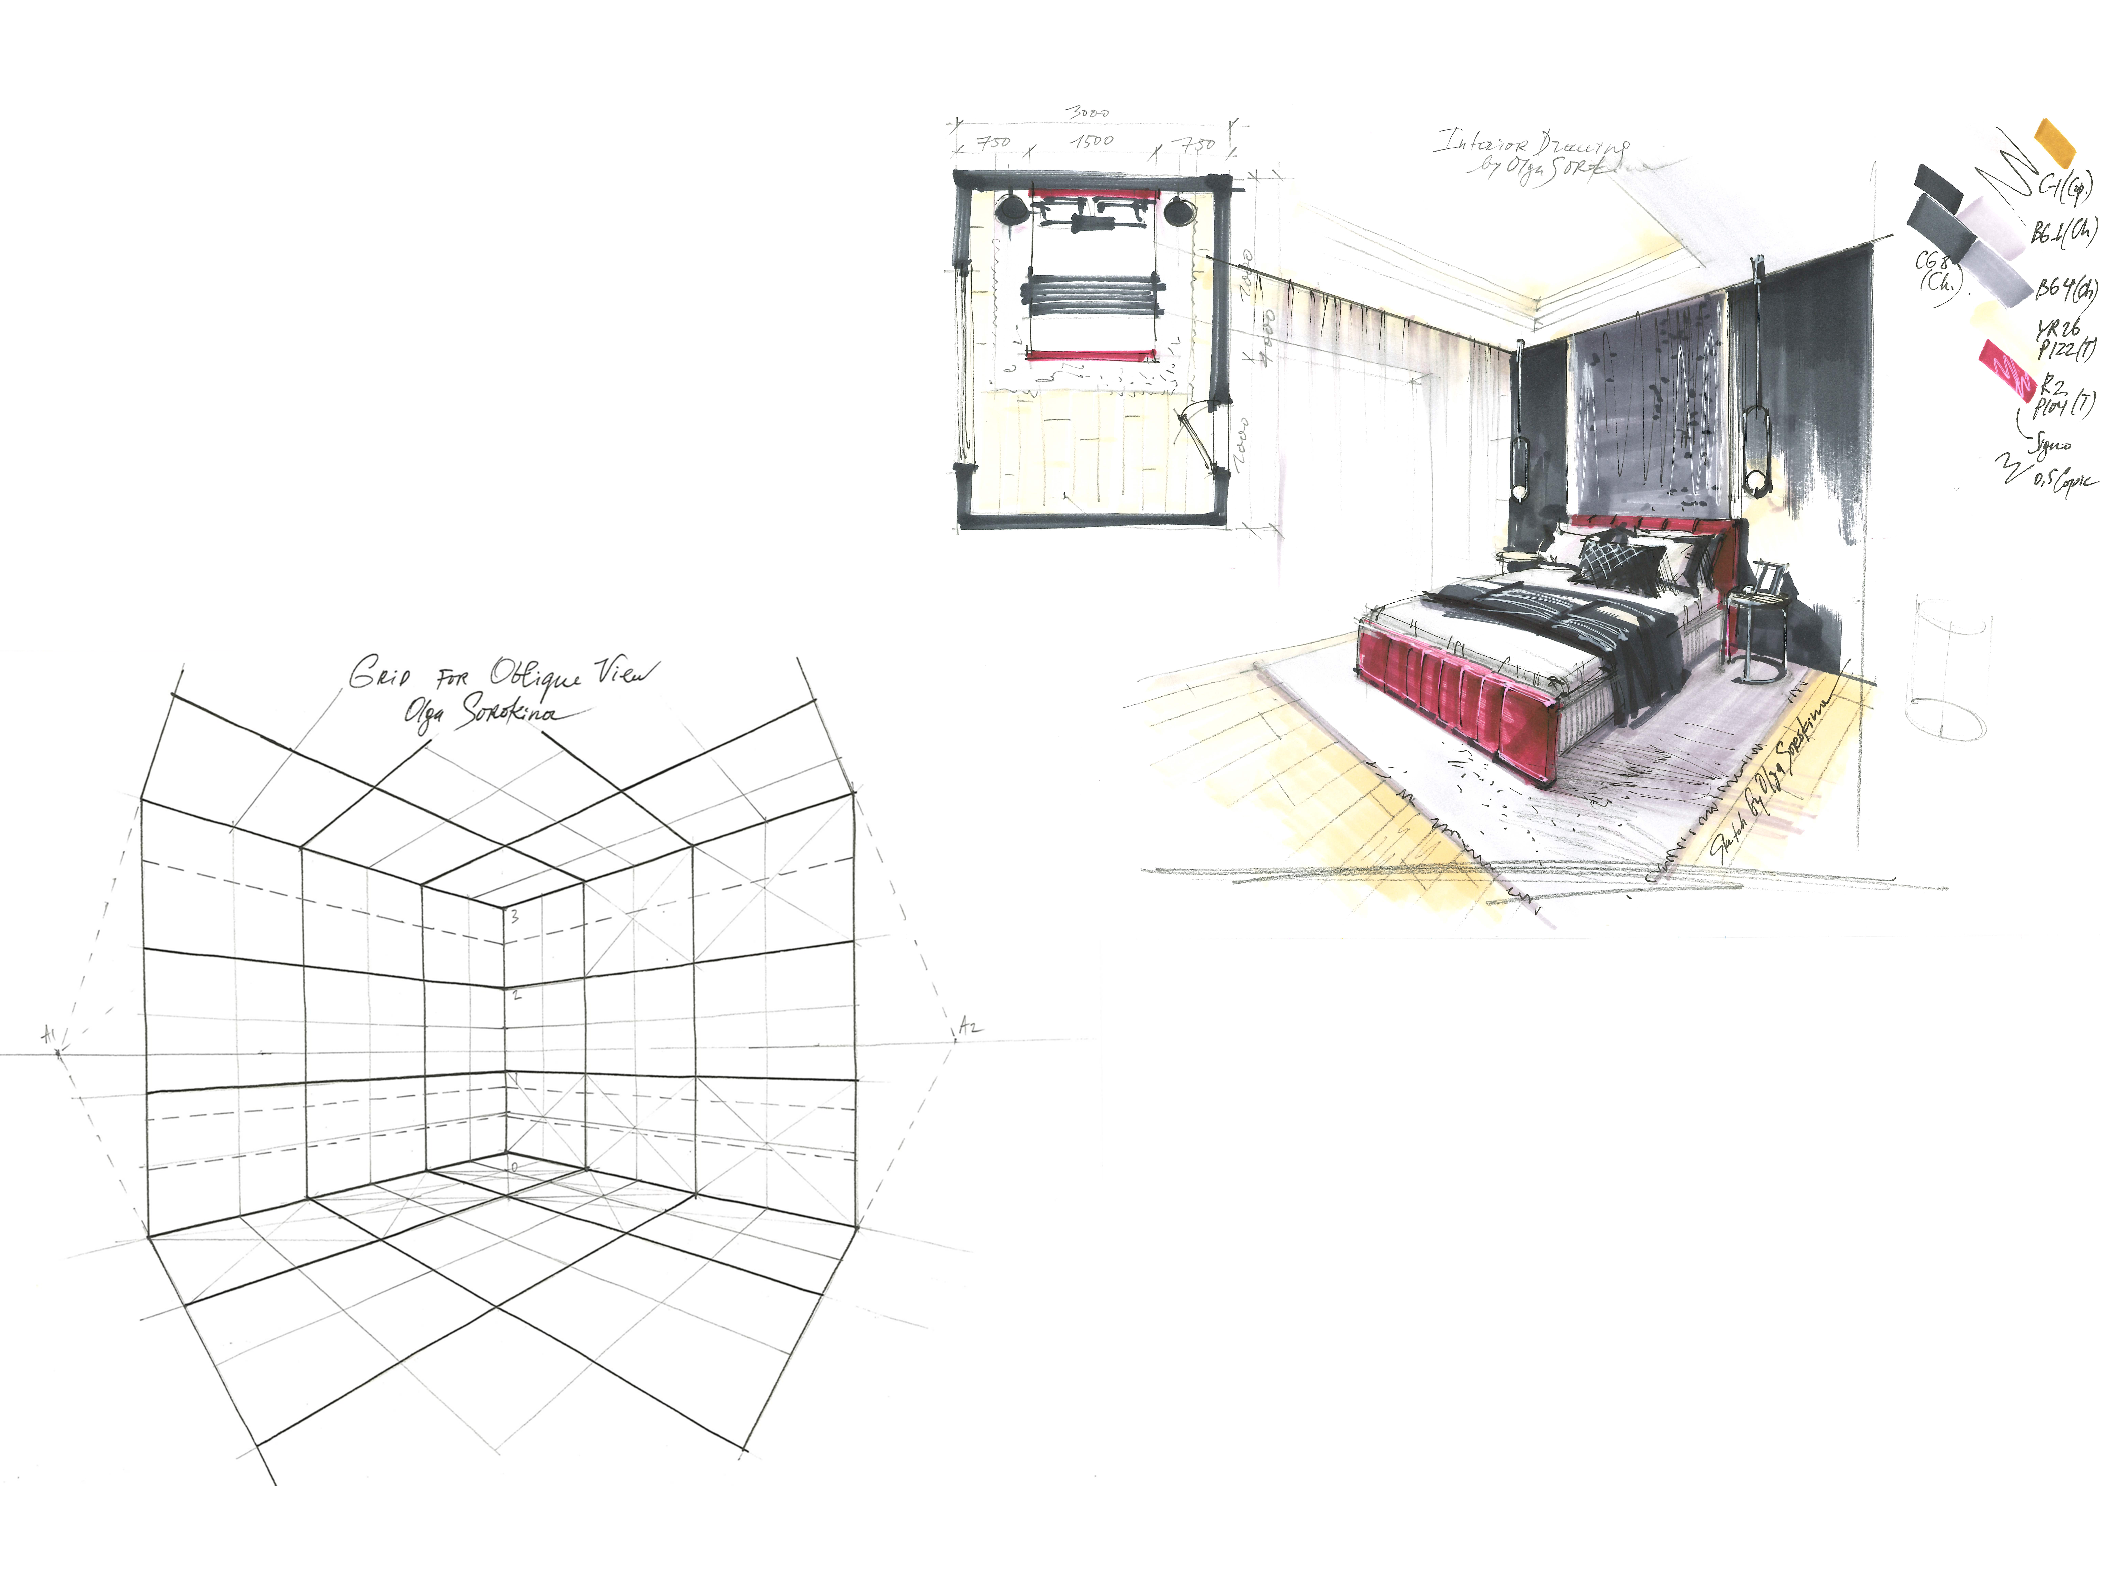
→ The 6 Principles of Two-Point Perspective in Interior Sketching
→ The 7 Types of Perspective Explained
→ Perspective Drawing for Beginners
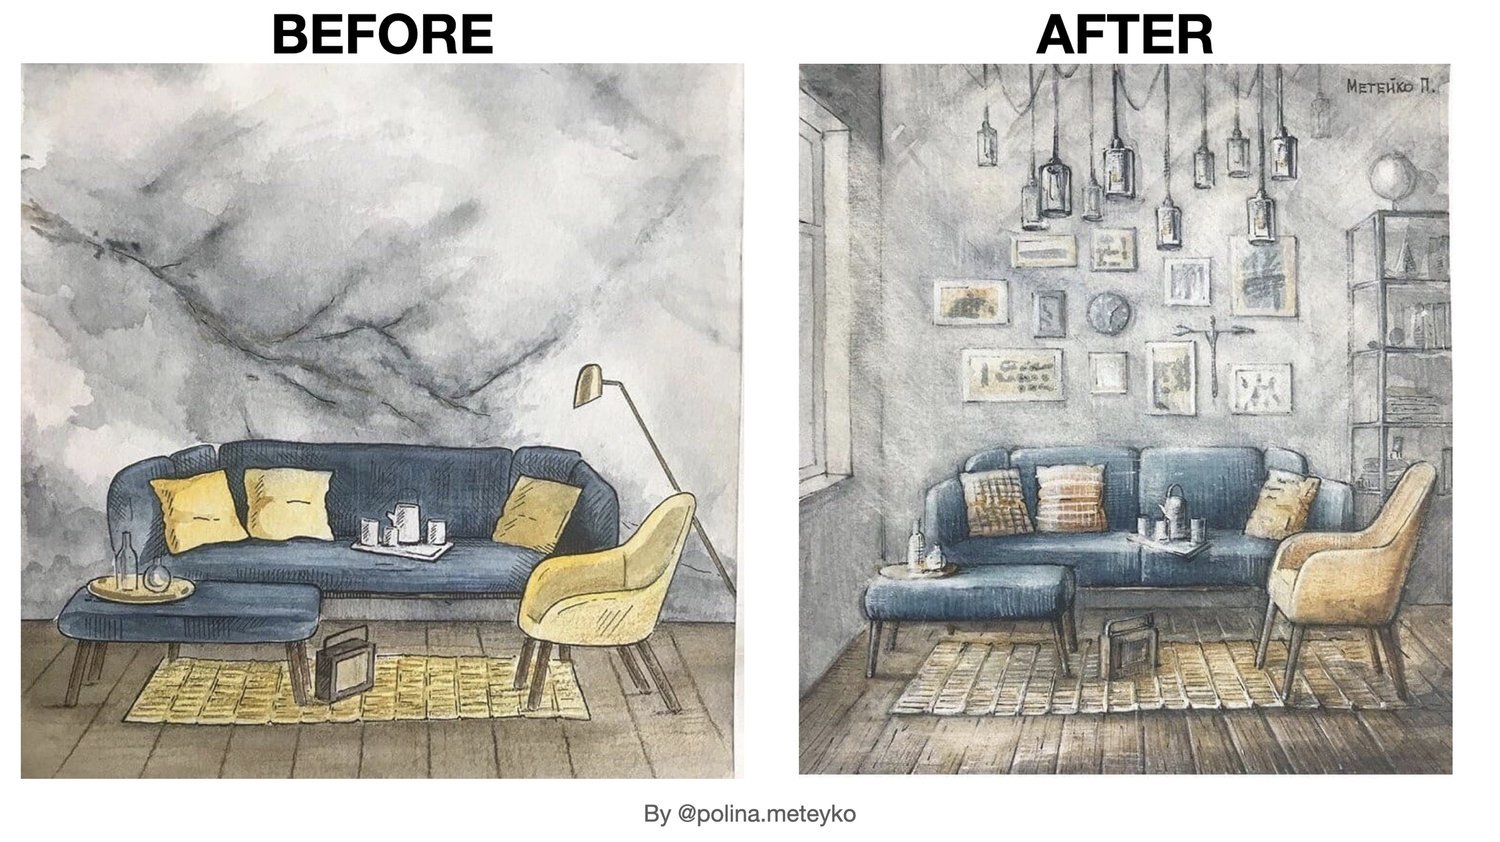
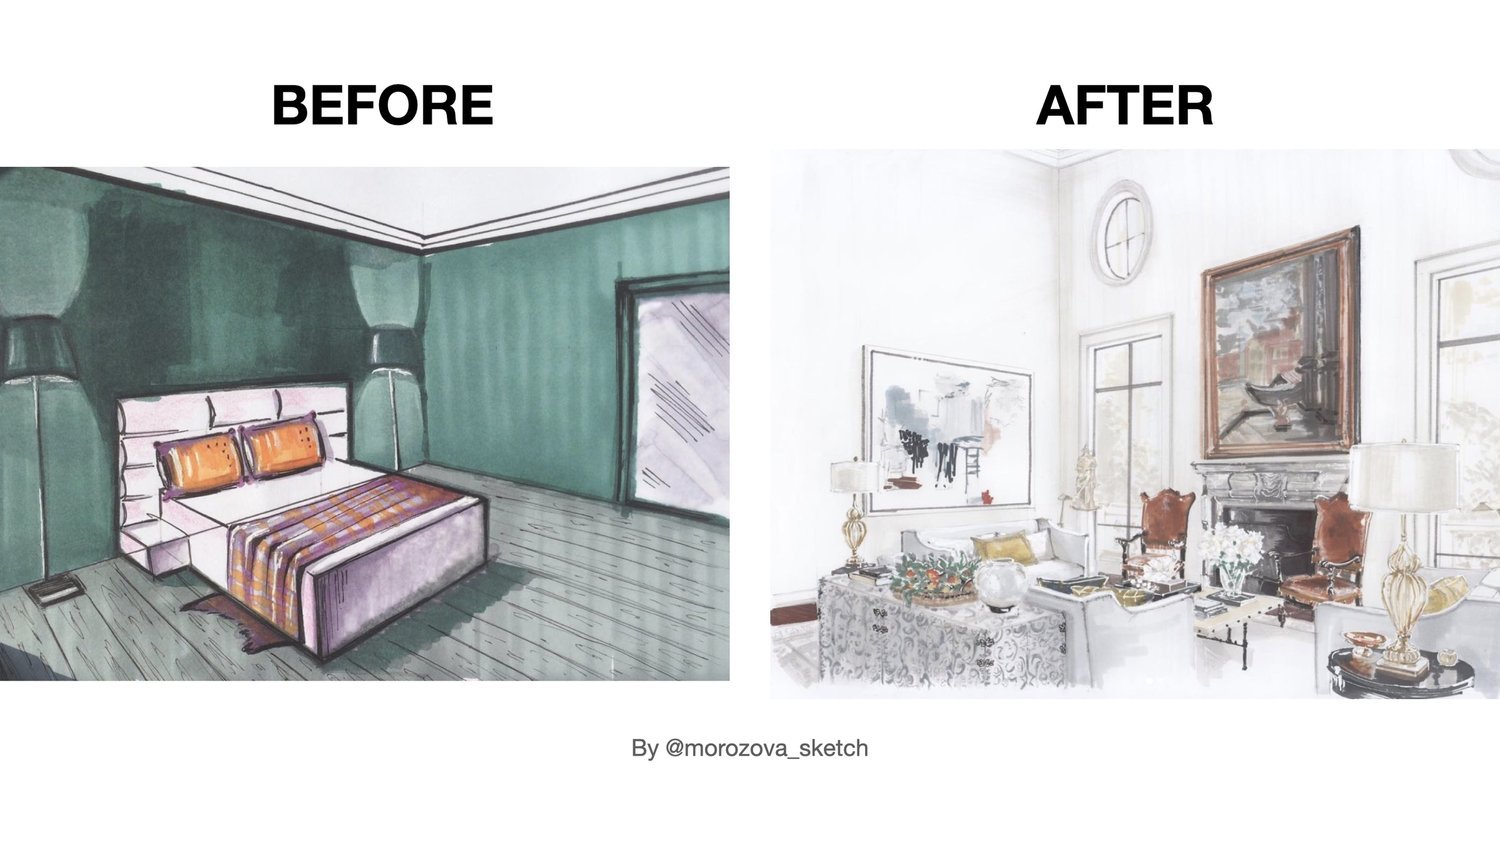
Perspective Exercises & Tutorials
• 2-Point Perspective Exercises for Beginners
• How to Draw a Bedroom in 2-Point Perspective
• Common Perspective Drawing Mistakes:
Perspective Drawing YouTube Playlists
Watch free perspective drawing tutorials on my YouTube:
Recommended Books
If you would like to study perspective more deeply, I recommend these books:
Frequently Asked Questions
Can anyone learn perspective drawing?
Yes. Perspective is a learnable skill, not an inborn talent. Like any design language, it becomes intuitive through consistent practice and the right guidance.
How long does it take to learn perspective?
Most students begin understanding the fundamentals within a few weeks. Developing confidence comes through regular sketching and applying perspective to real interior spaces.
Do interior designers still sketch by hand?
Absolutely. Hand sketching remains one of the fastest and most effective ways to explore ideas, communicate with clients and develop creative thinking. Digital tools and AI have changed the workflow, but they have not replaced the designer's ability to think visually.
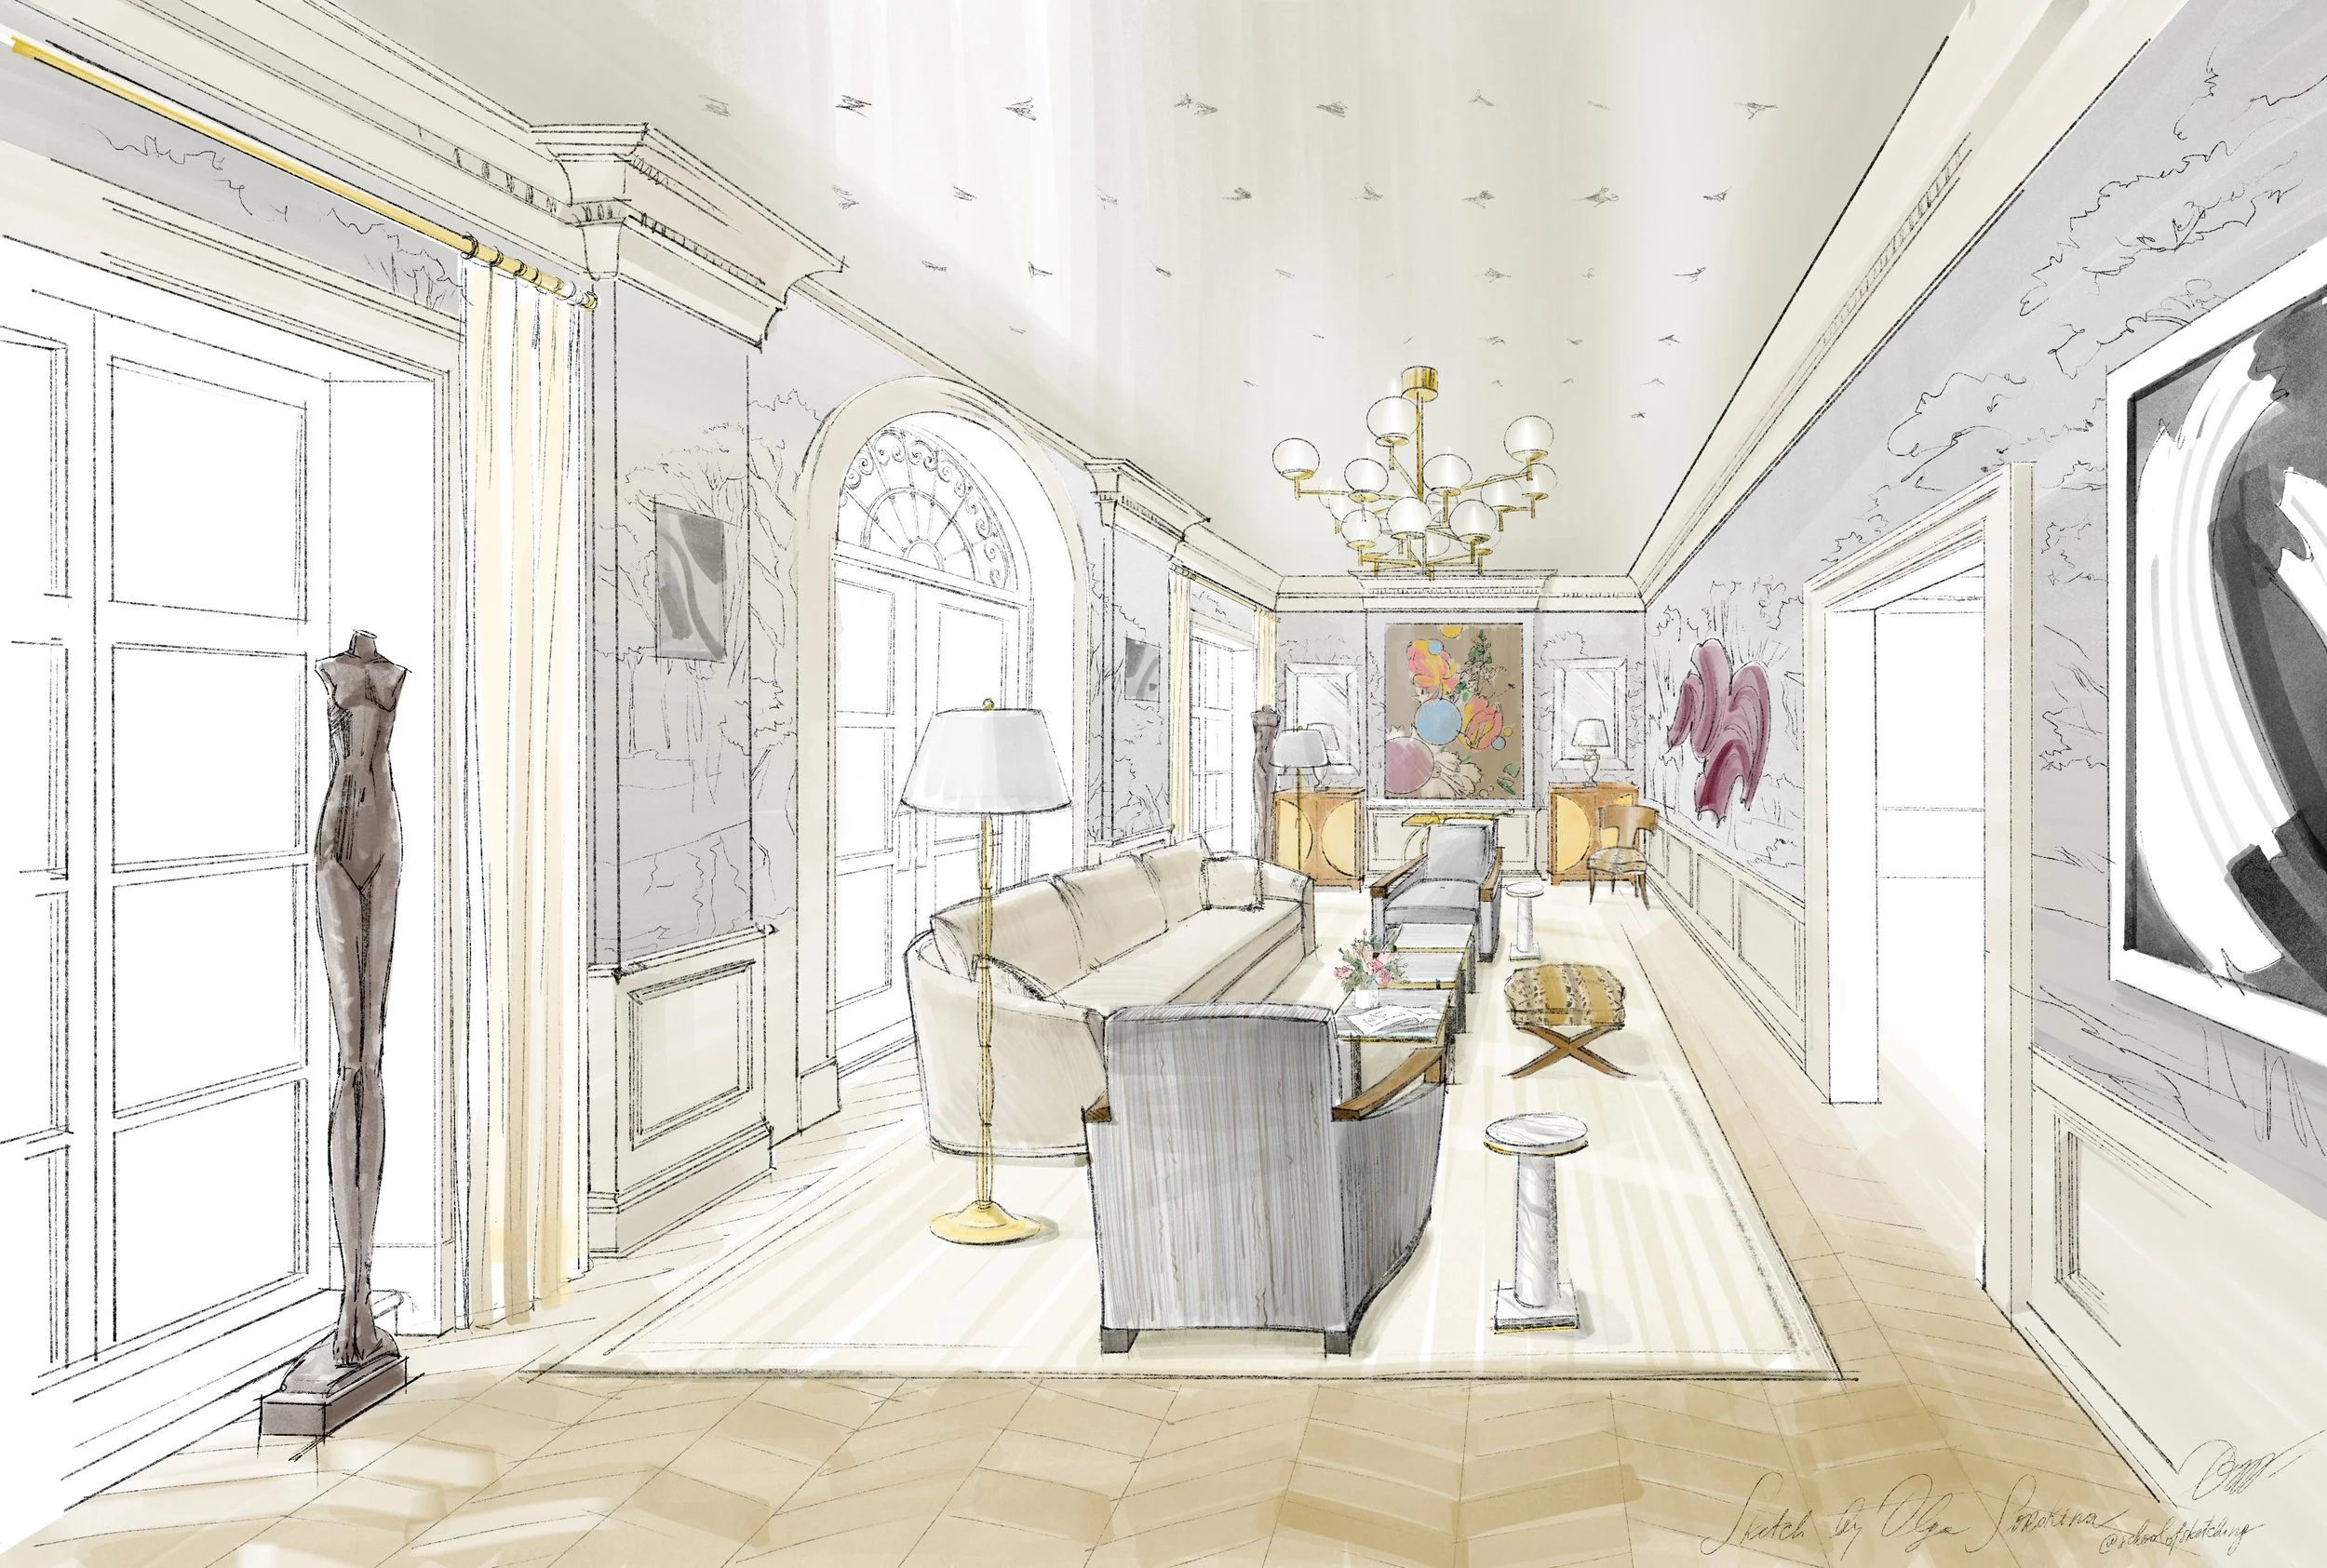
Can AI replace perspective drawing?
AI can generate images, but it cannot replace the spatial thinking, design reasoning and creative decision-making that perspective drawing develops. Sketching is not simply about producing an image. It is about understanding space.
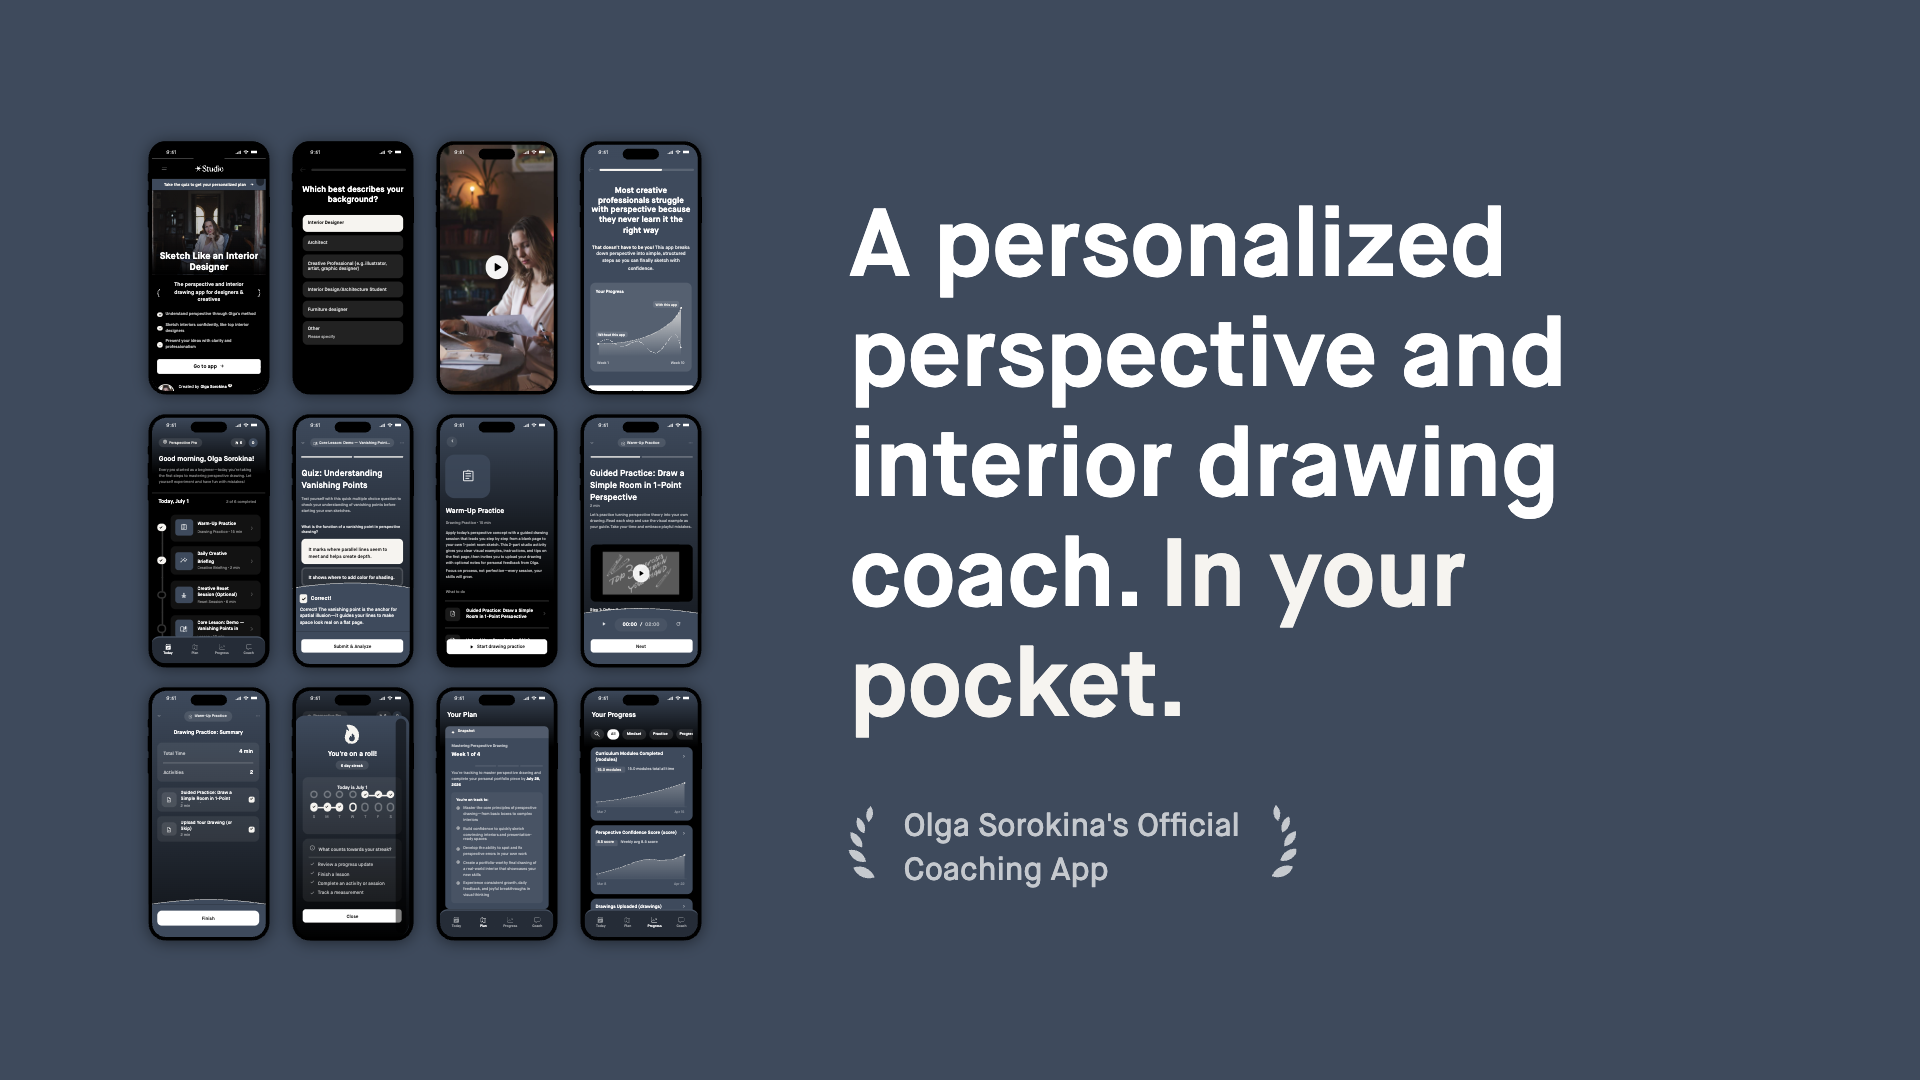
Continue Your Learning
If you're ready to go beyond free tutorials, explore my complete educational resources:
• 7-Day Perspective Drawing Essentials Online Course
• Interior Sketching Course “BASE“
• Complete Interior Sketching Mastery Program (TRIO)
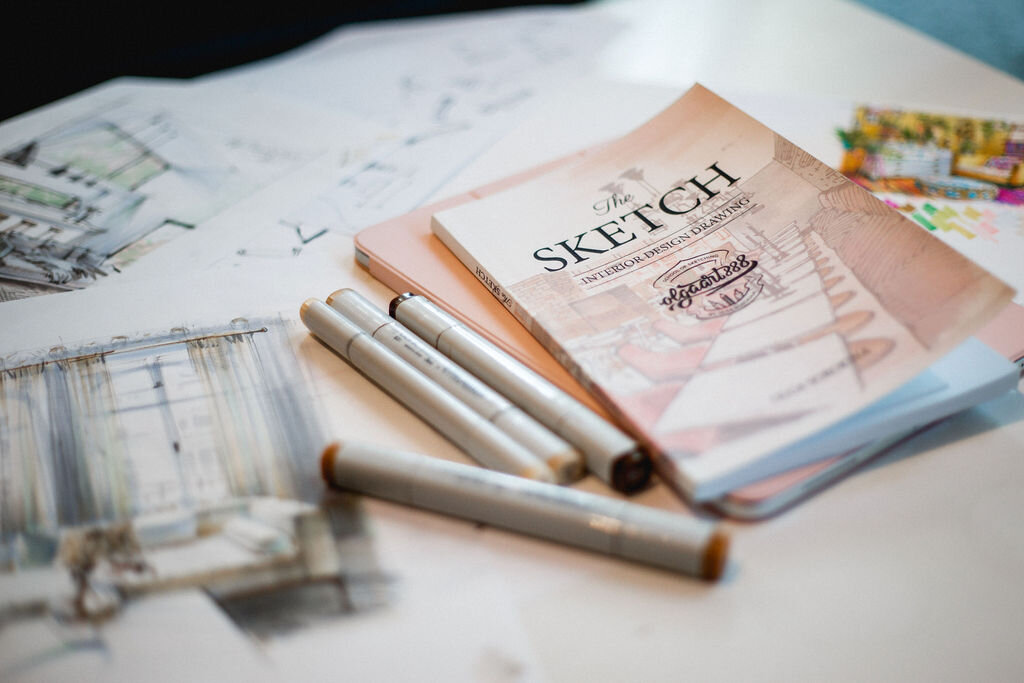
• The SKETCH. Interior Design Drawing (PDF book)
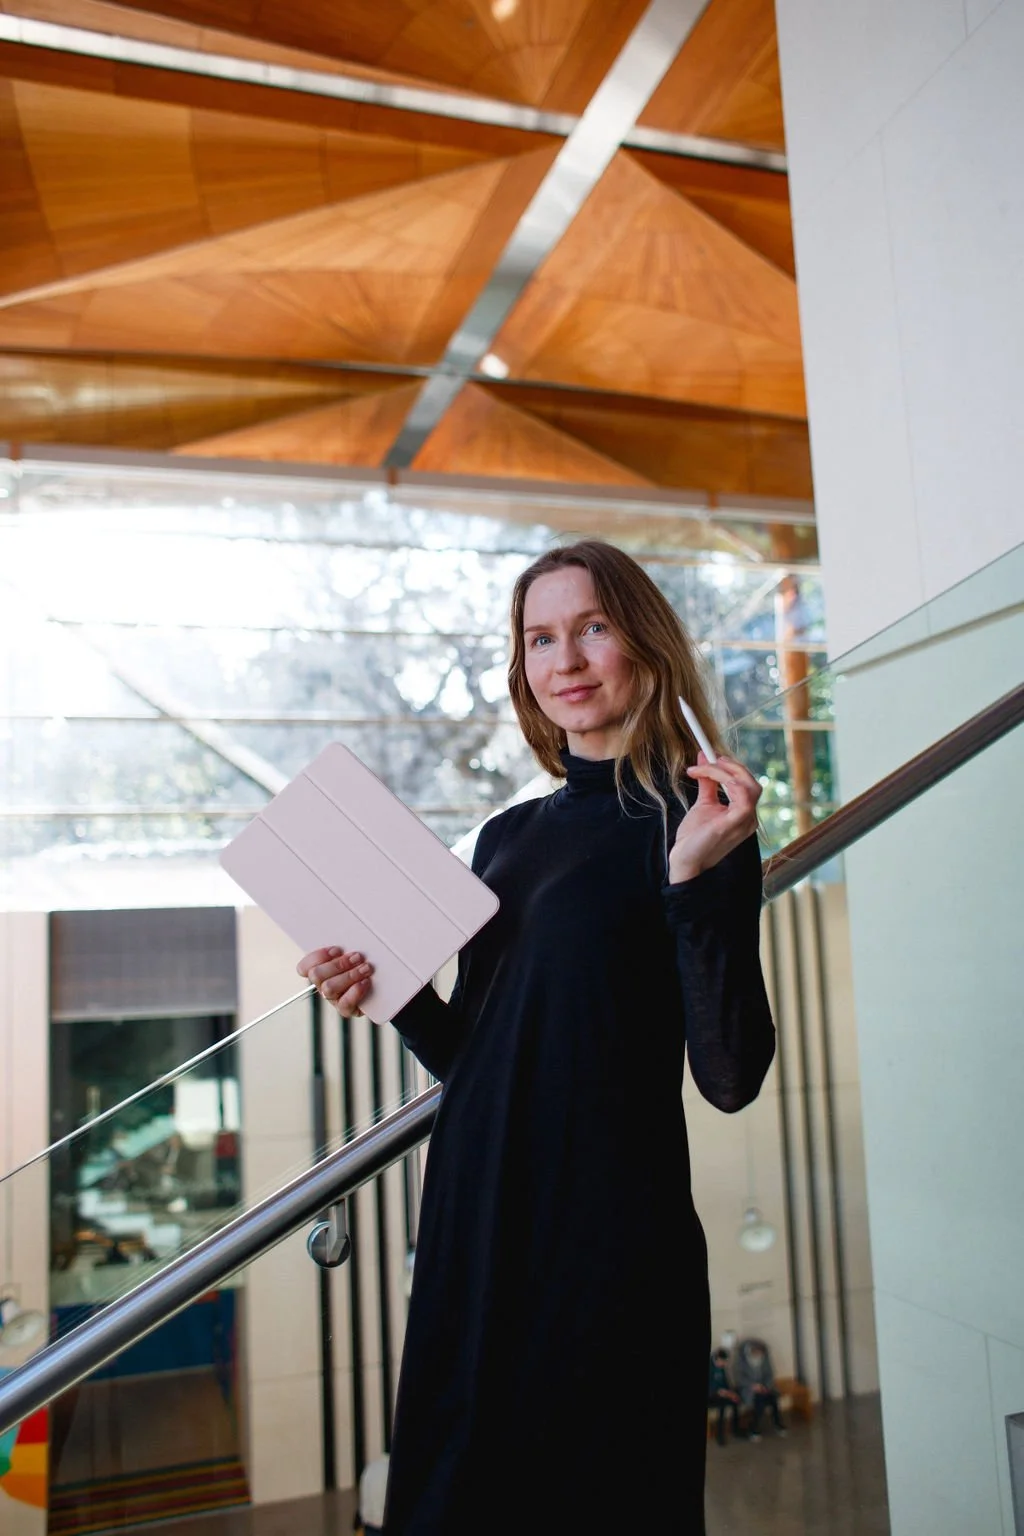
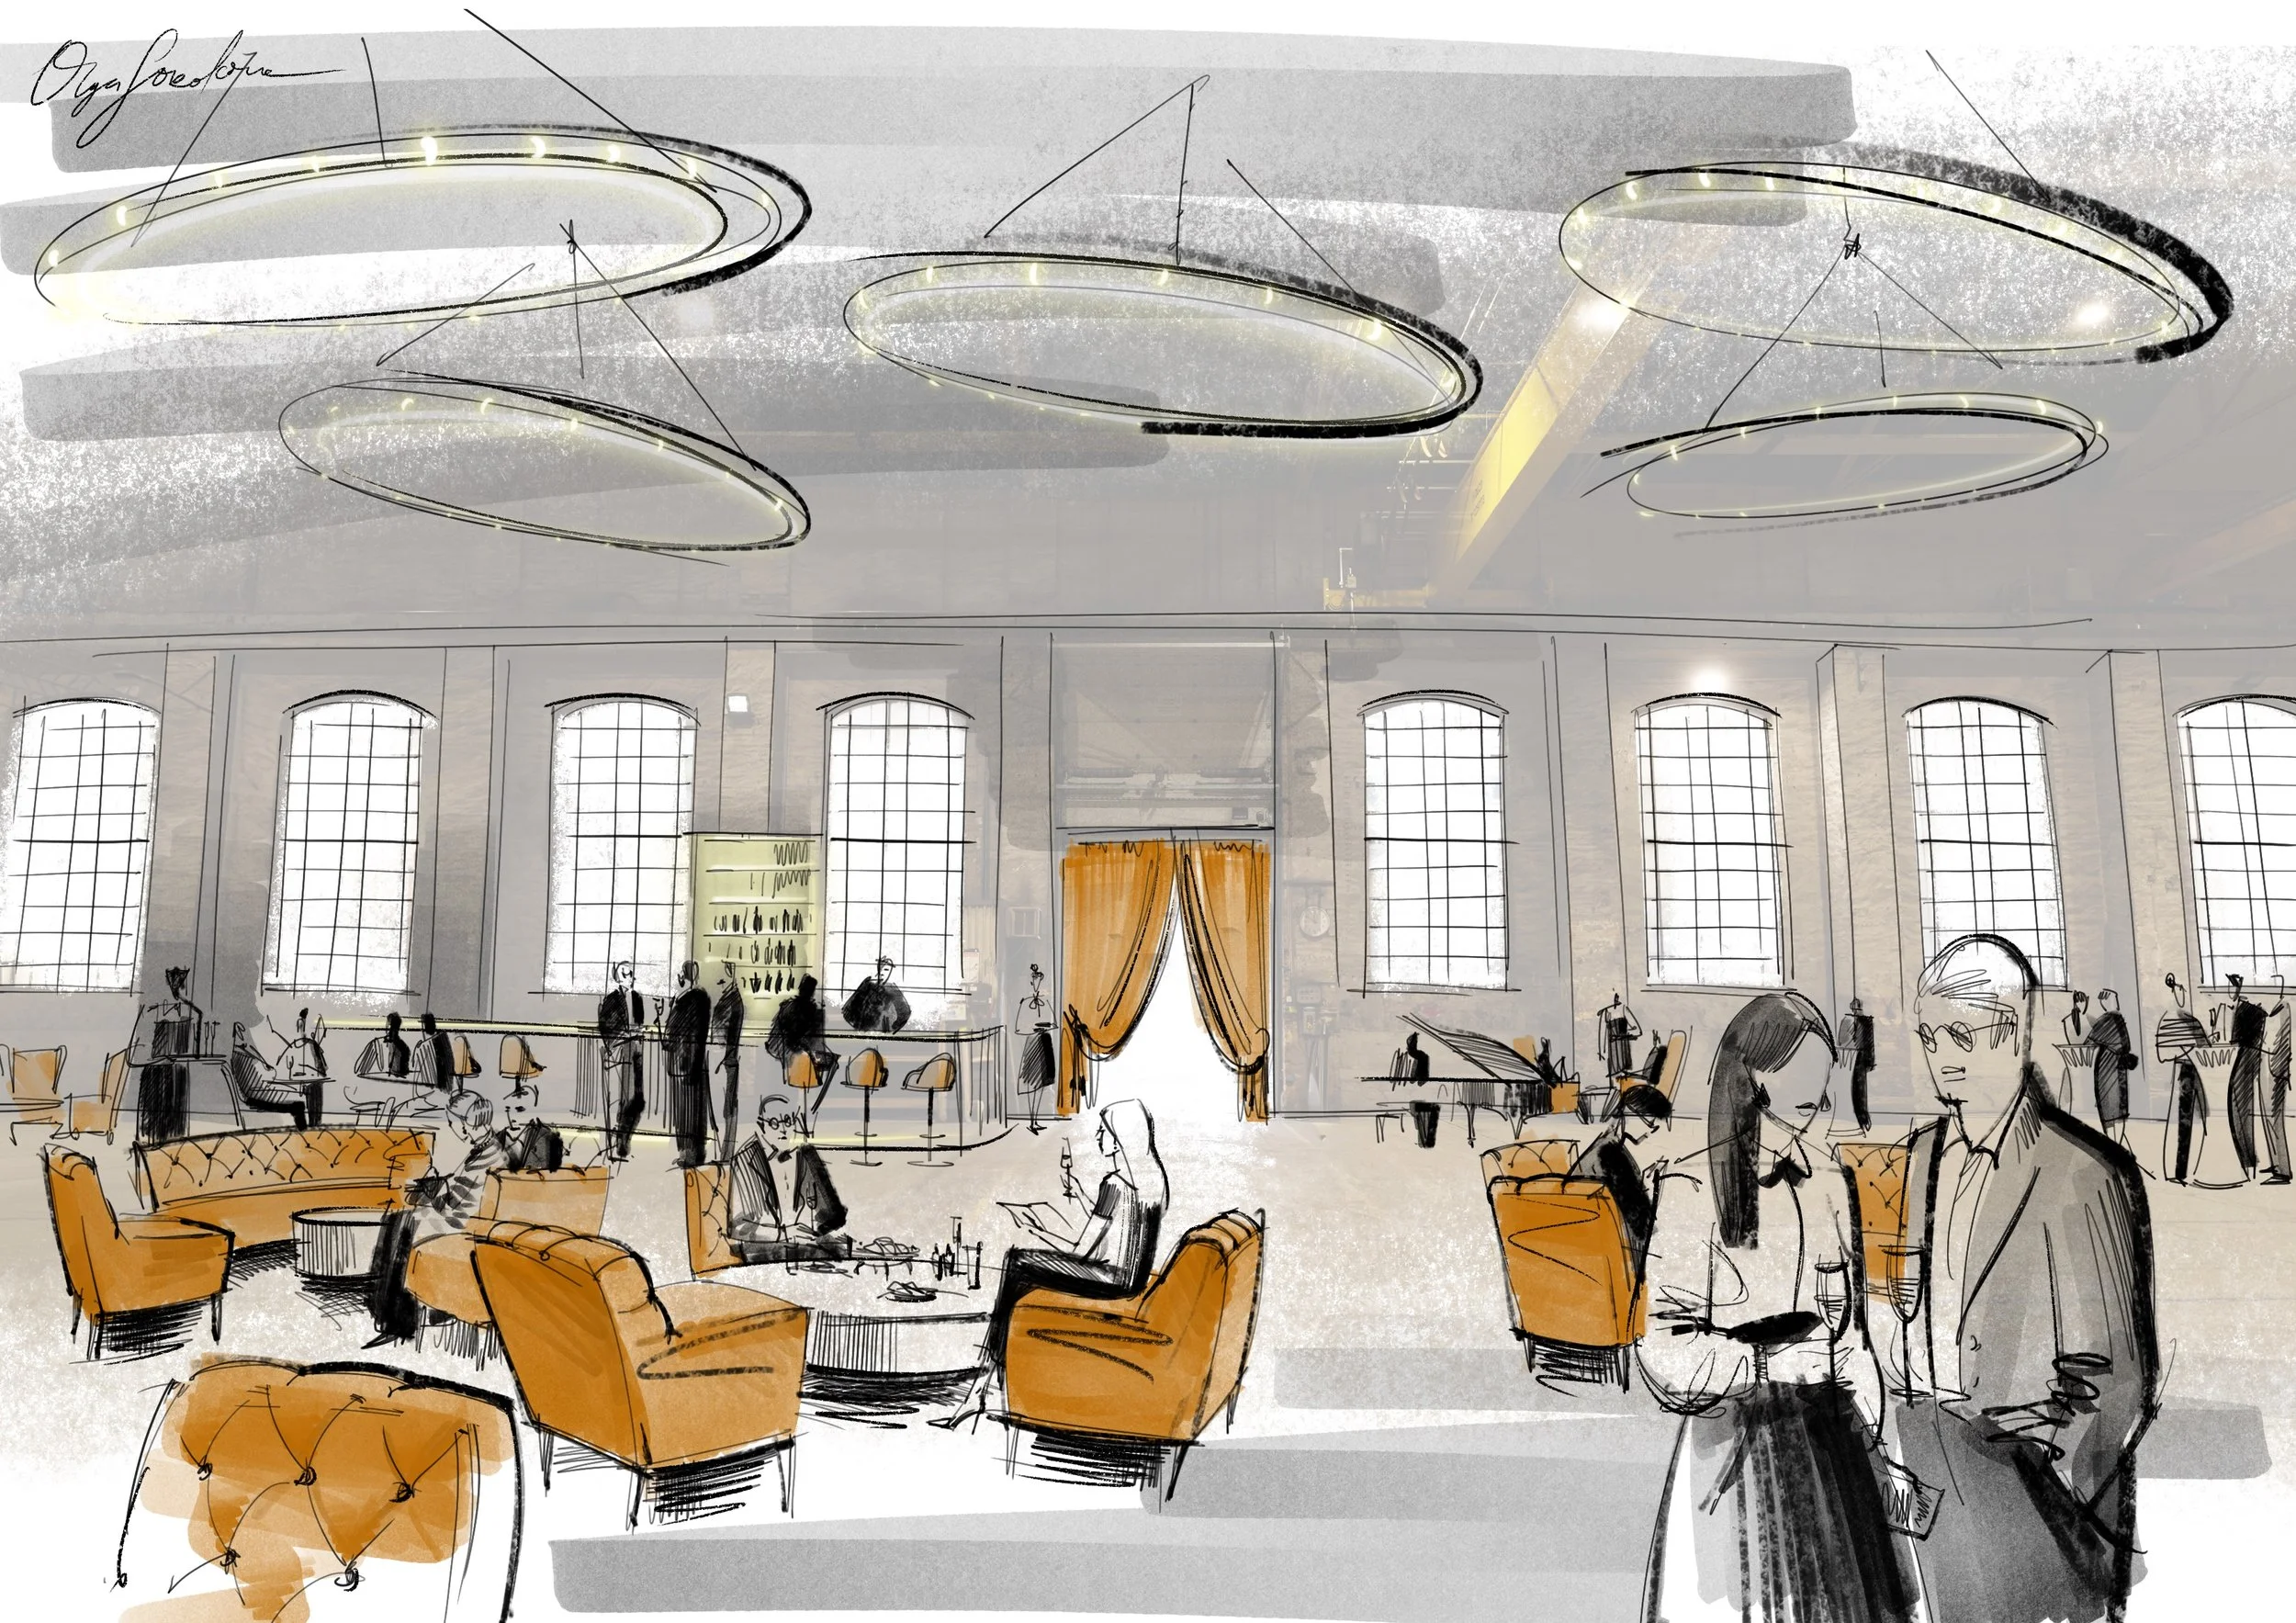
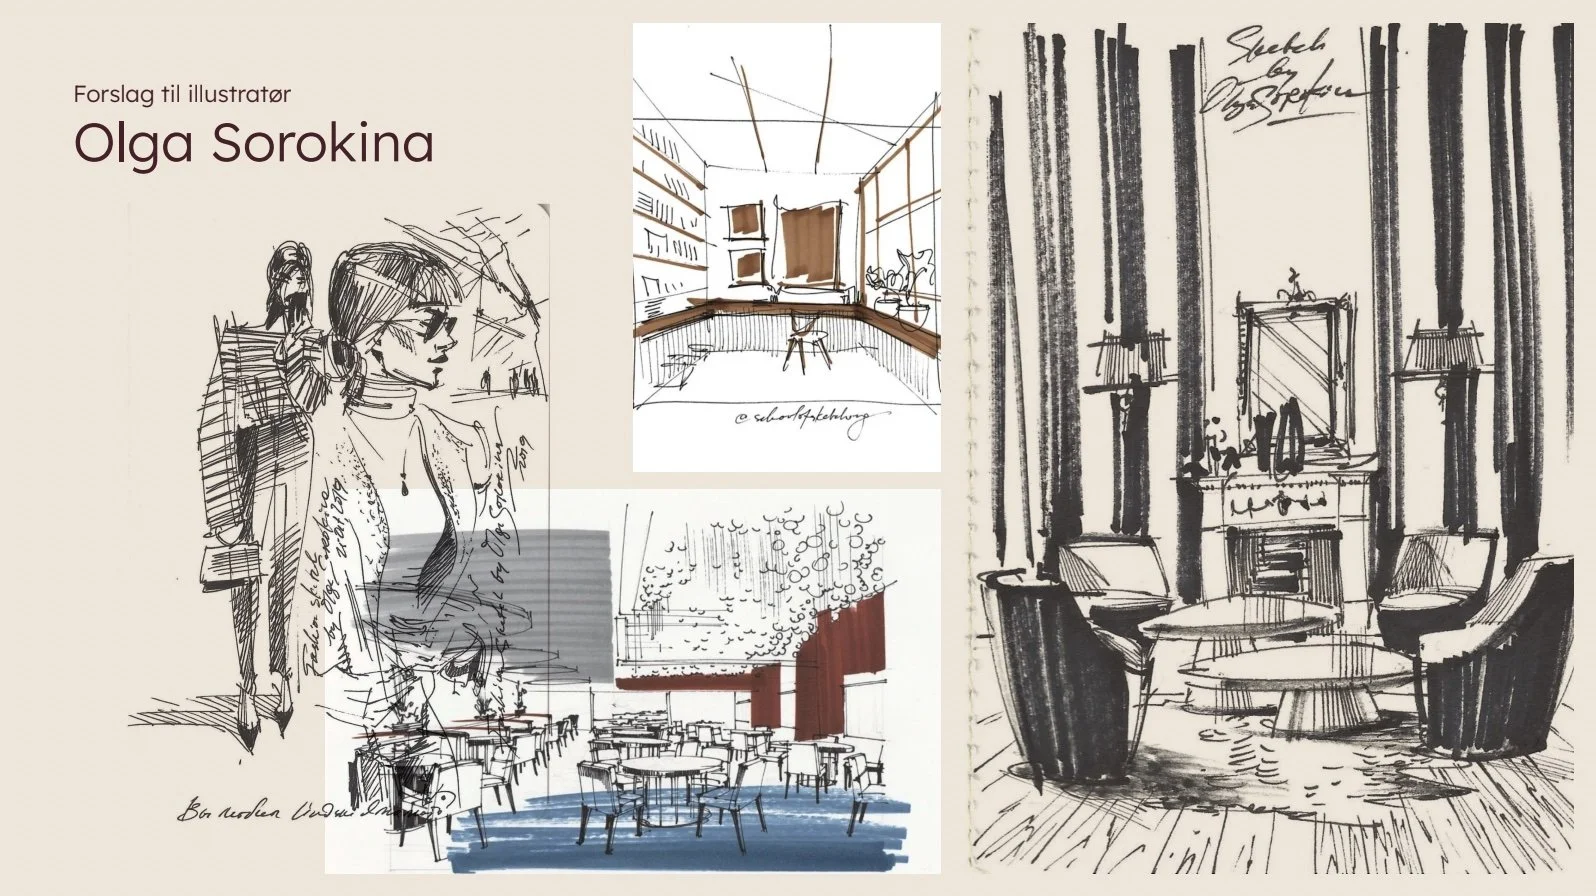
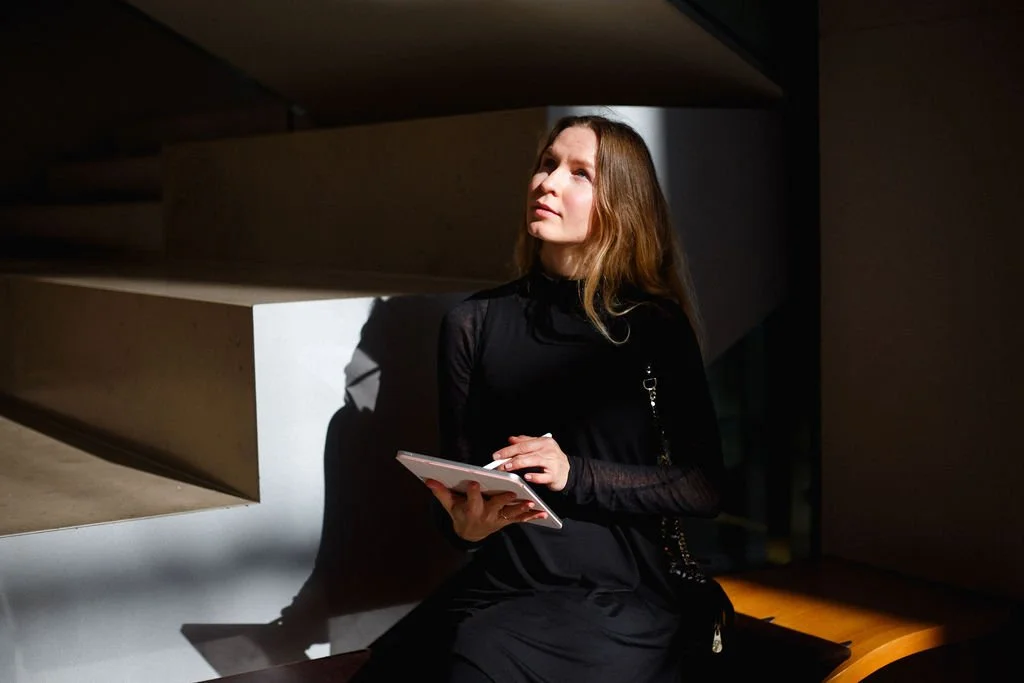
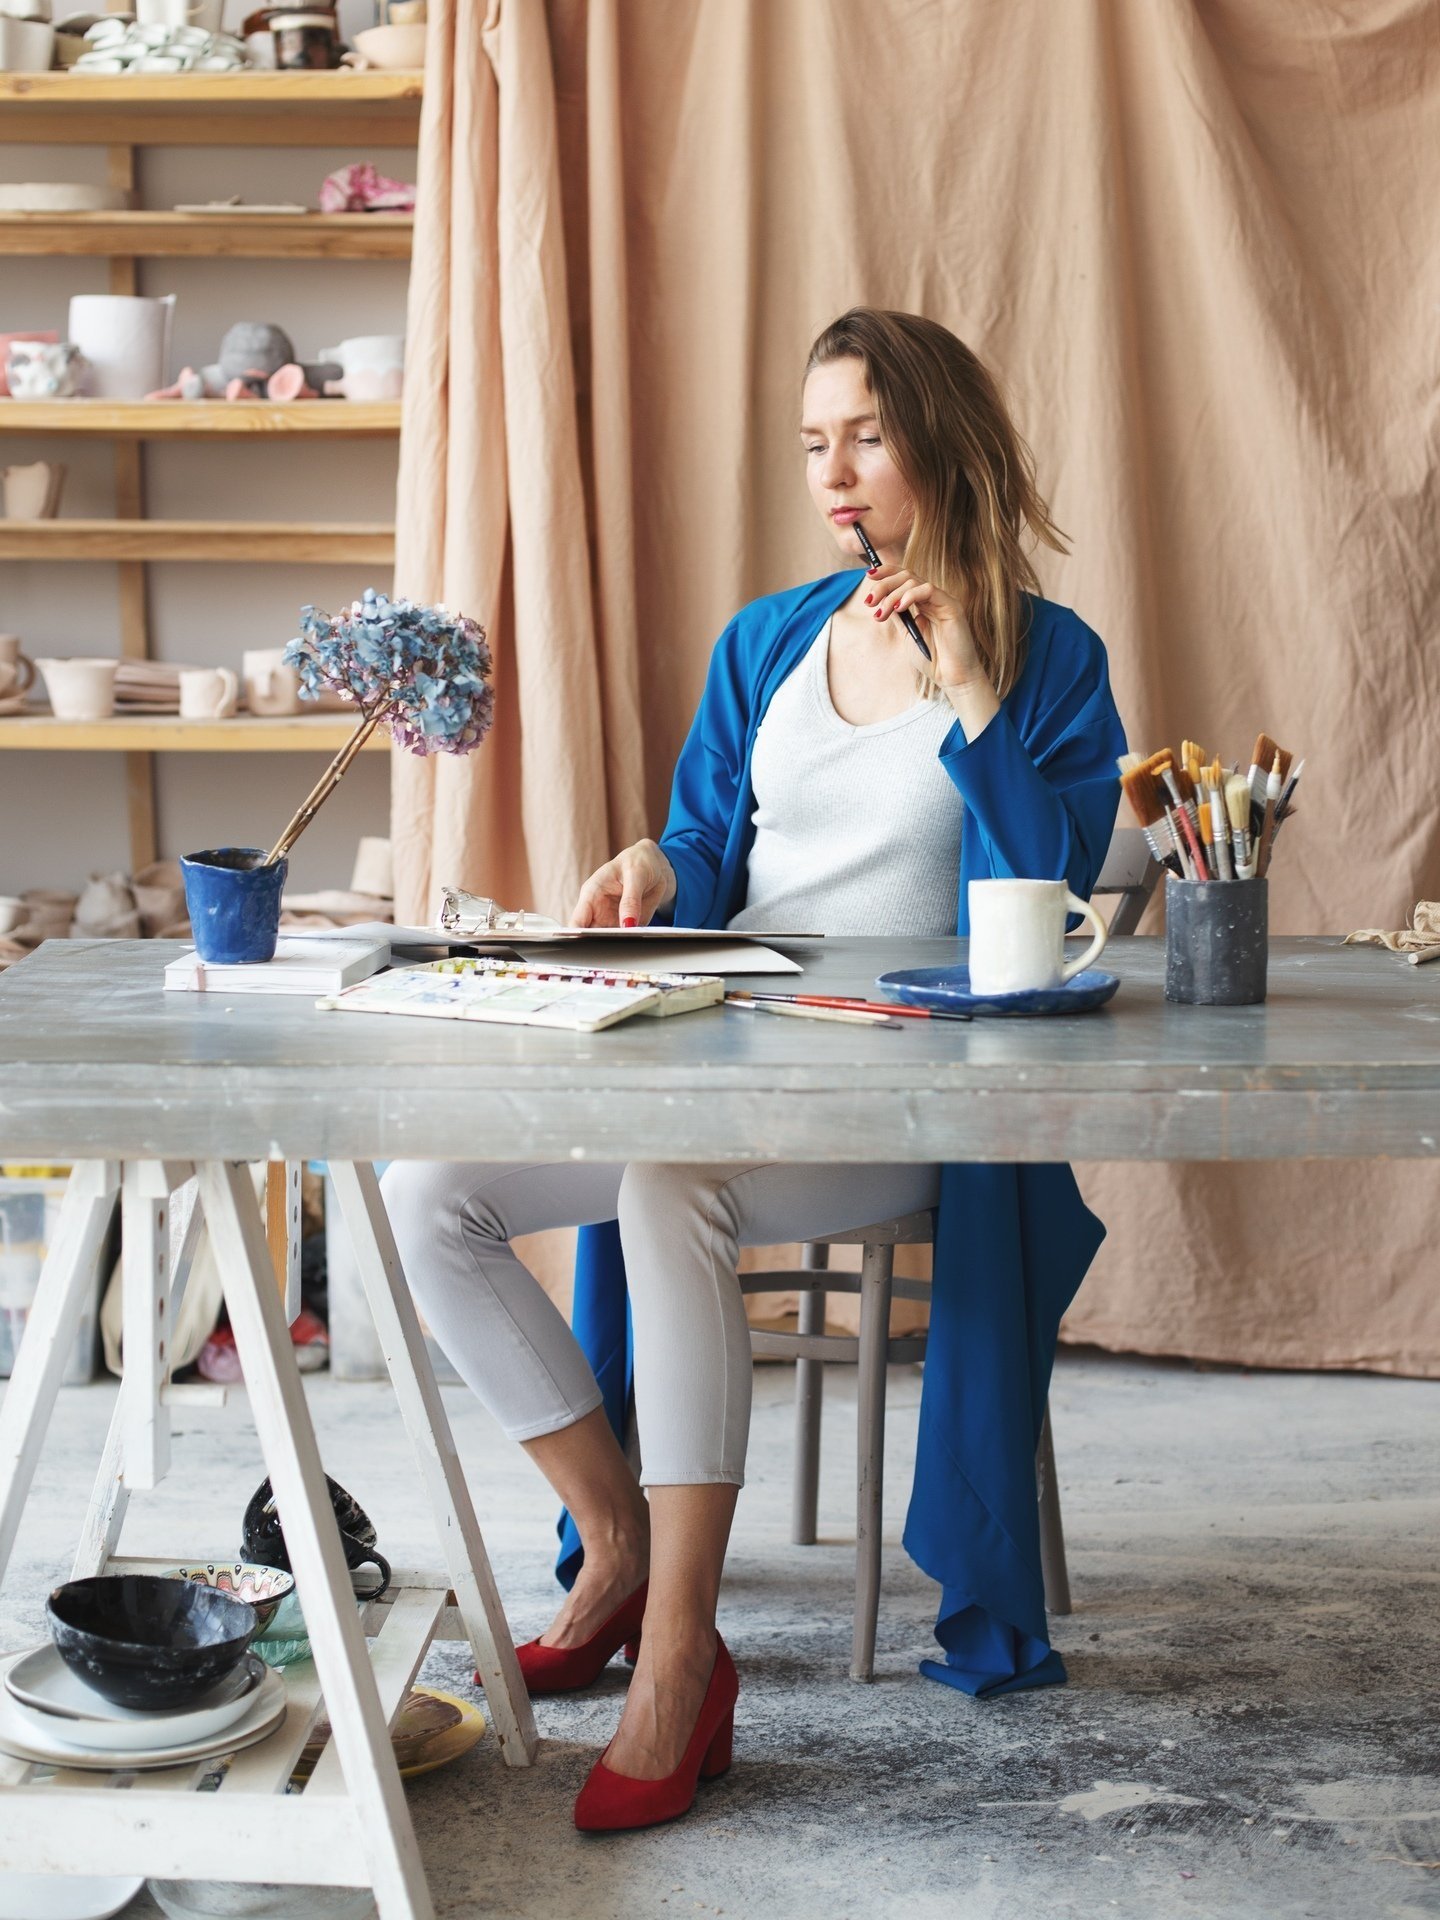
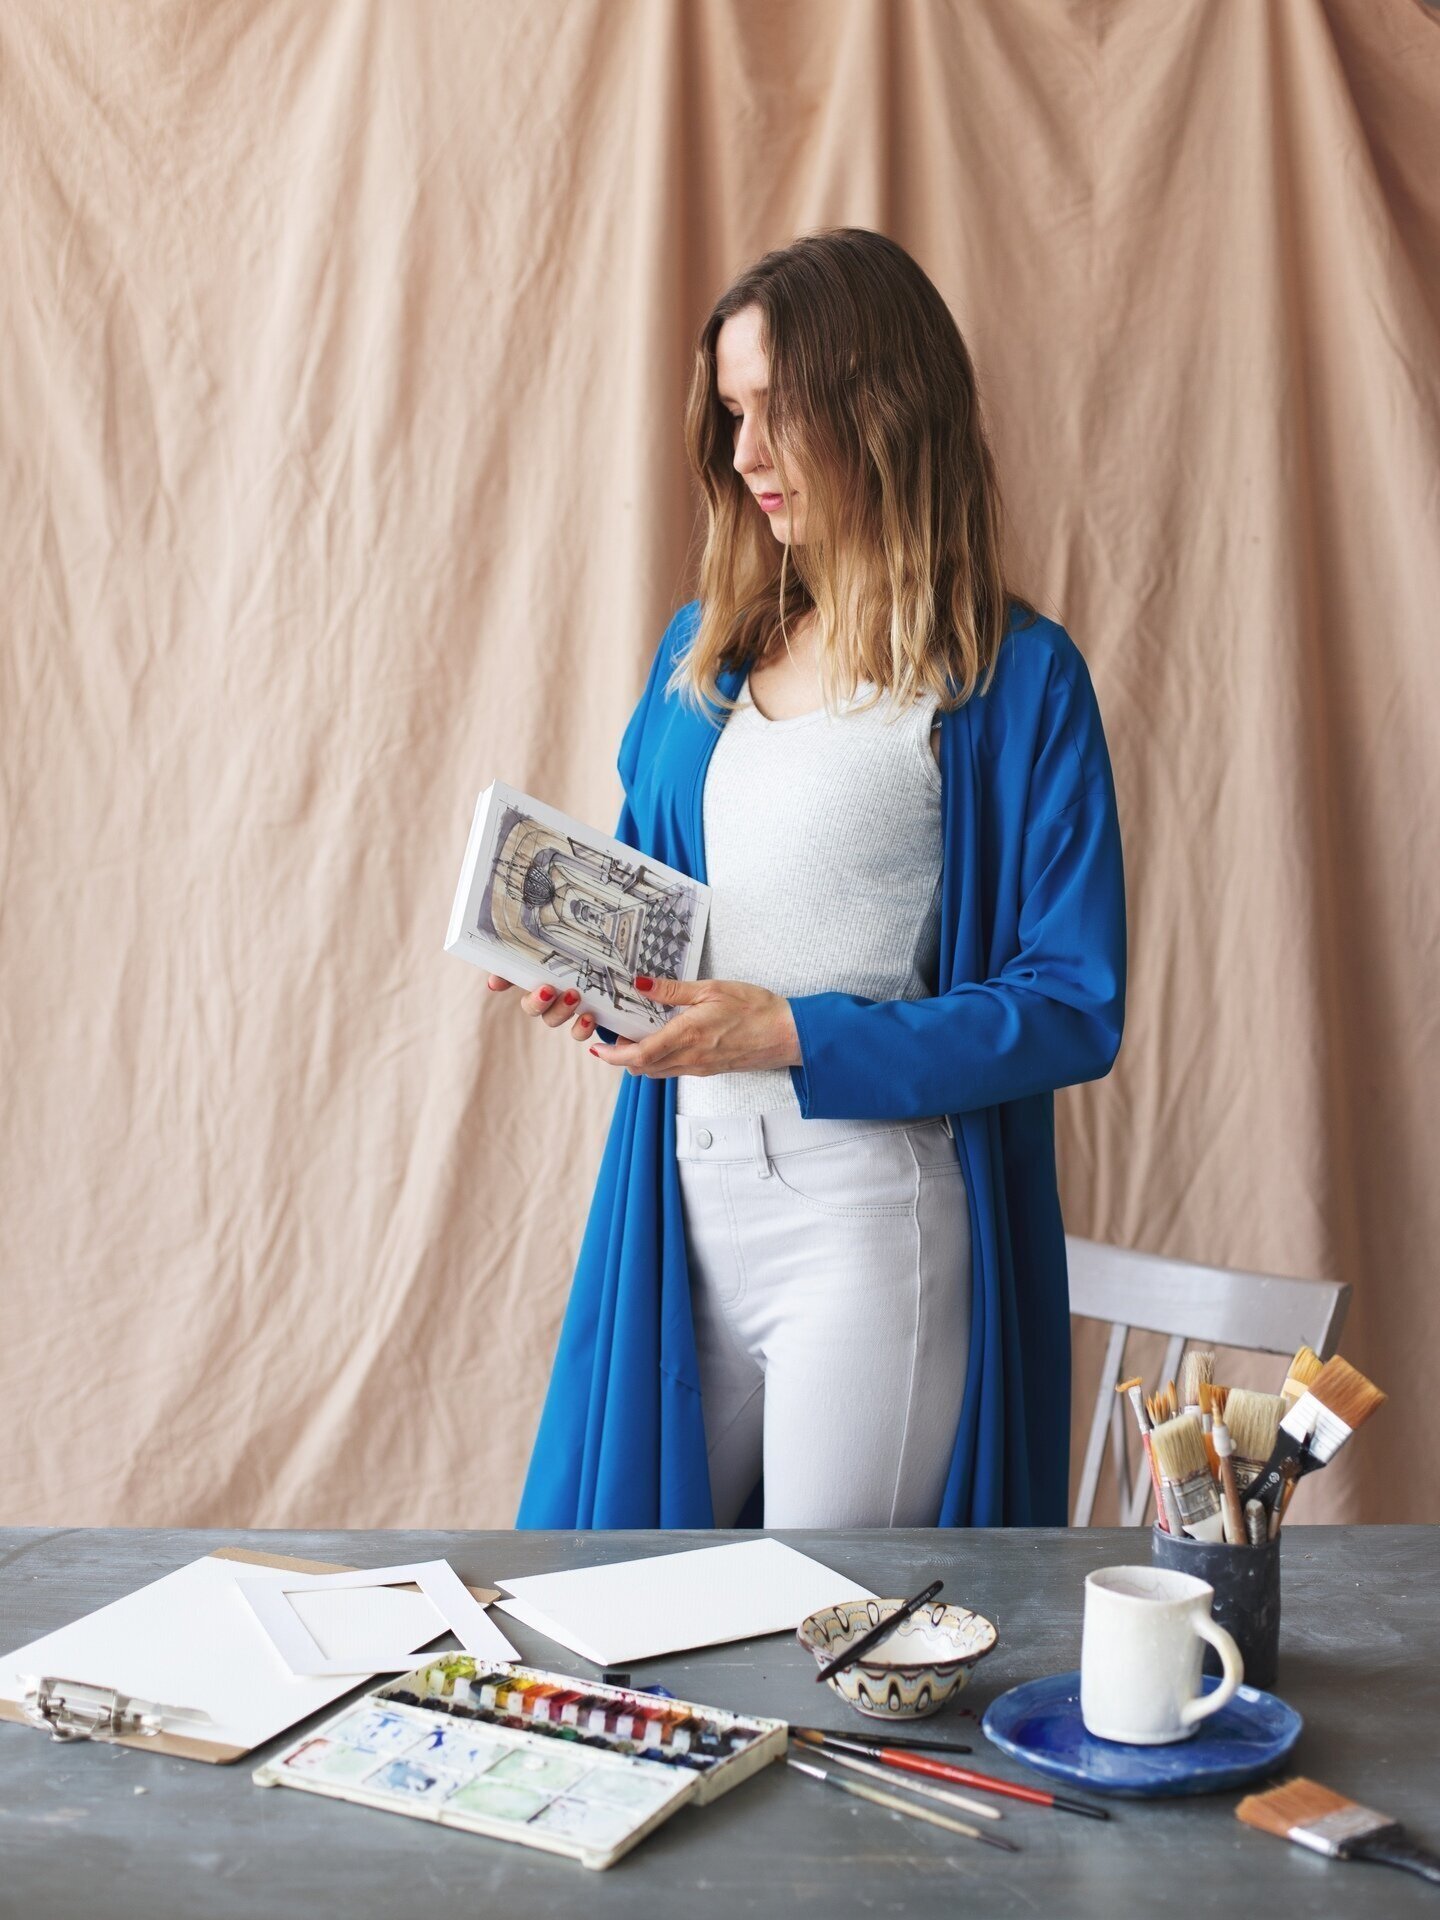
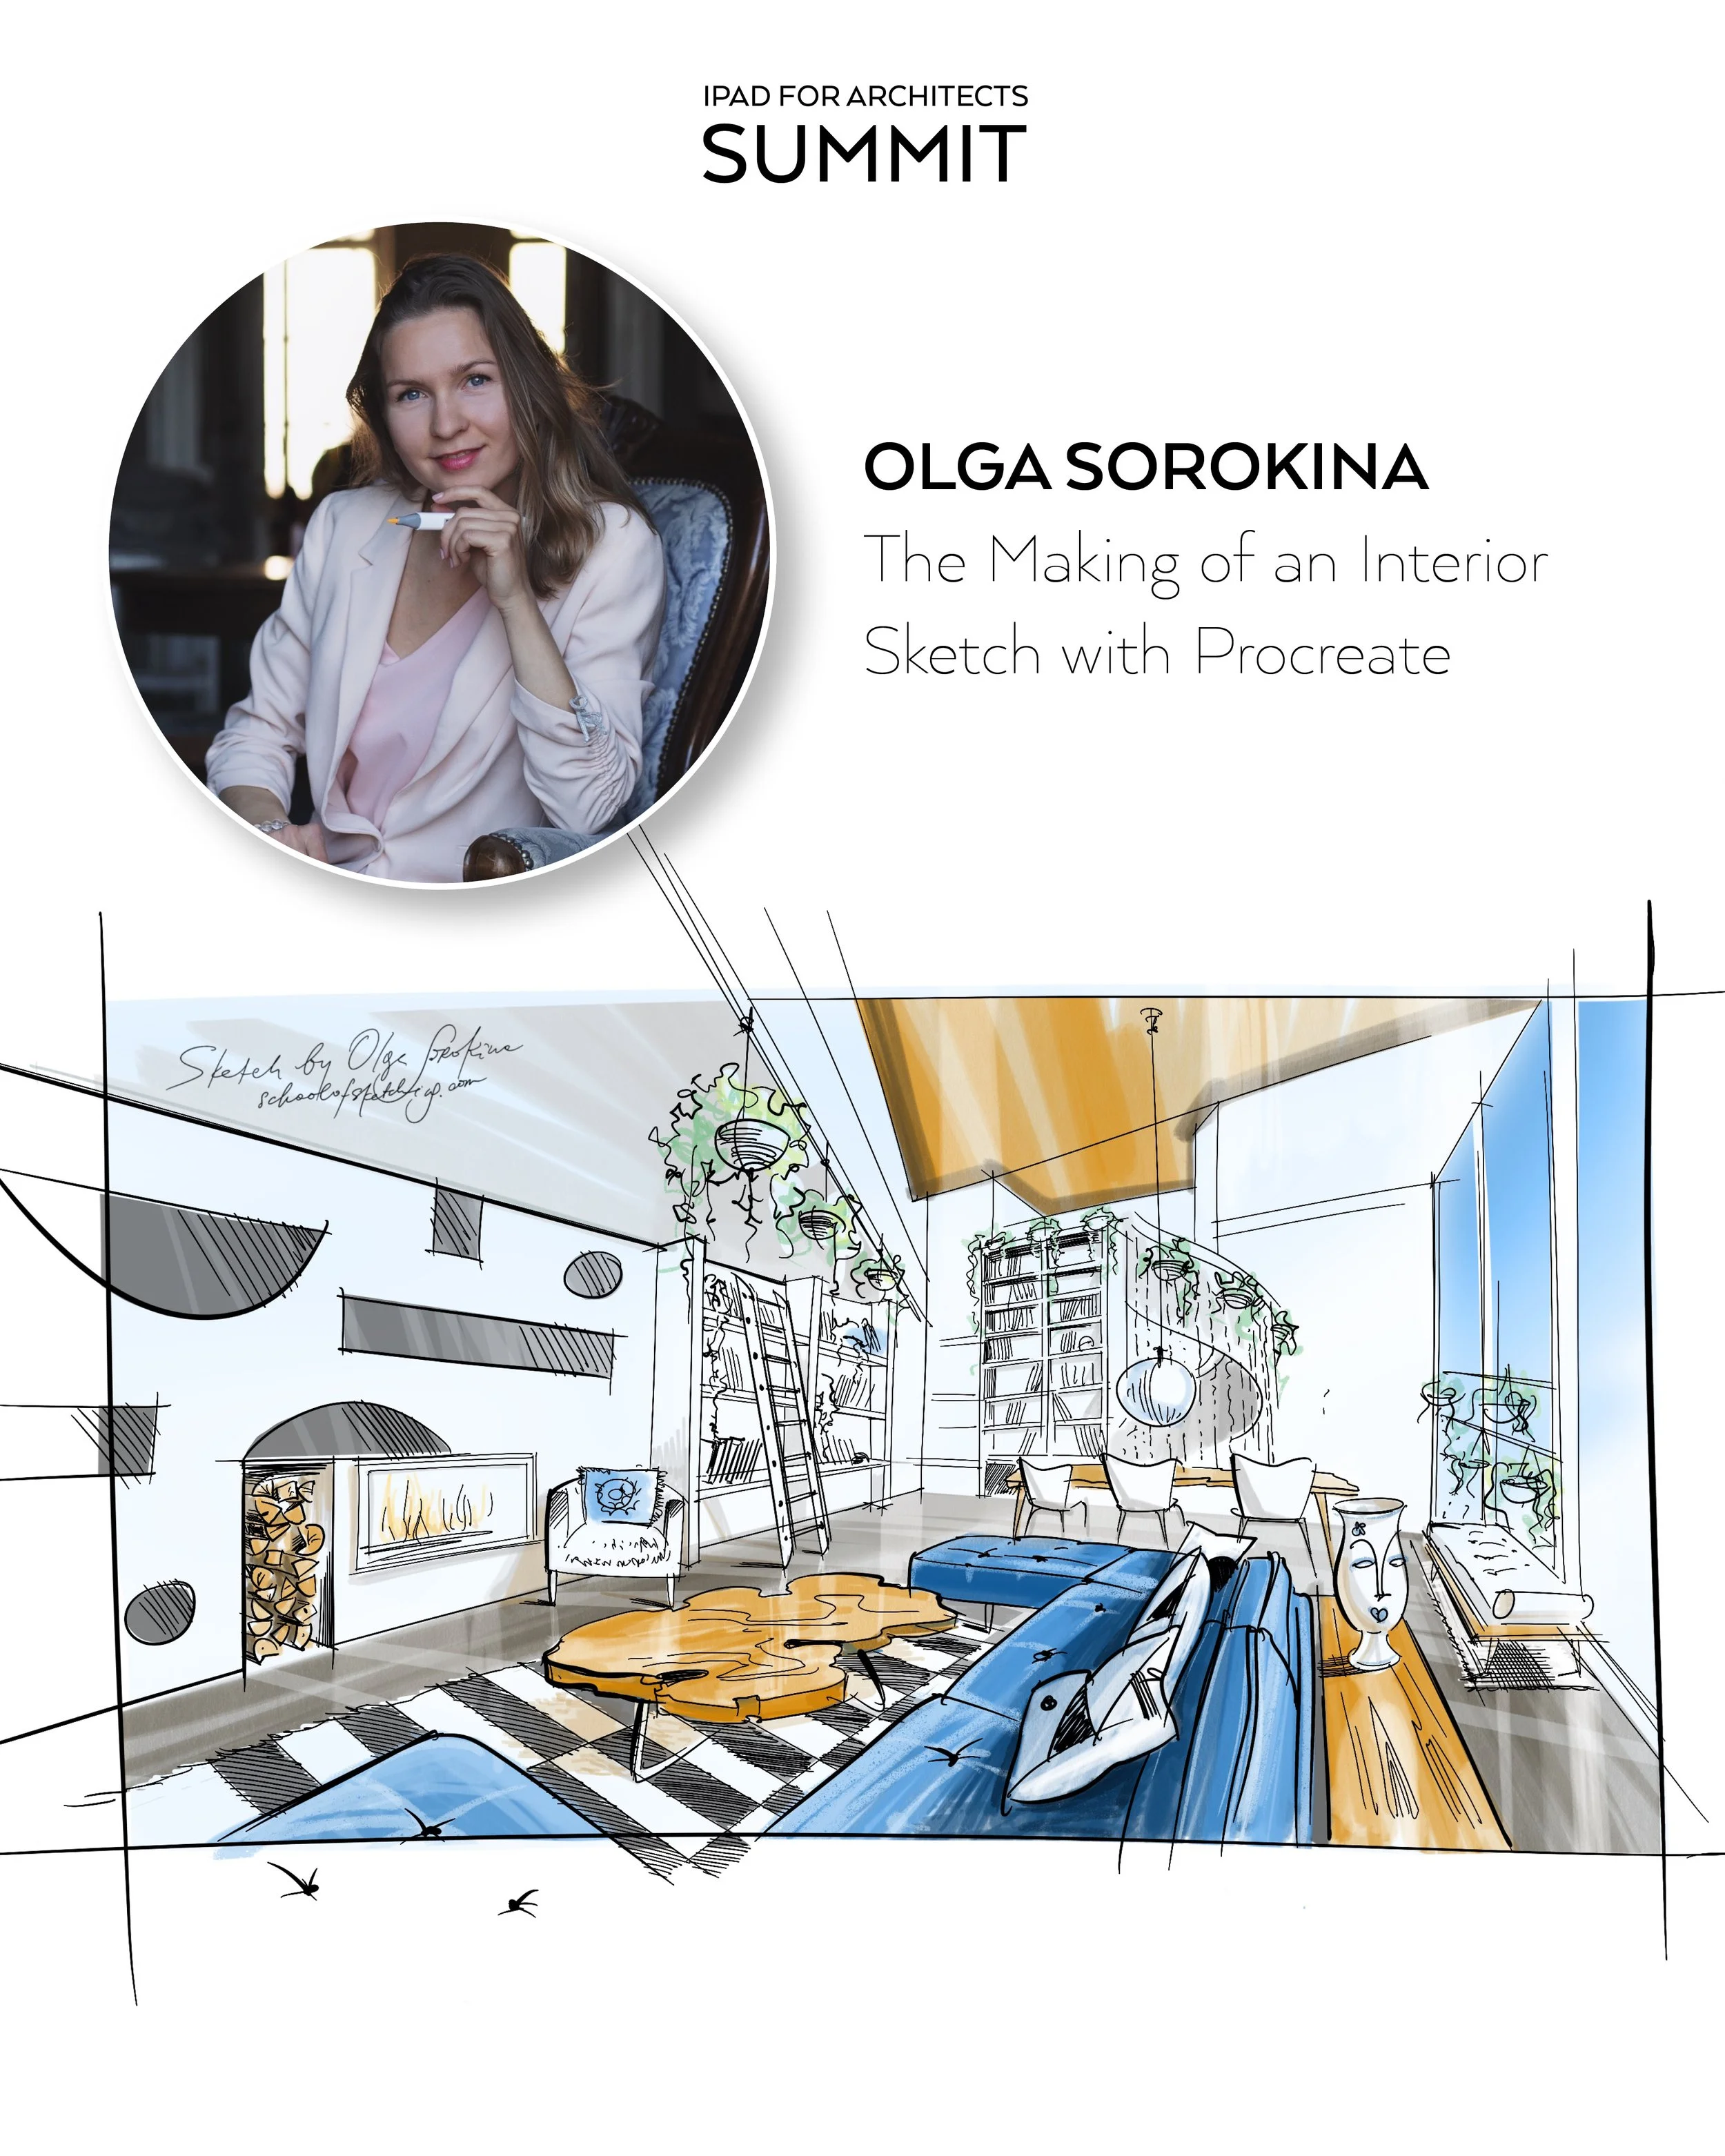
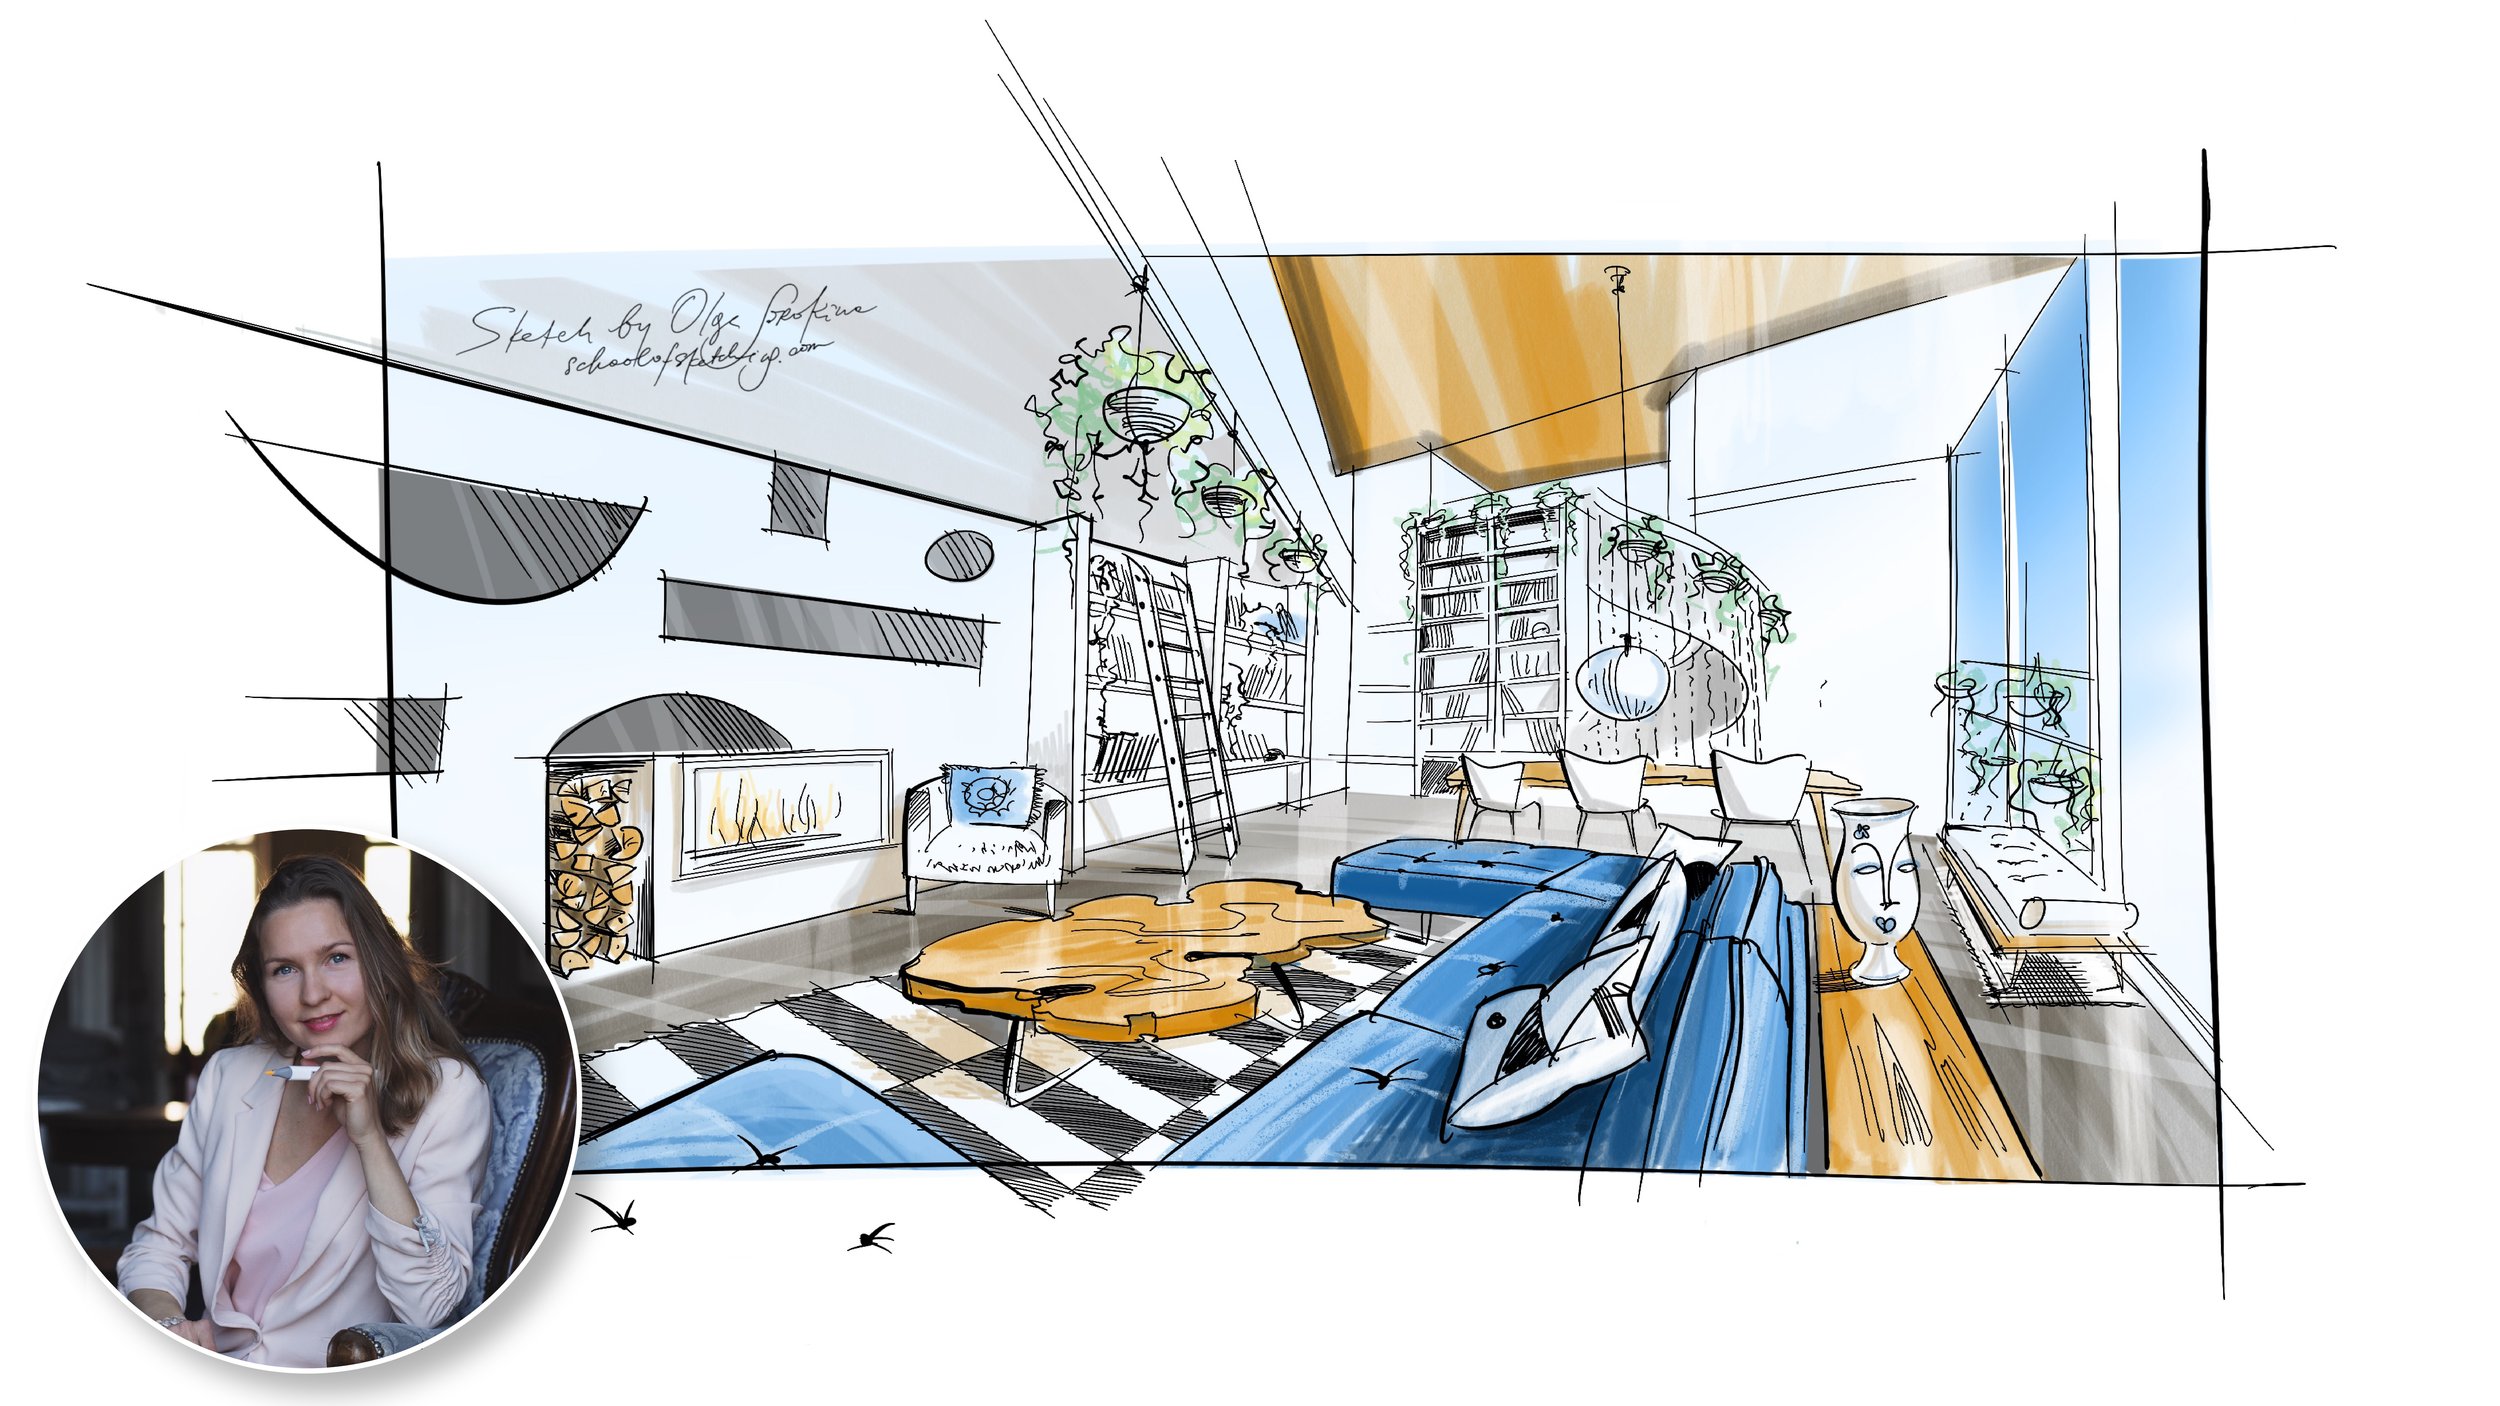
About the Author
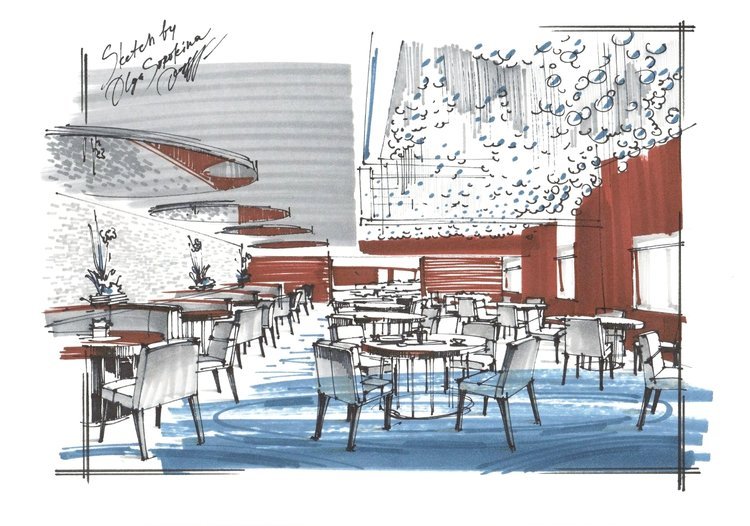
Olga Sorokina is an interior sketching educator, author and award-winning interior designer based in New Zealand.
She is the founder of the Online School of Sketching, where more than 23,000 students from around the world have learned interior sketching, perspective drawing and marker rendering. Her book, The SKETCH. Interior Design Drawing, is used by interior designers and educational institutions internationally.
Through her courses, articles and videos, Olga helps interior designers communicate ideas with confidence through hand sketching.
Learn Perspective Drawing with Confidence with Olga’s Method:
More from my blog: