For more than a decade, I've had the privilege of teaching thousands of interior designers, architects, and creatives around the world. During that time, I noticed something fascinating. No matter where my students came from or how much experience they had, they often shared the same belief:
"Perspective is difficult."
Some were complete beginners who felt they simply couldn't draw. Others were experienced interior designers who had been working professionally for years, yet still lacked the confidence to put their ideas on paper. It was never a question of creativity. It was rarely a question of talent. Most of the time, they simply hadn't been taught through a clear, structured method.
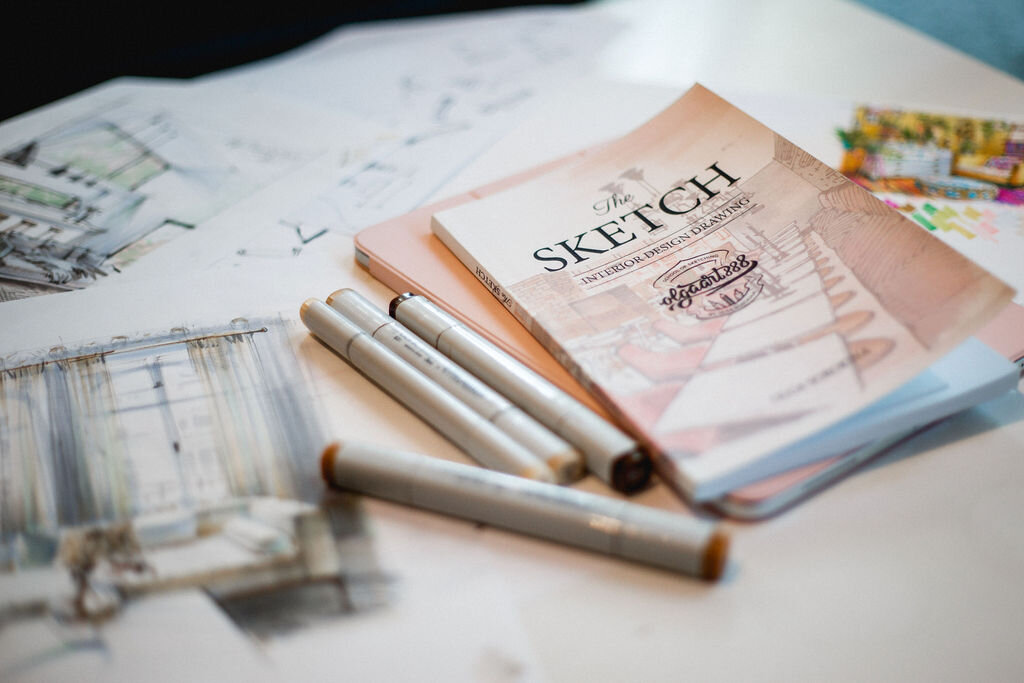
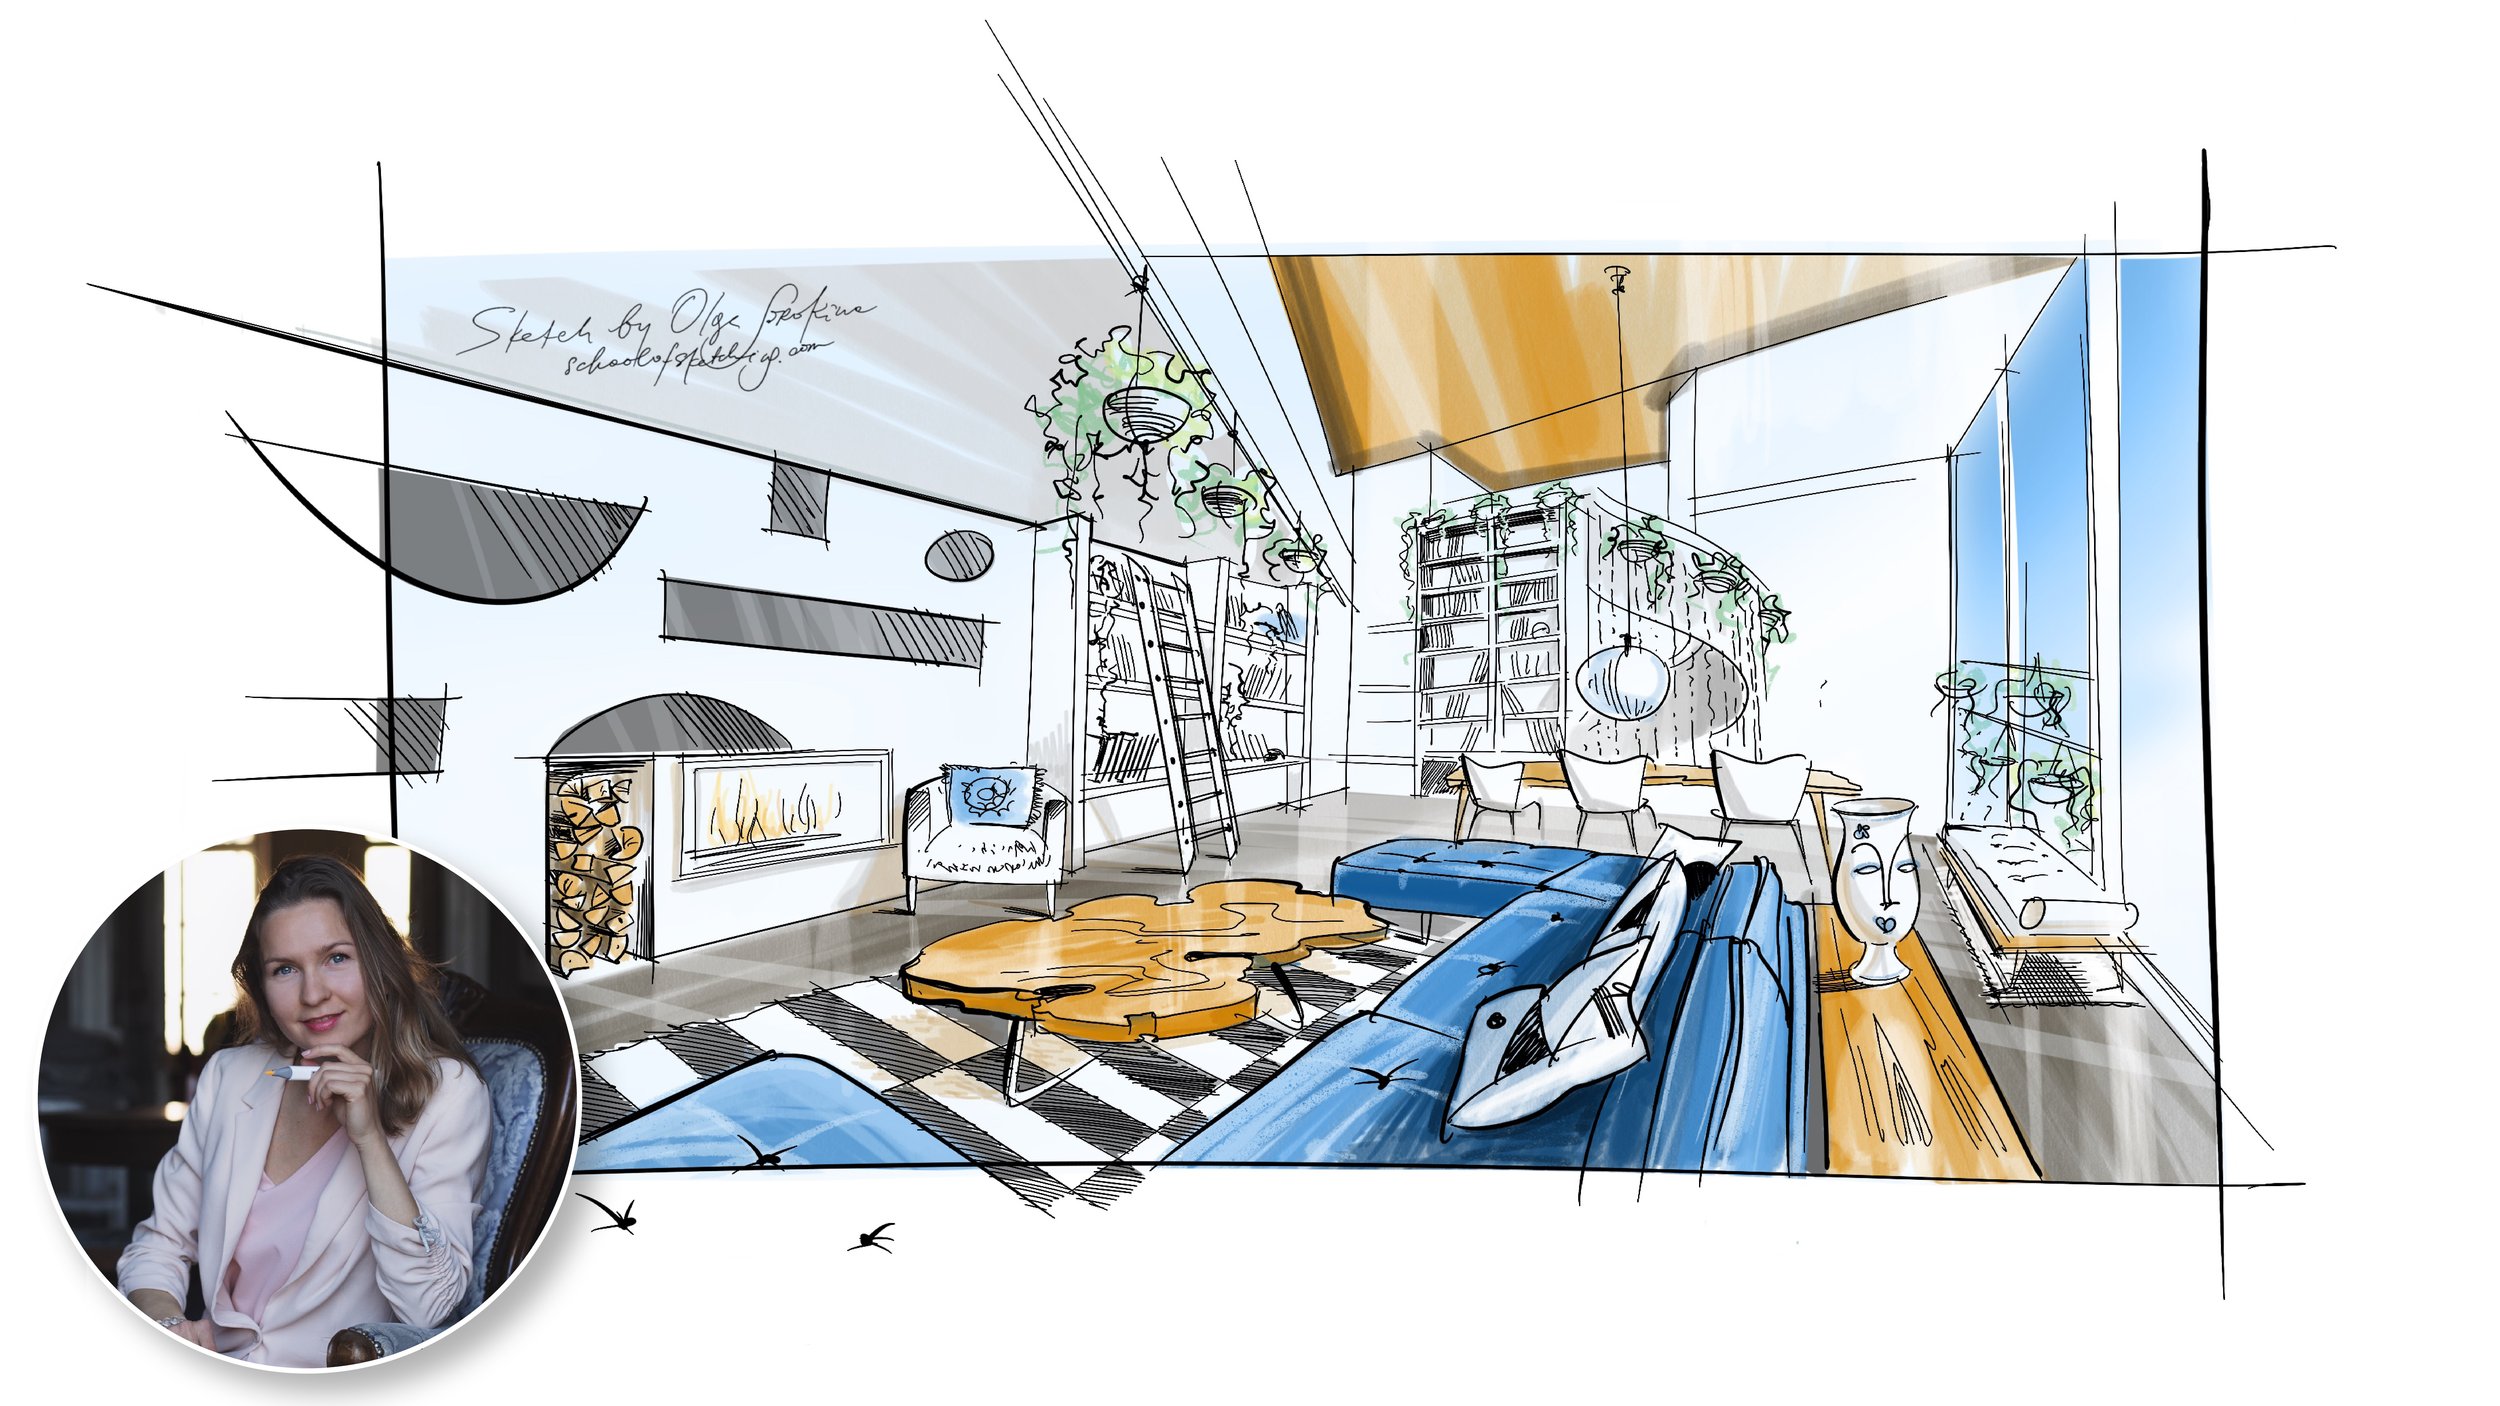
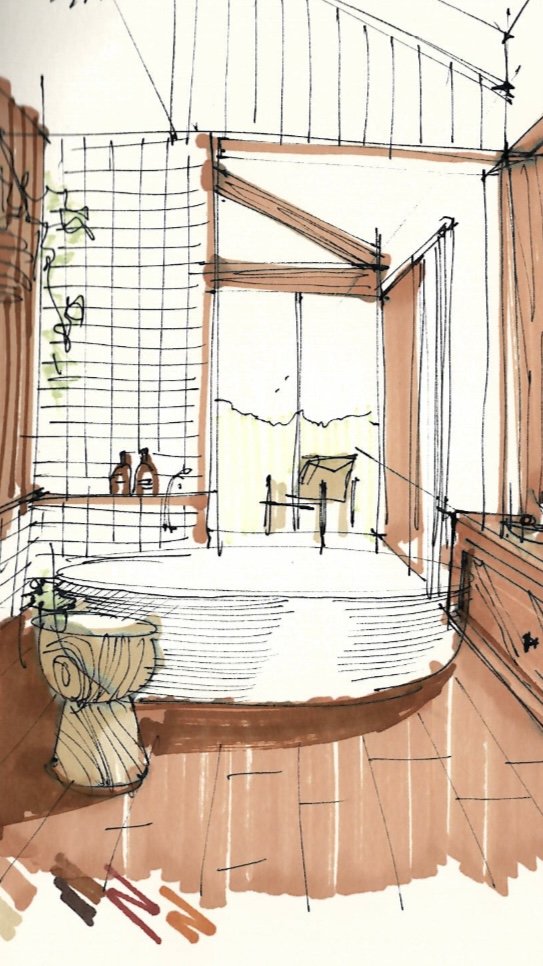
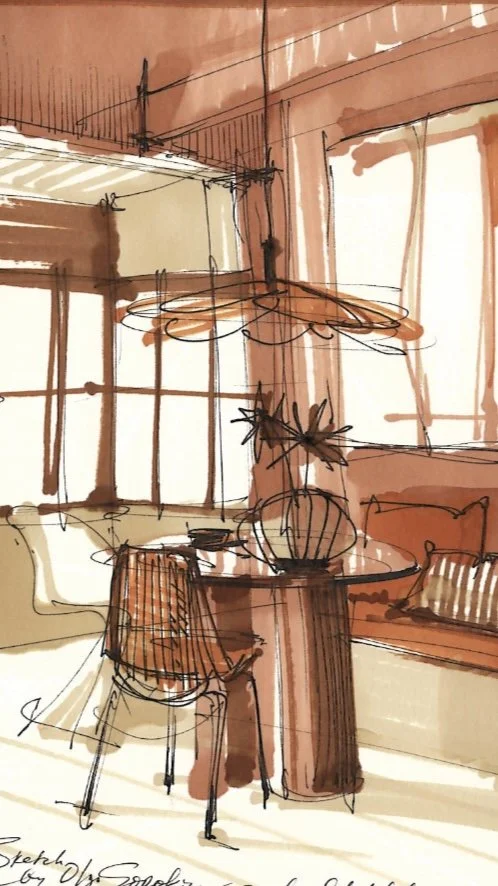
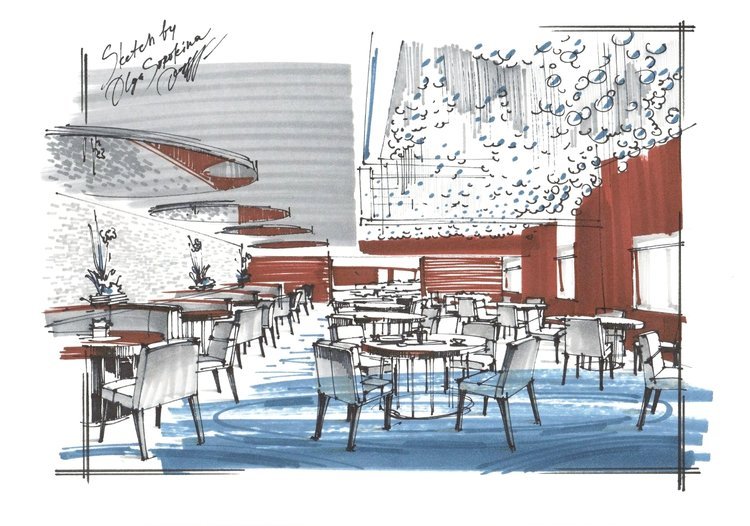
That realization shaped everything I created afterward. It became the foundation of my book The SKETCH: Interior Design Drawing (paper-based on Amazon: here), my online courses, and now... my app.

Why I created the app
One thing I noticed over the years is that for many people building a consistent creative habit can be difficult. Life gets busy. The lessons feel long. Weeks pass…
I wanted to create something that felt different.
An experience that naturally fits into everyday life. A place where spending just five or ten minutes sketching feels achievable, enjoyable, and rewarding.
What makes the app different?
This isn't a smaller version of my courses. And it isn't a replacement for them. It has been designed with a completely different purpose.
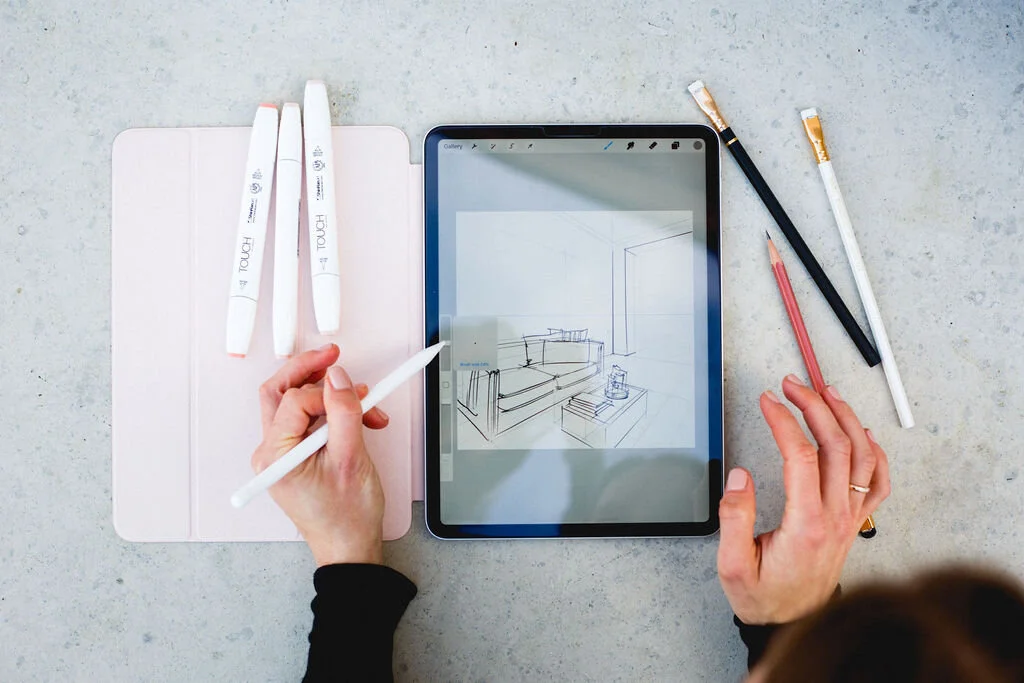
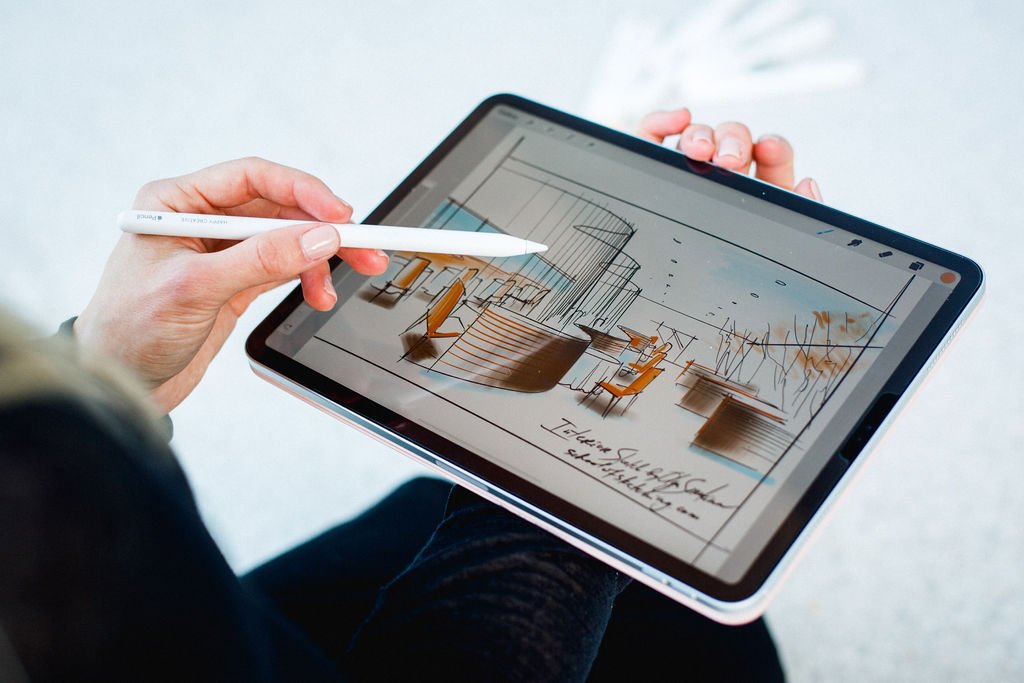
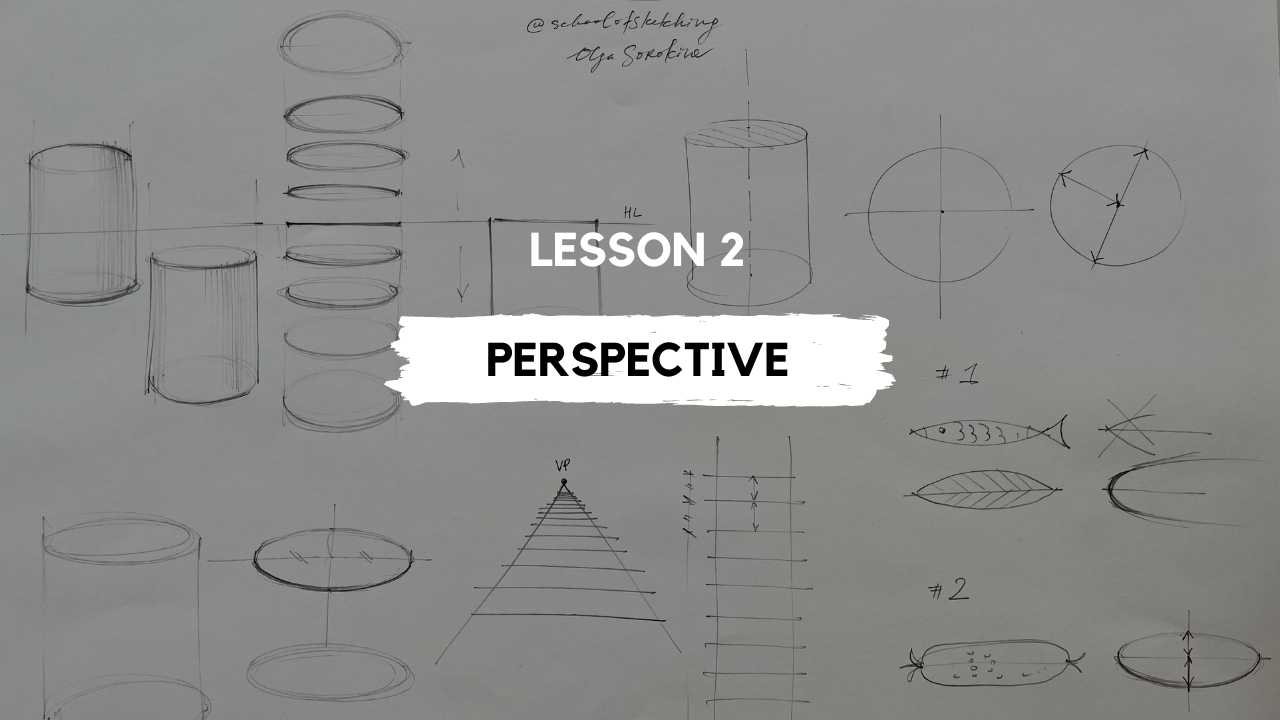
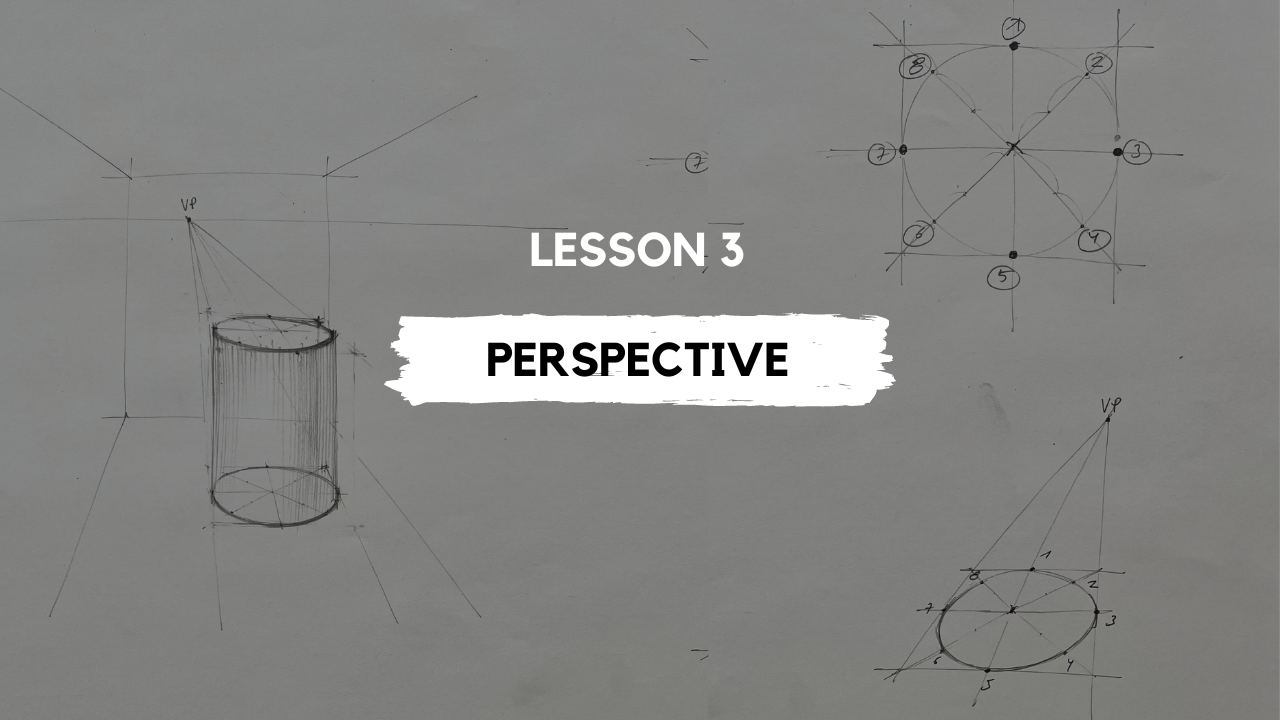
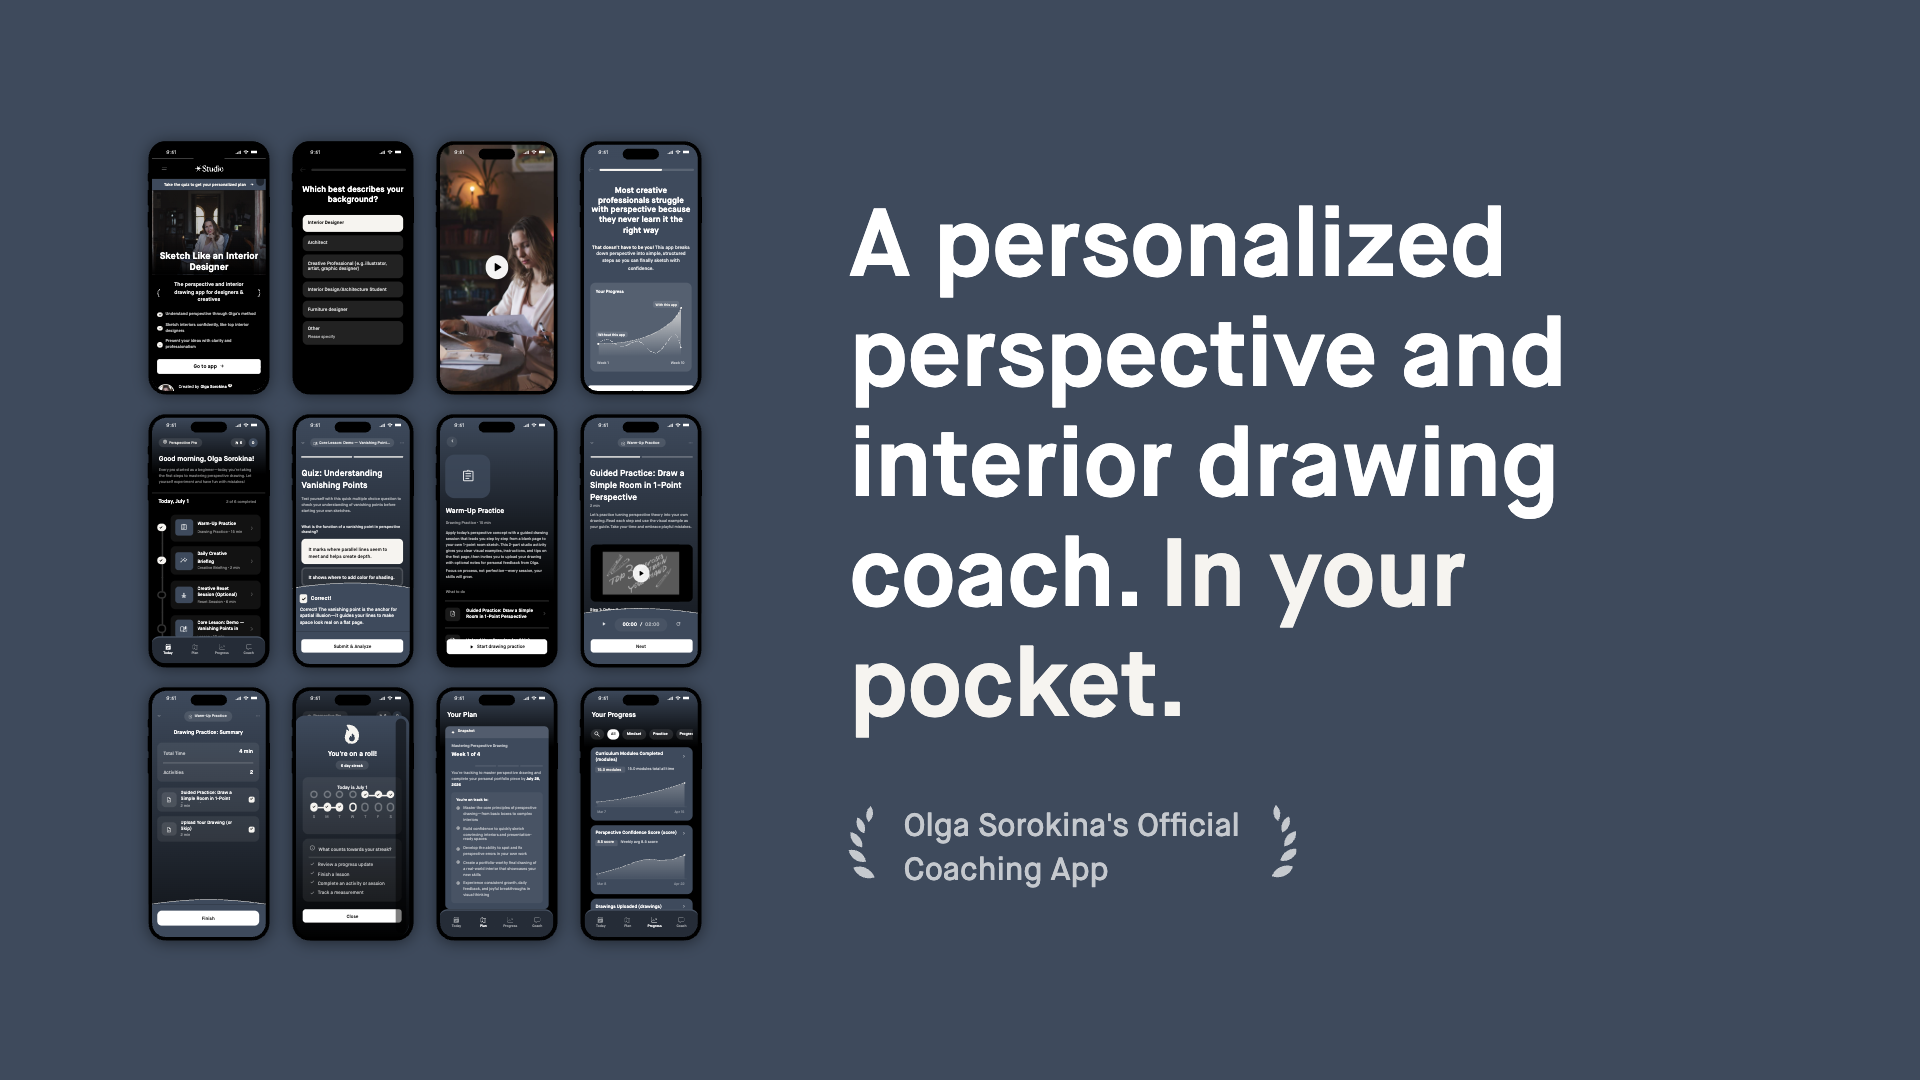
The app offers its own guided ai-enhanced learning experience, helping you understand perspective and interior sketching through structured lessons, practical exercises, and daily practice.
Many lessons take only a few minutes. Others can be completed in around 15 to 20 minutes.
The goal isn't to overwhelm you. The goal is to help you return tomorrow. Because real progress isn't built through occasional bursts of motivation. It's built through consistency. Practice makes progress.


How is it different from my courses?
I often describe my courses as a university for interior sketching.
Programs like Base, Pro, and Procreate are comprehensive educational pathways designed for designers who want to master sketching as a professional skill. The core lessons are intentionally deep, often lasting 45 to 70 minutes, allowing us to explore concepts thoroughly and build a strong foundation.
The app serves a different stage of the journey.
It does not include the full Base or Pro programs, and it does not cover Procreate.
Instead, it features its own learning system, with a few carefully selected bonus lessons from my courses, while the complete curriculum remains exclusive to the courses.
In simple terms:
The courses help you master the craft.
The app helps you make sketching part of your everyday life.
Together, they create an ecosystem for learning.
More than an app
When I first started teaching, my dream was never simply to record lessons. I wanted to guide designers as if I were sitting beside them. To explain perspective in a way that feels intuitive. To build confidence. To make sketching something people genuinely enjoy.
This app is the closest I've come to bringing that vision to life.
Whether you're discovering interior sketching for the first time or looking for a simple way to practice consistently, I hope it becomes a creative space you'll look forward to opening each day.
Thank you for being part of this journey.
I can't wait to sketch with you.
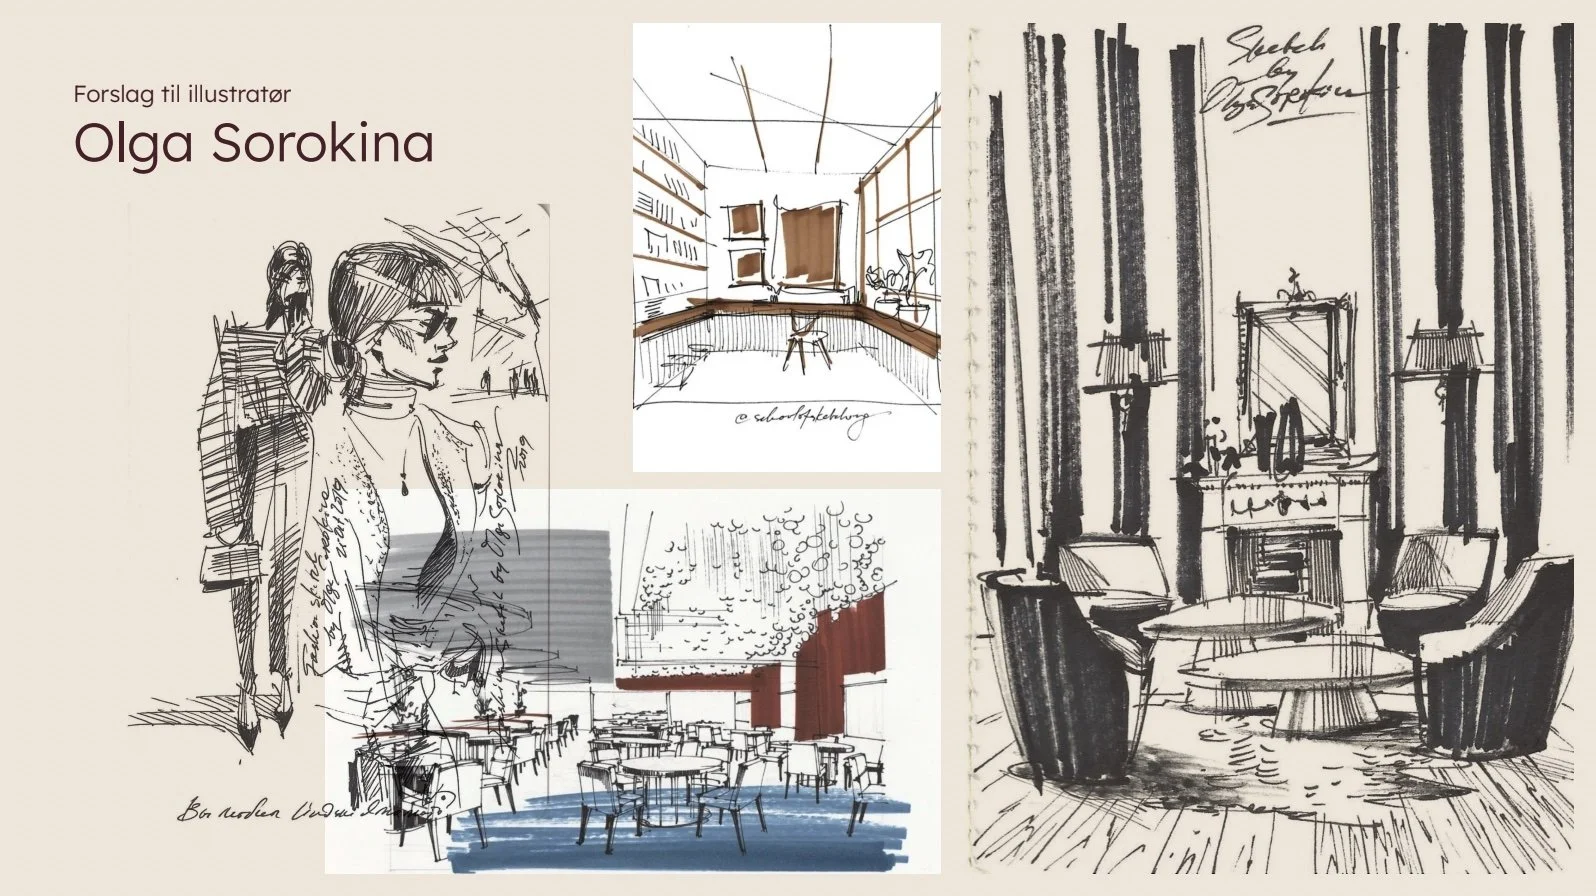
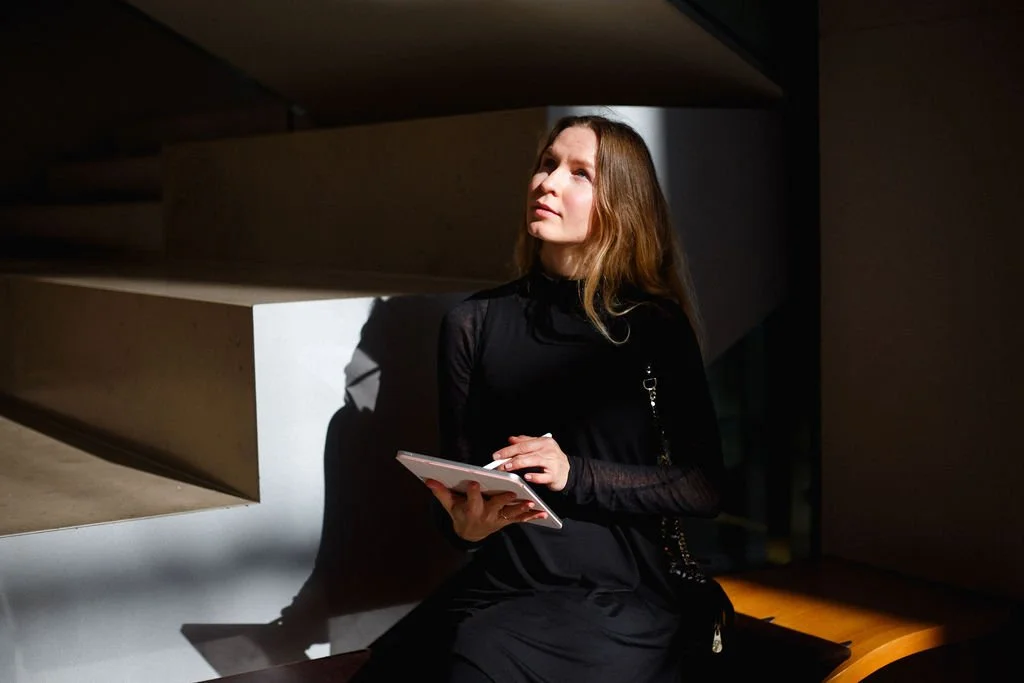
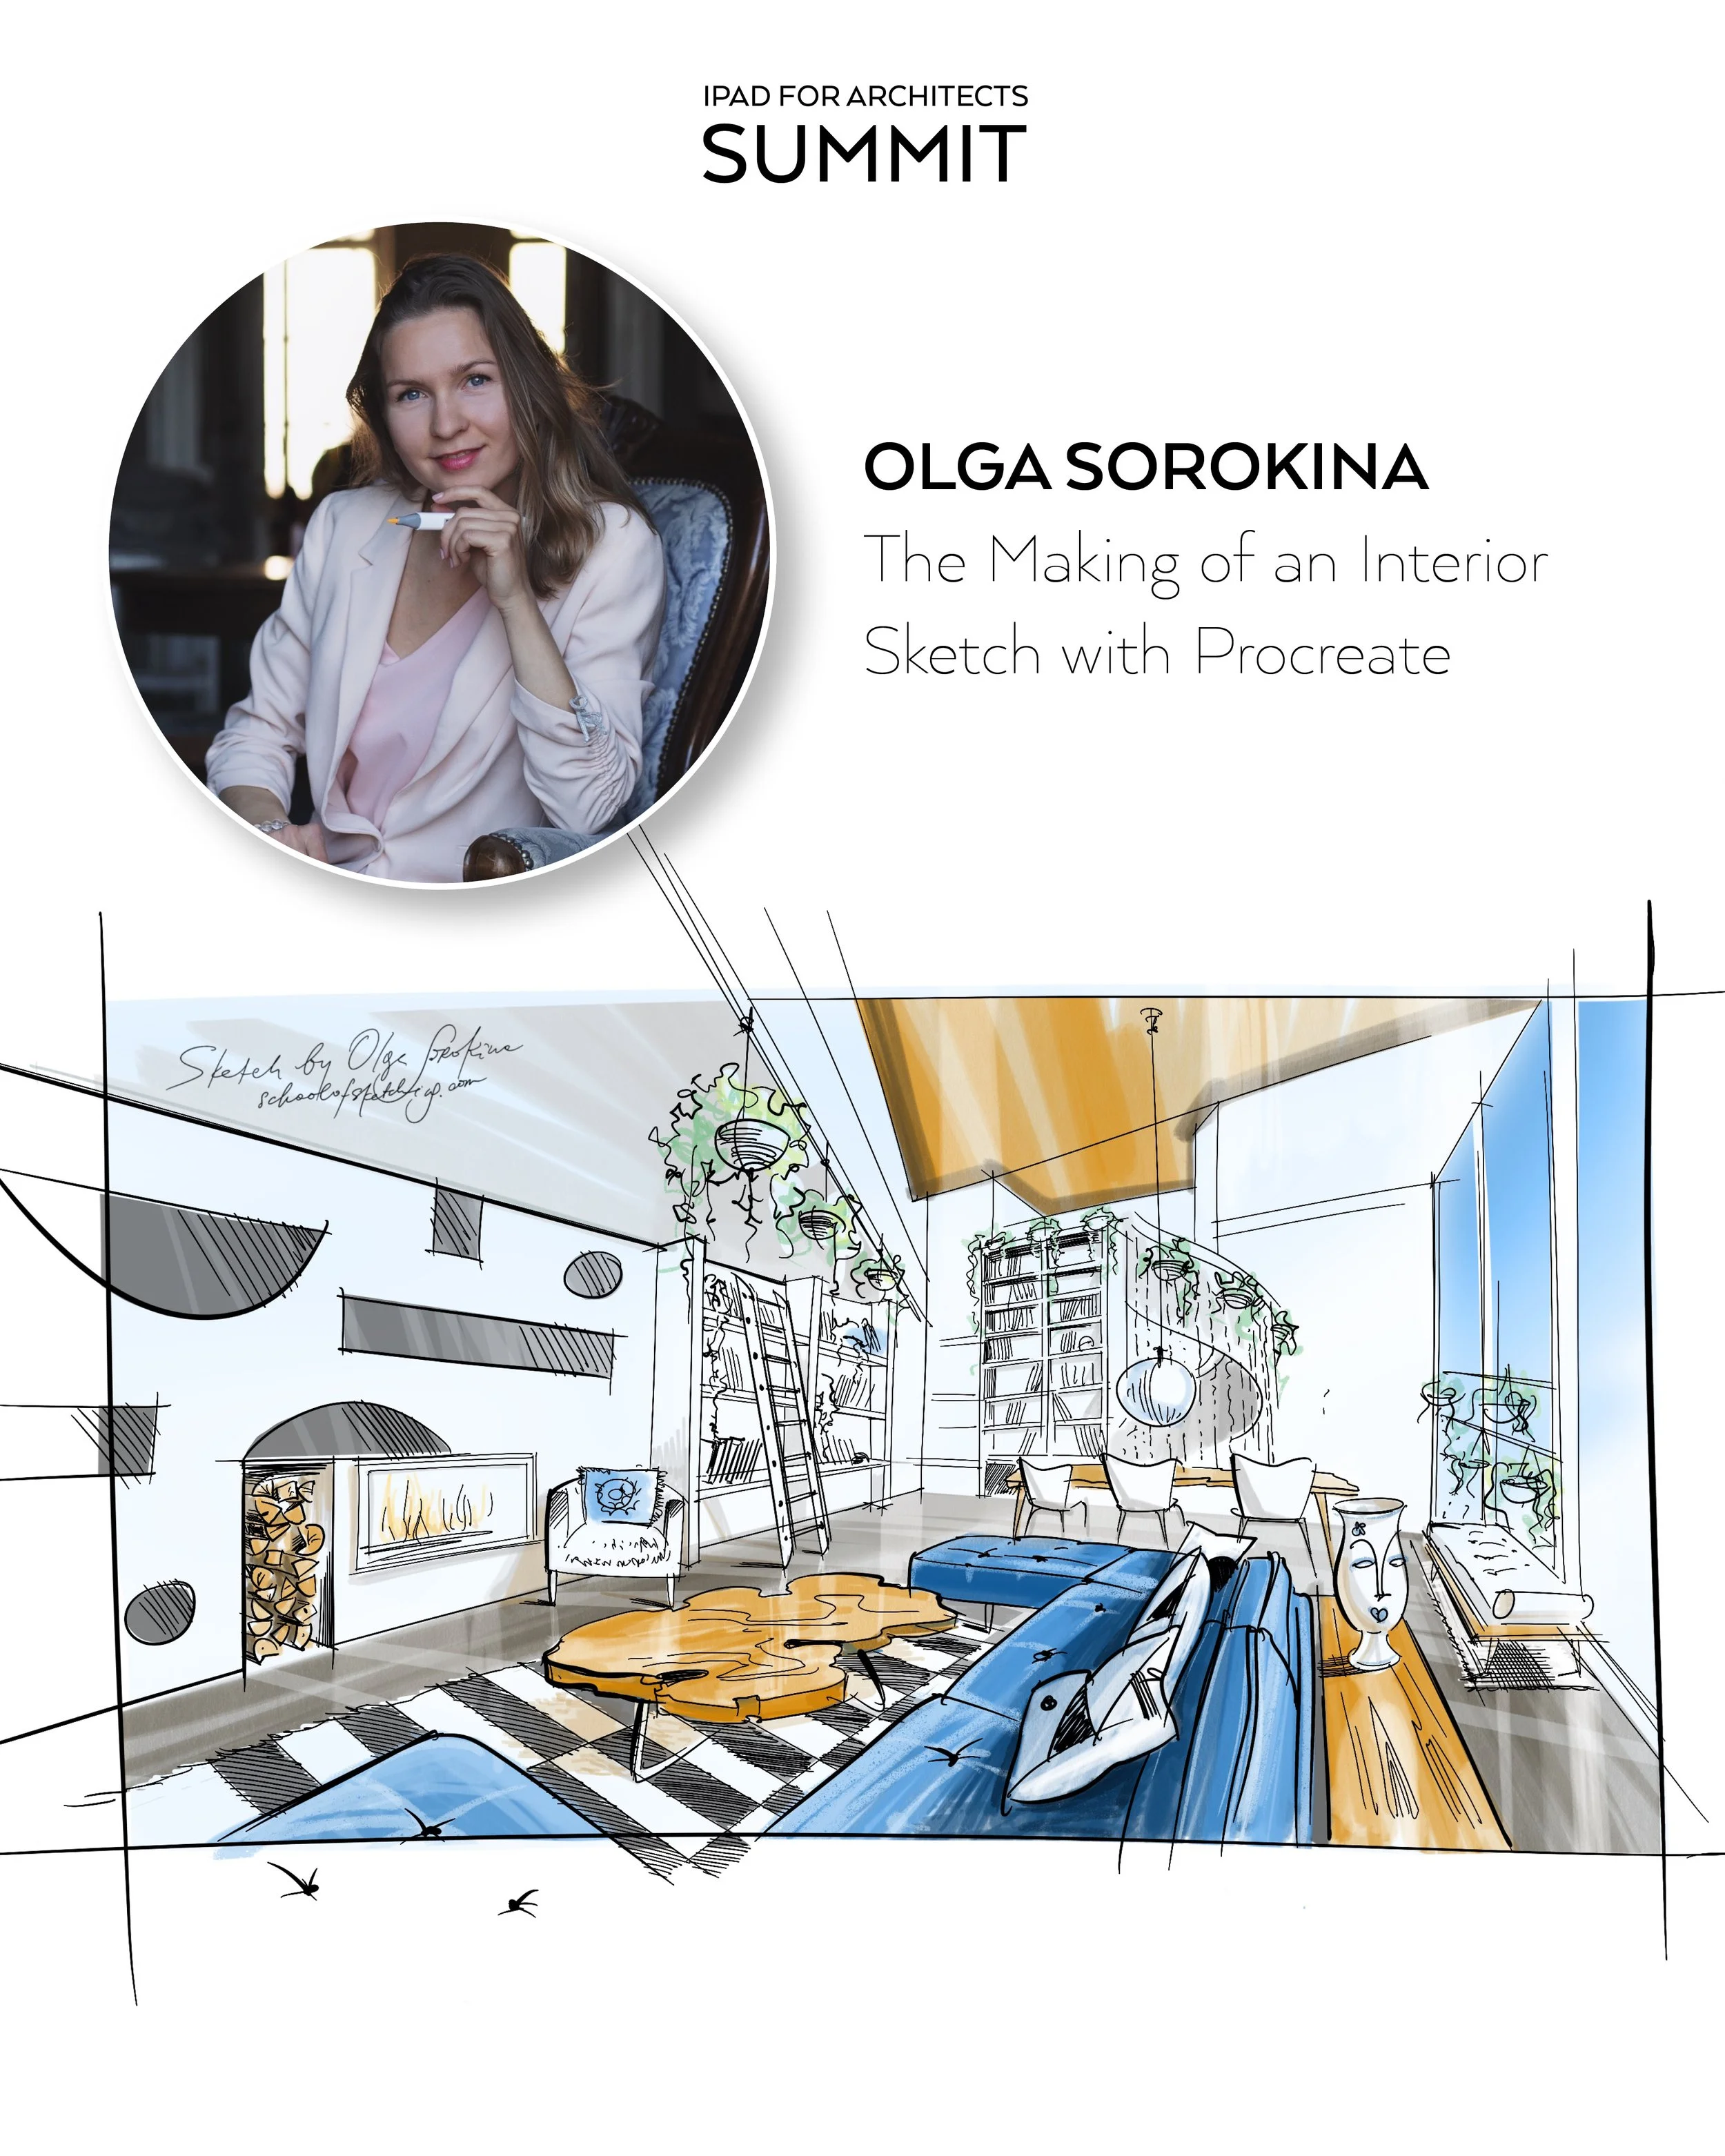
Olga Sorokina