Watch my interior drawing tutorials and tips on id portfolios on YouTube:
Check my latest interior sketches and behind the scenes on Instagram Stories:
Whether you are a beginner in the design world or a mature interior designer, this article can help you with some basic steps in creating your first portfolio; also, you may find here some fresh and exciting ideas for an existing one. Some paragraphs here I took from my best-selling book “The SKETCH“. Enjoy!
P.S. Special “perspective sketh“ gift is waiting for you at the end of the article.
In this article, I will cover:
Interior design student’s portfolio
Interior designer’s portfolio
Interior decorator’s portfolio
Portfolio for you to apply for interior design school/college/university
Portfolio formats
Importance of hand rendering for interior designers
Resources (books, examples)
You need a portfolio to show people so that they can see what your design skills are and what your expertise is. It should be professional looking and attractive from a design perspective, yes, but the content is king, never forget about this. That’s why I’m going to be covering here necessary things to include in your interior design portfolio.
To begin with, let’s define your «target audience» as that will affect the content. Who will see your portfolio? Is it an employer, a potential client, or maybe people from interior design college you want to apply? Think about it, and then you can create a killer portfolio that will blow their minds! Remember, your interior design portfolio can actually prove you are a professional without you saying a word! Your portfolio can also set you apart from other designers and present your work in the best possible light. Visuals speak loud, design speaks even louder.
“Visuals speak loud, design speaks even louder.”
1 case: Interior design student’s portfolio
Are you a beginner in the design world? Do you lack experiences? Then in your portfolio, you can show off your school/university assignments that you like, select your best projects that you are most proud of, show your best work. Five to seven projects are usually enough.
Now decide who is your «target audience»? Design School, potential employer, or are you preparing your work for online resources like Behance? Let’s assume that your «target audience» is an employer, here is how the layout and the flow of your portfolio may look like:
On the first page of your portfolio, it’s a good idea to include your photo with a resume, and this is a great way to start your portfolio as it gives a great overview of your skills. Make sure to keep your resume to the point and relatively short. Plus, your resume should be visually attractive, take your time and check some design resume templates online (like this one) or create one yourself.
Next, continue with your projects (commercial design, hospitality industry, residential projects), then you can include paid projects you did on the side if you have ones. Make sure you have the correct categories displayed. The important thing is to keep everything clean and crisp as it will make your portfolio look professional. You should prove with your beautiful presentation that you are a skillful interior designer.
Include pictures of some design boards you have had created because it’s a lot easier to carry around pictures as it shows the work well enough, plus it gives your future employer an excellent overview of your skills.
Be sure to demonstrate your technical skills, include your CAD drawings, show that you can draw out and design a plan, add a couple of electrical drawings, and any other special drawings or special skills you may have.
Another great idea is to demonstrate the progression of a project from the initial concept to the final design. Here you can show your very first sketches, mood boards, AutoCAD floor plans, and any other mechanical plans, elevations, and 3D renderings. At the very end of the portfolio, you can have your references.
If you can sketch and make perspective drawings and hand renderings, include them as well. Clients love hand drafts as this ability to draw makes them think that you’re an Artist. Show your wide range of talents.
“Remember, 5 to 7 projects are usually enough for your portfolio, focus on the quantity over quality.”
TIP 1: If you struggle with hand rendering and want to master interior sketching and perspective drawing, check out my online courses for beginners and for pros.
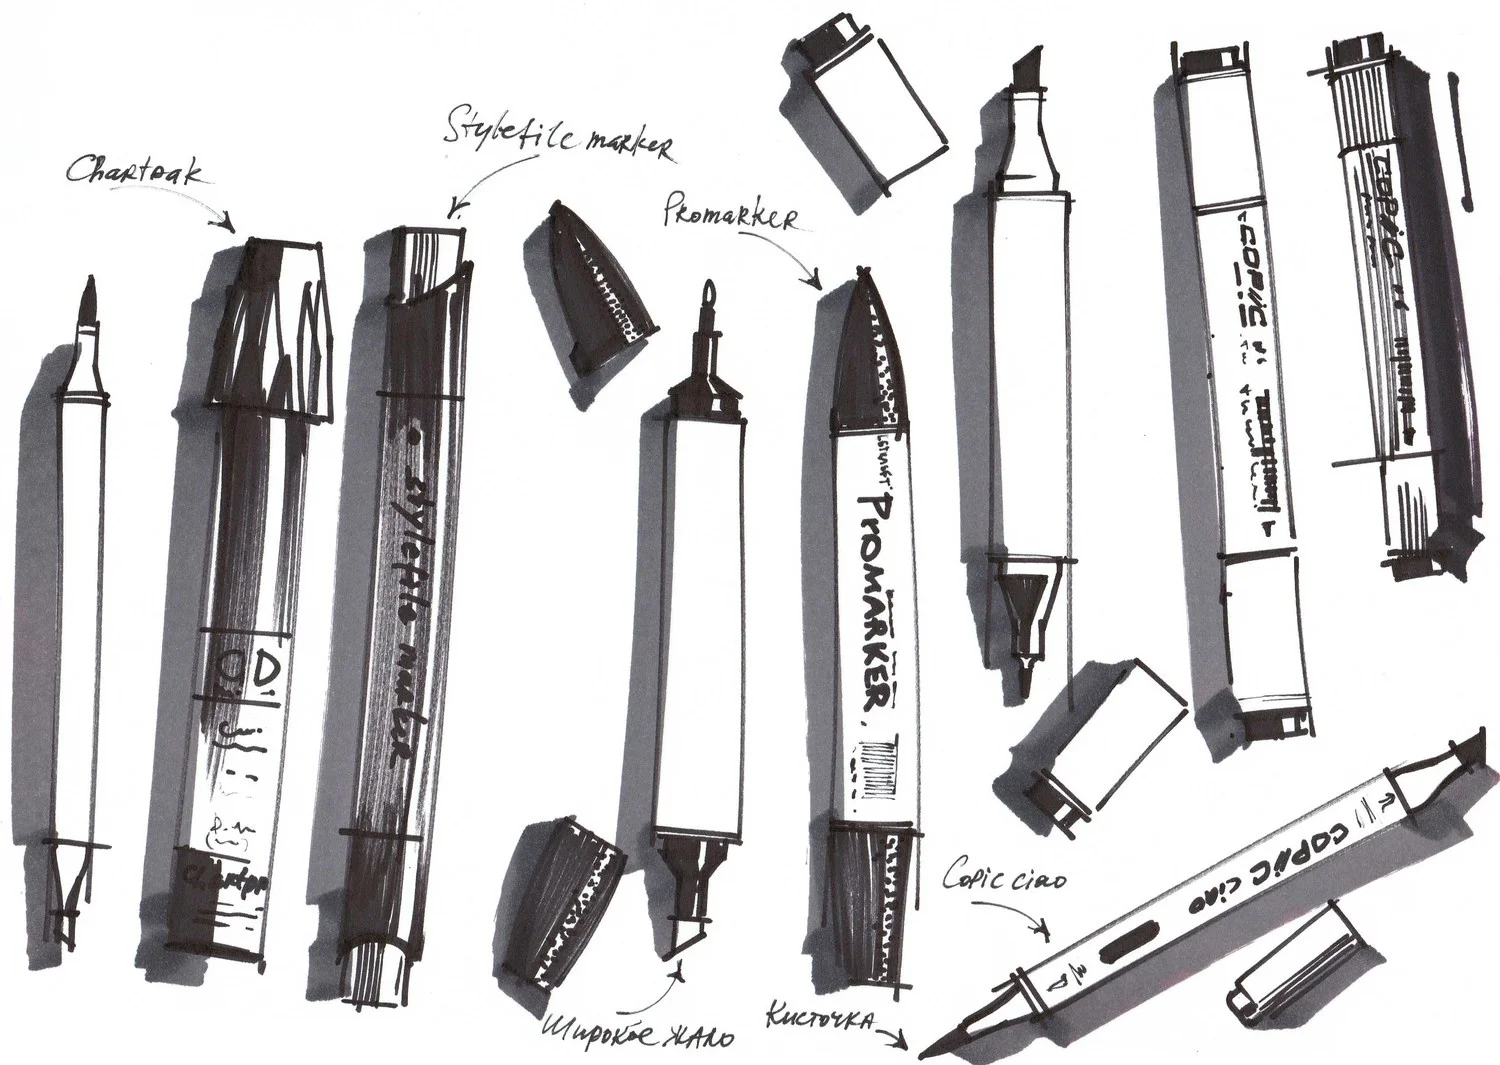
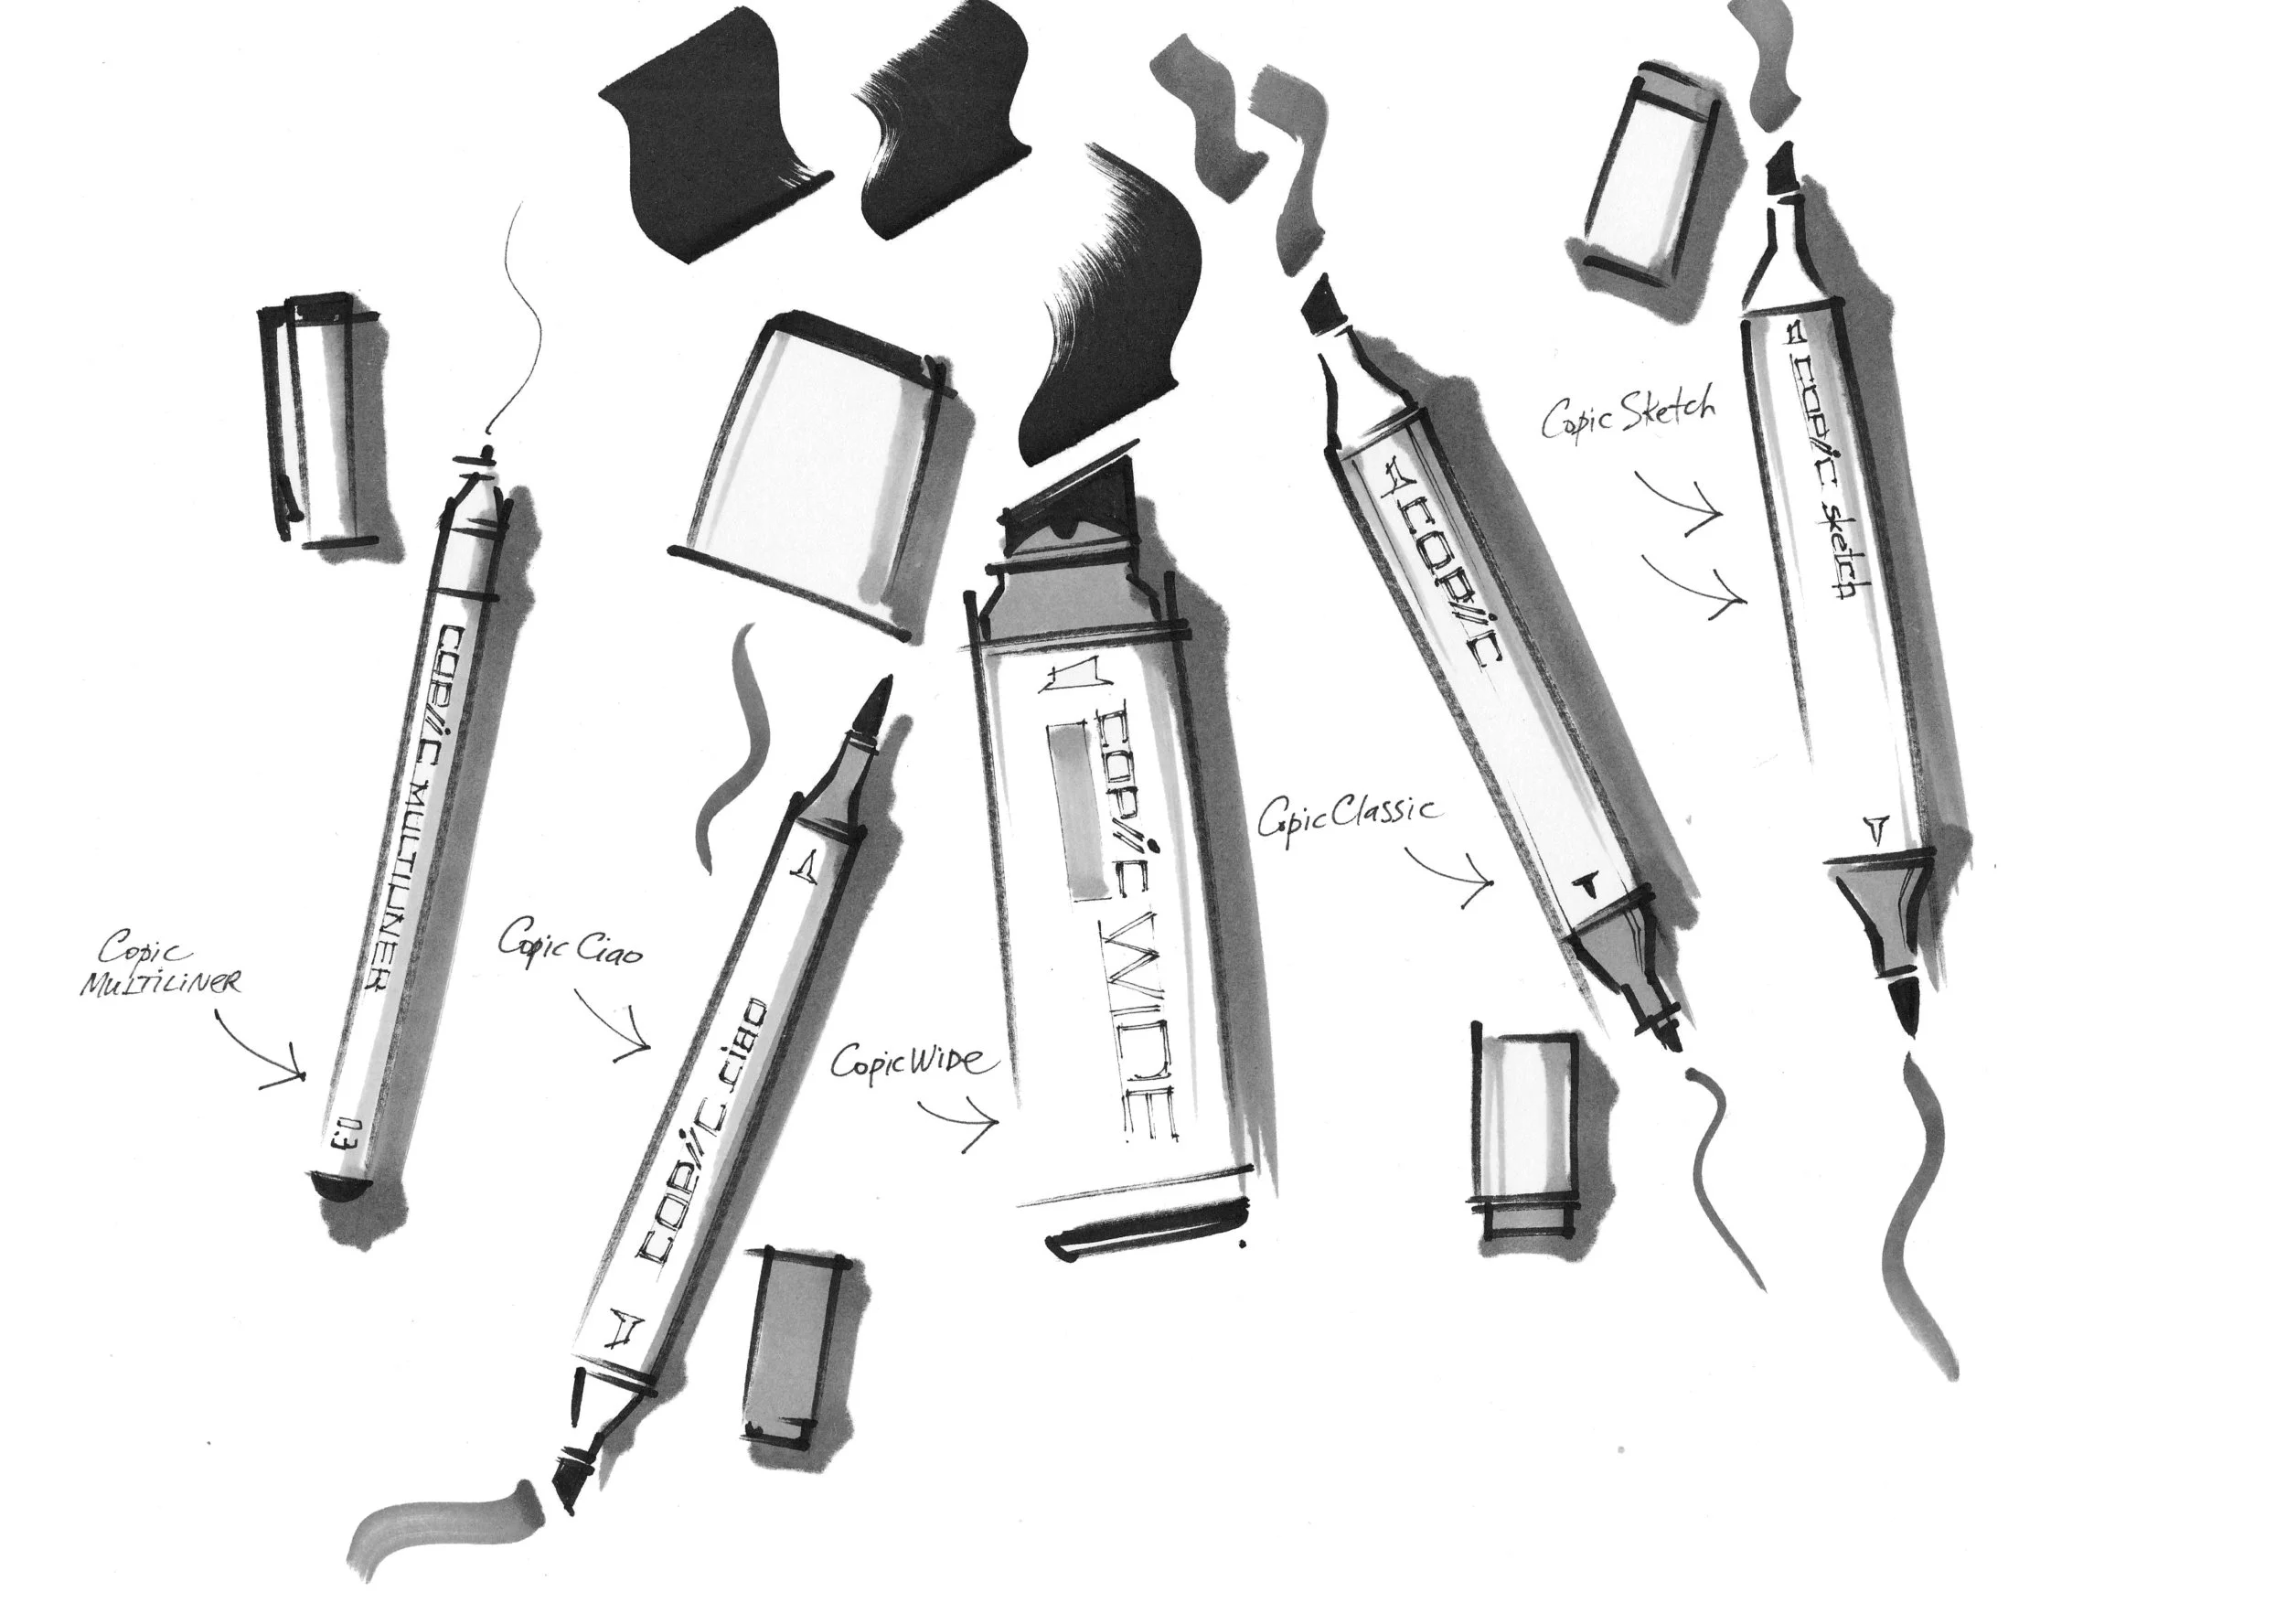
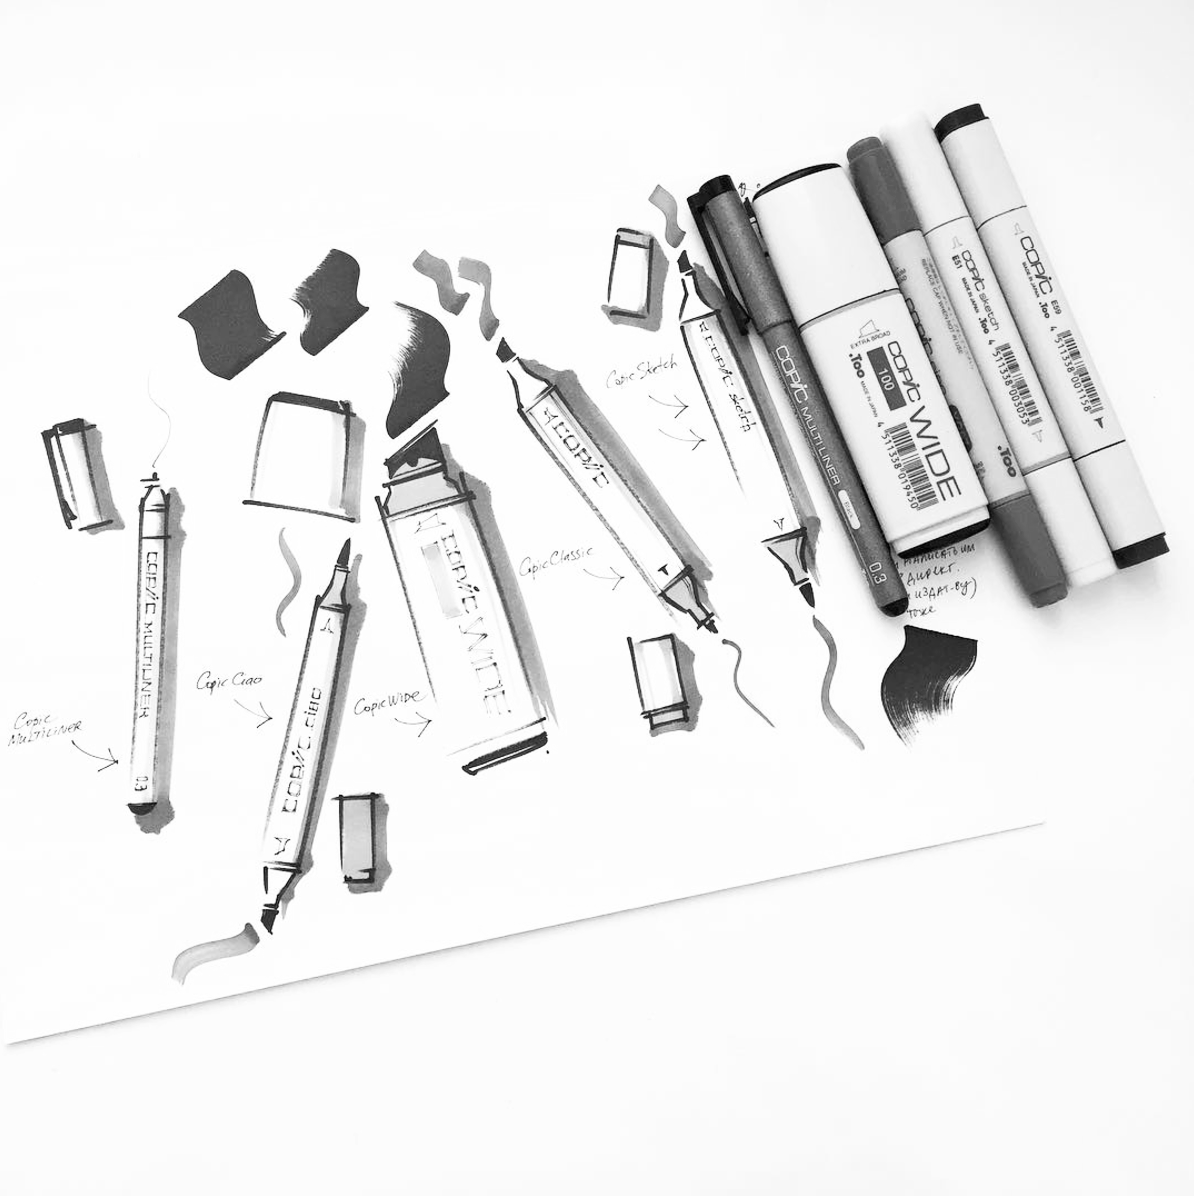
TIP 2: You might also want to download the list of my favourite marker sets for interior drawing at my Resources page here.
Check my 5-min tutorial to enrich your portfolio with hand rendered furniture plans:
You can get each step of this sketch plan in PDF directly to your email now, simply complete the form below:
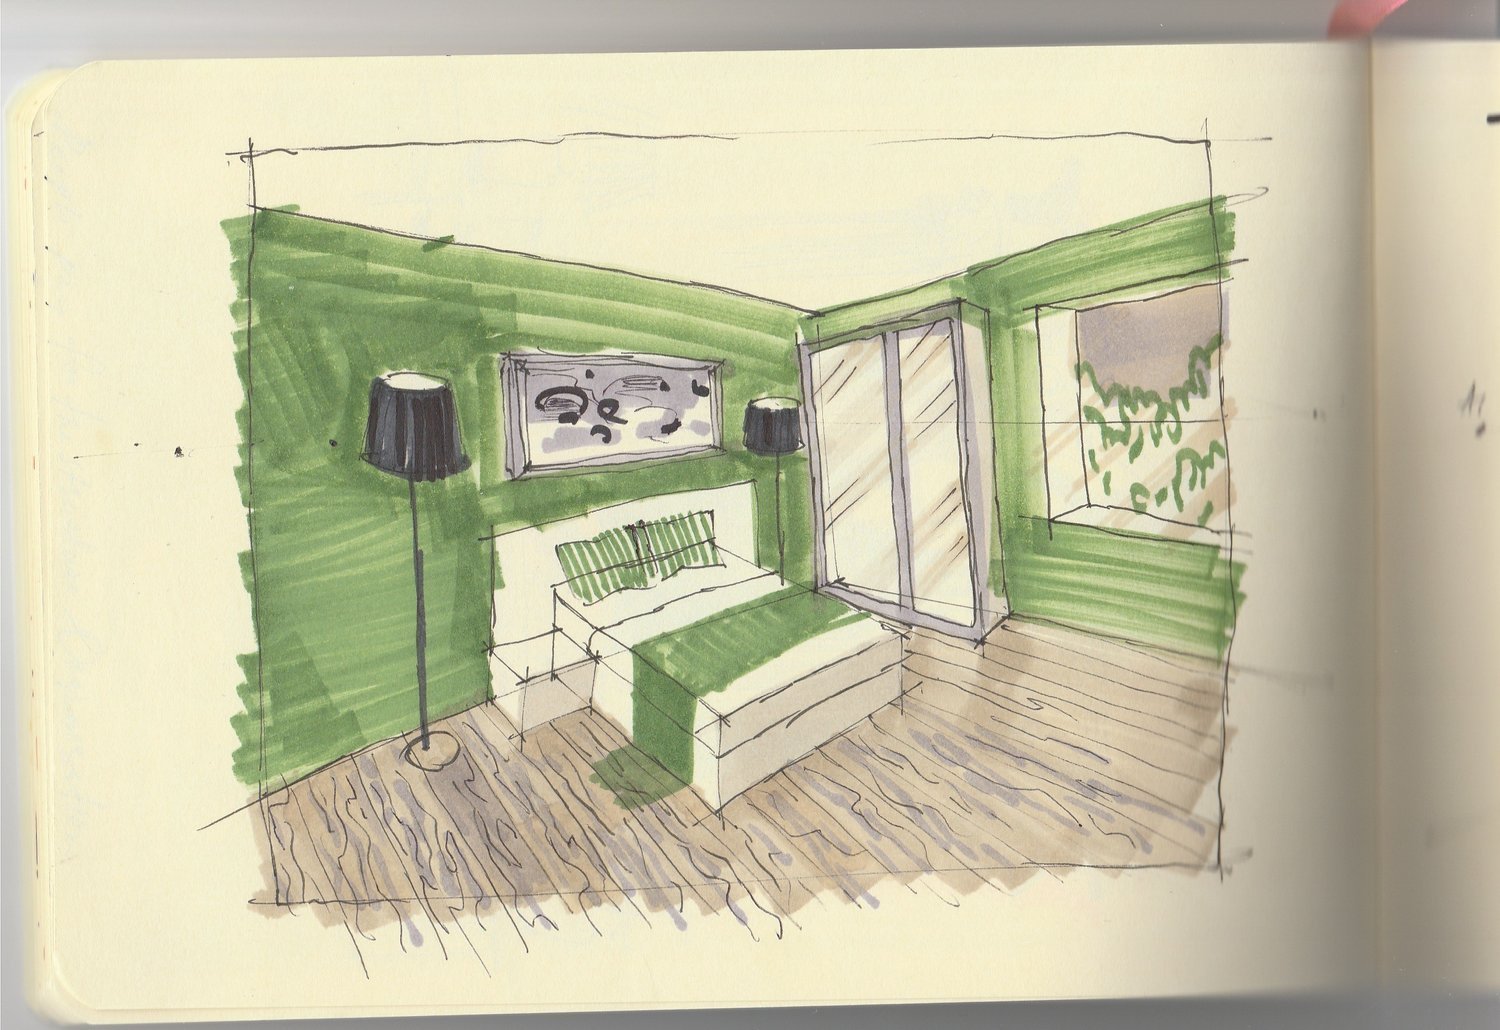
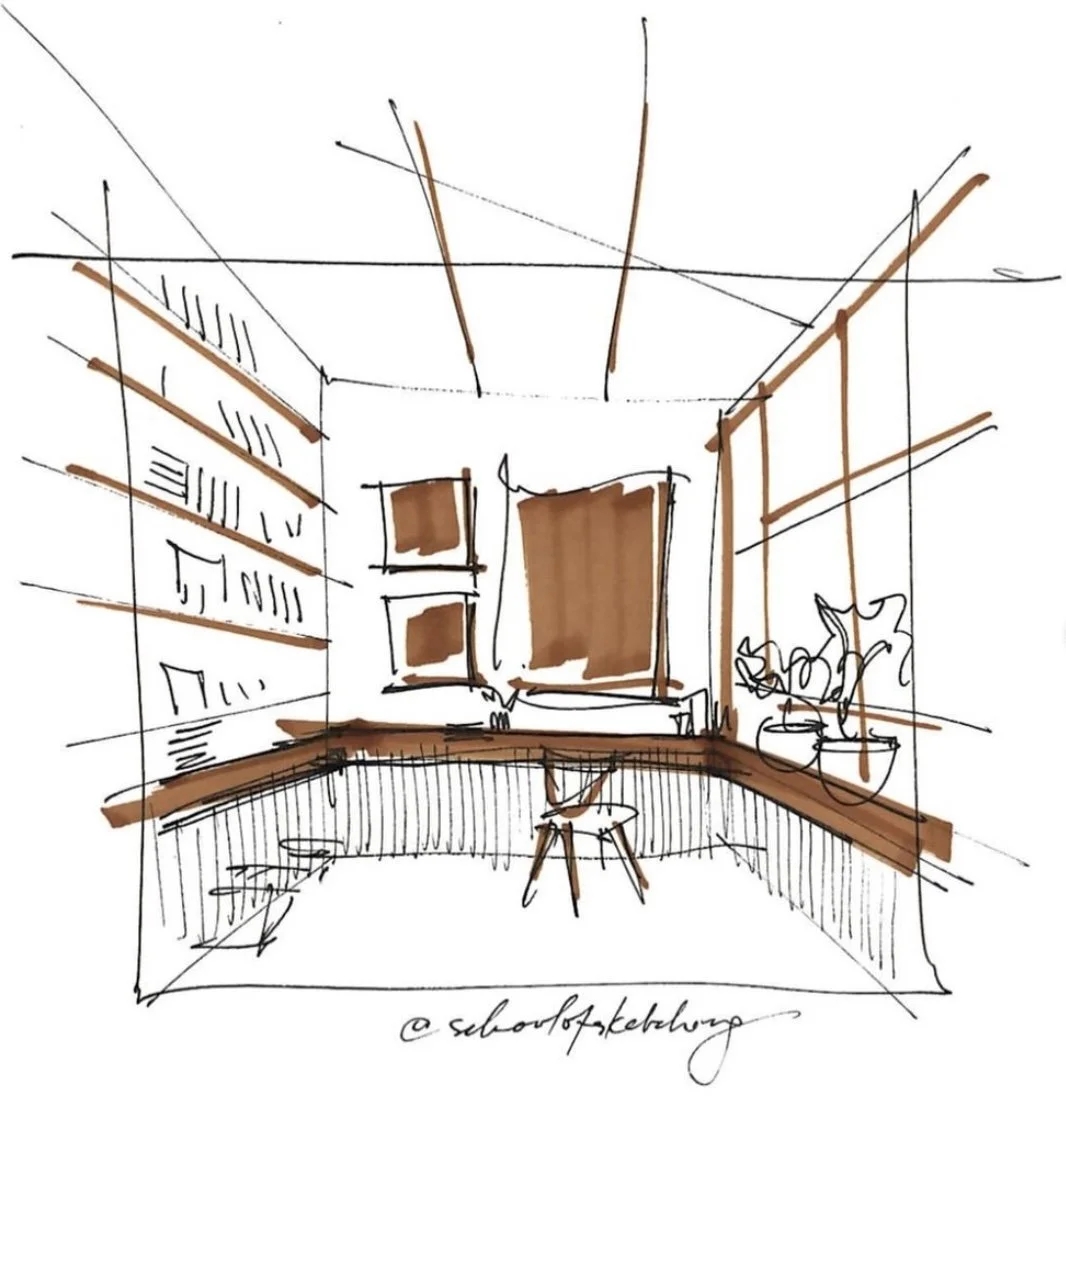
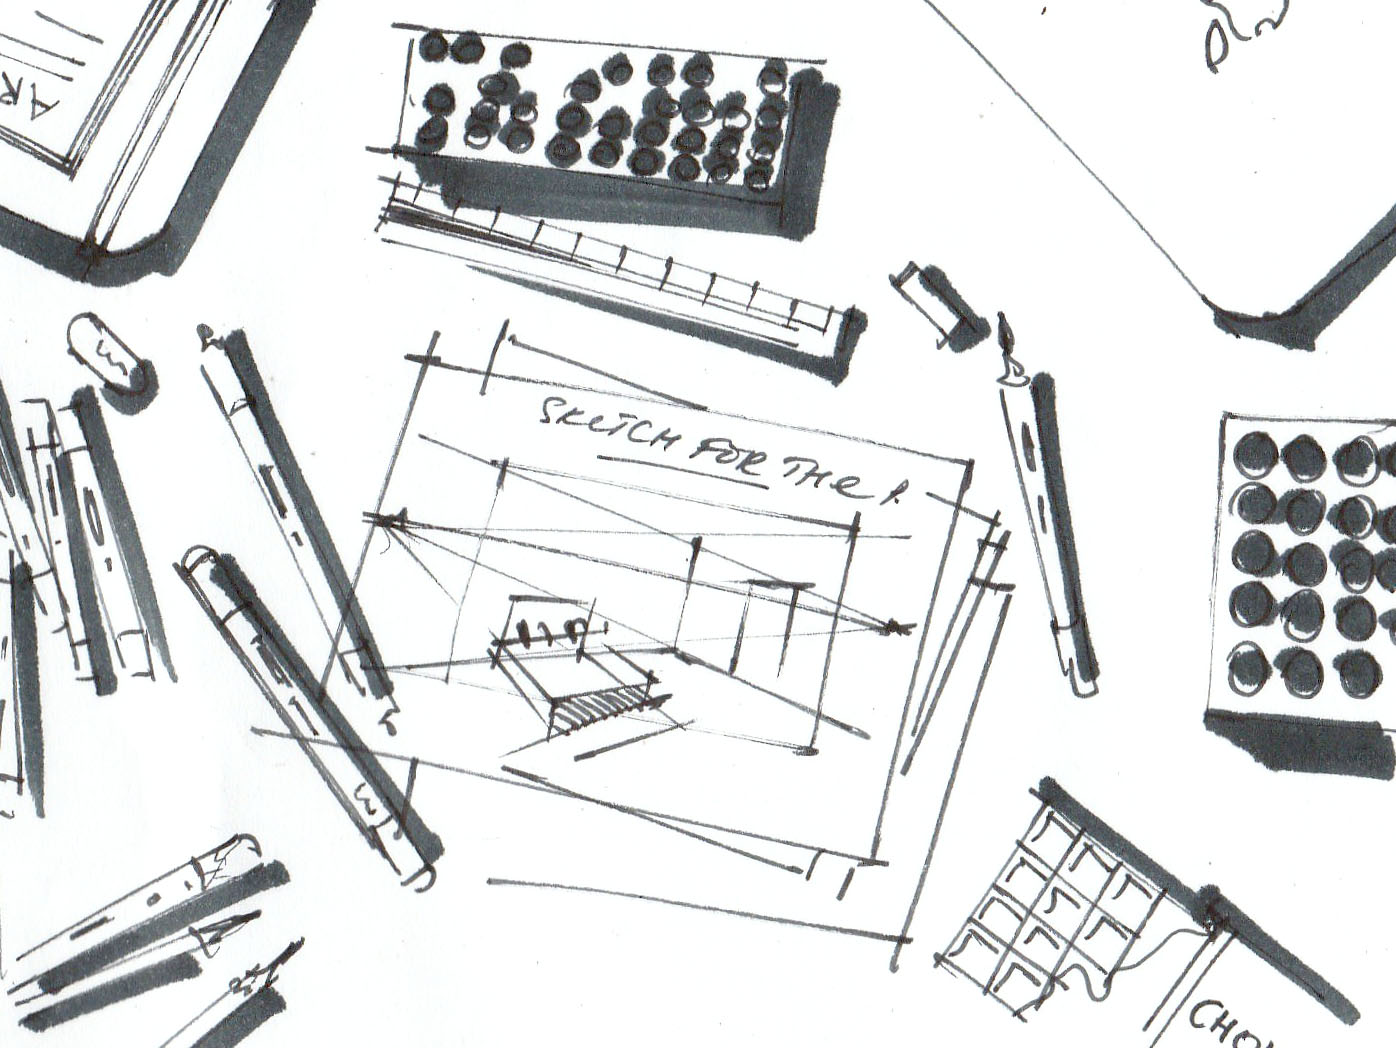
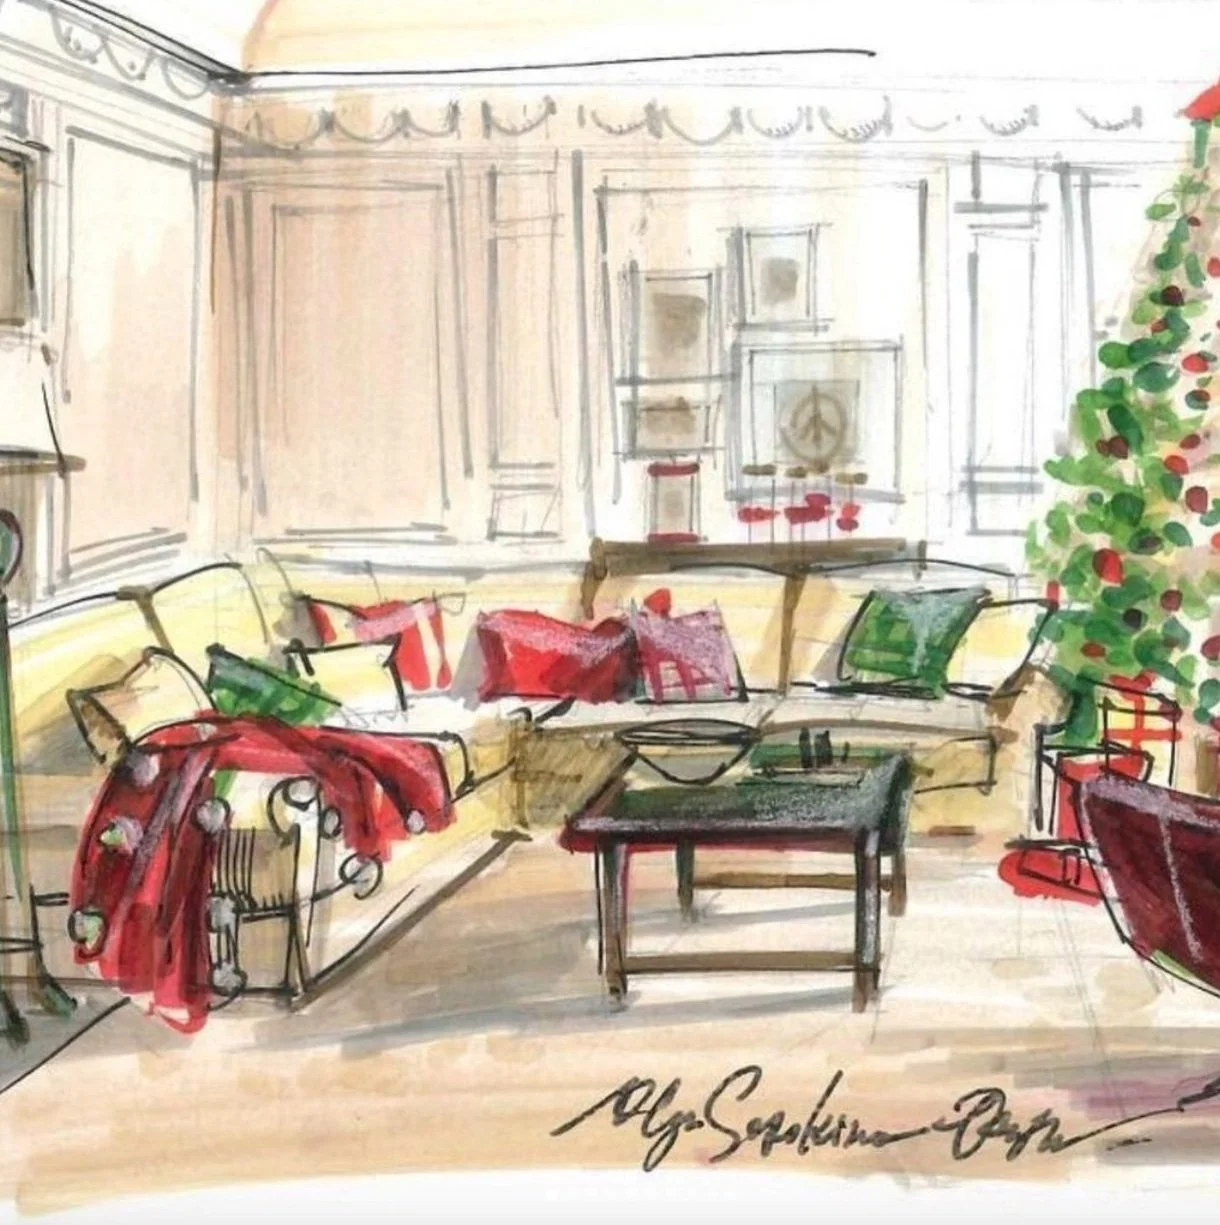
“Interior sketches dramatically enrich your portfolio. Hand drawings are what attract instant attention and sell to your client. Why? Because they appeal to the emotional intellect of your customer.”
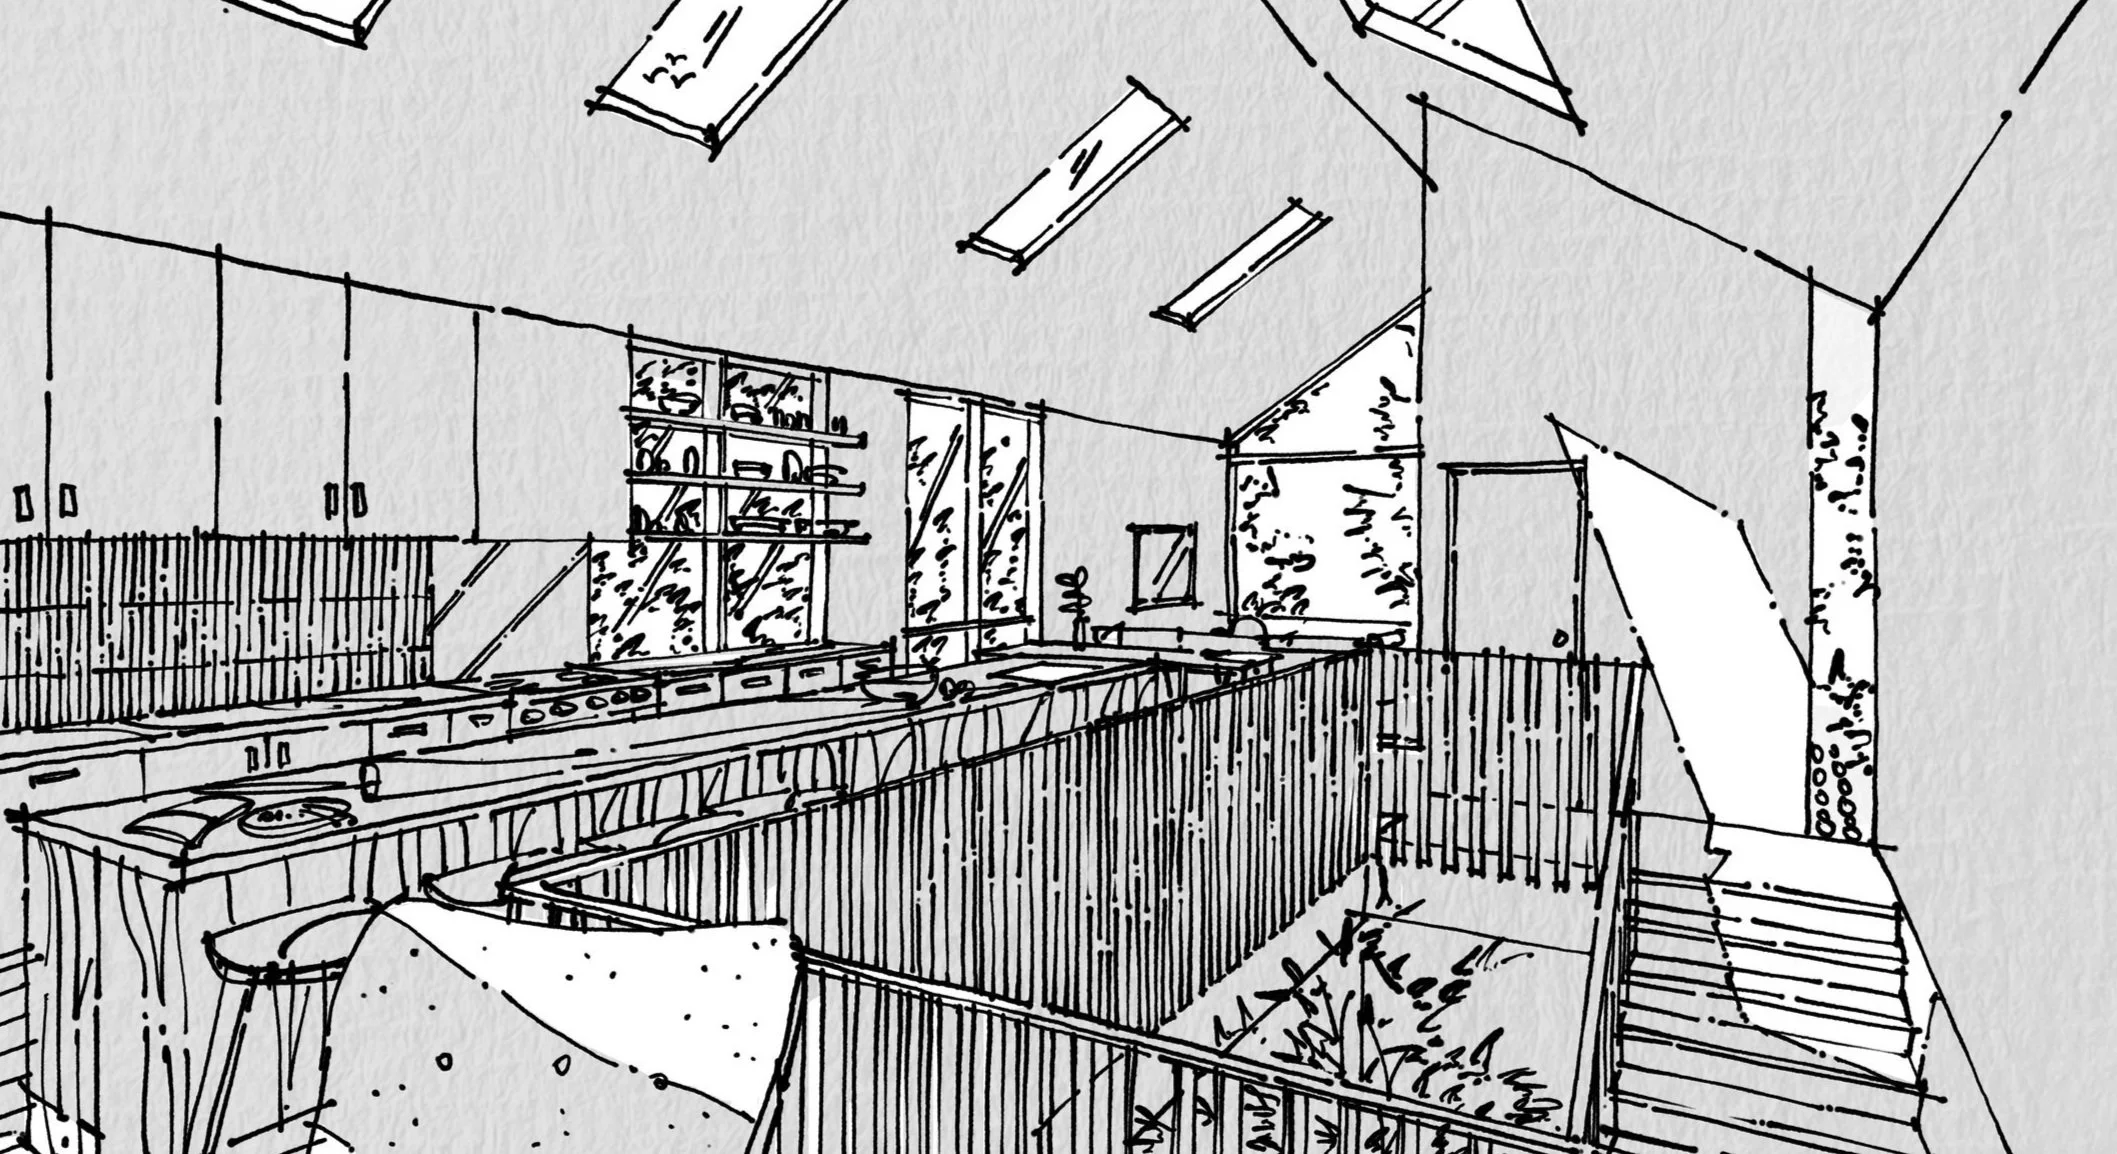
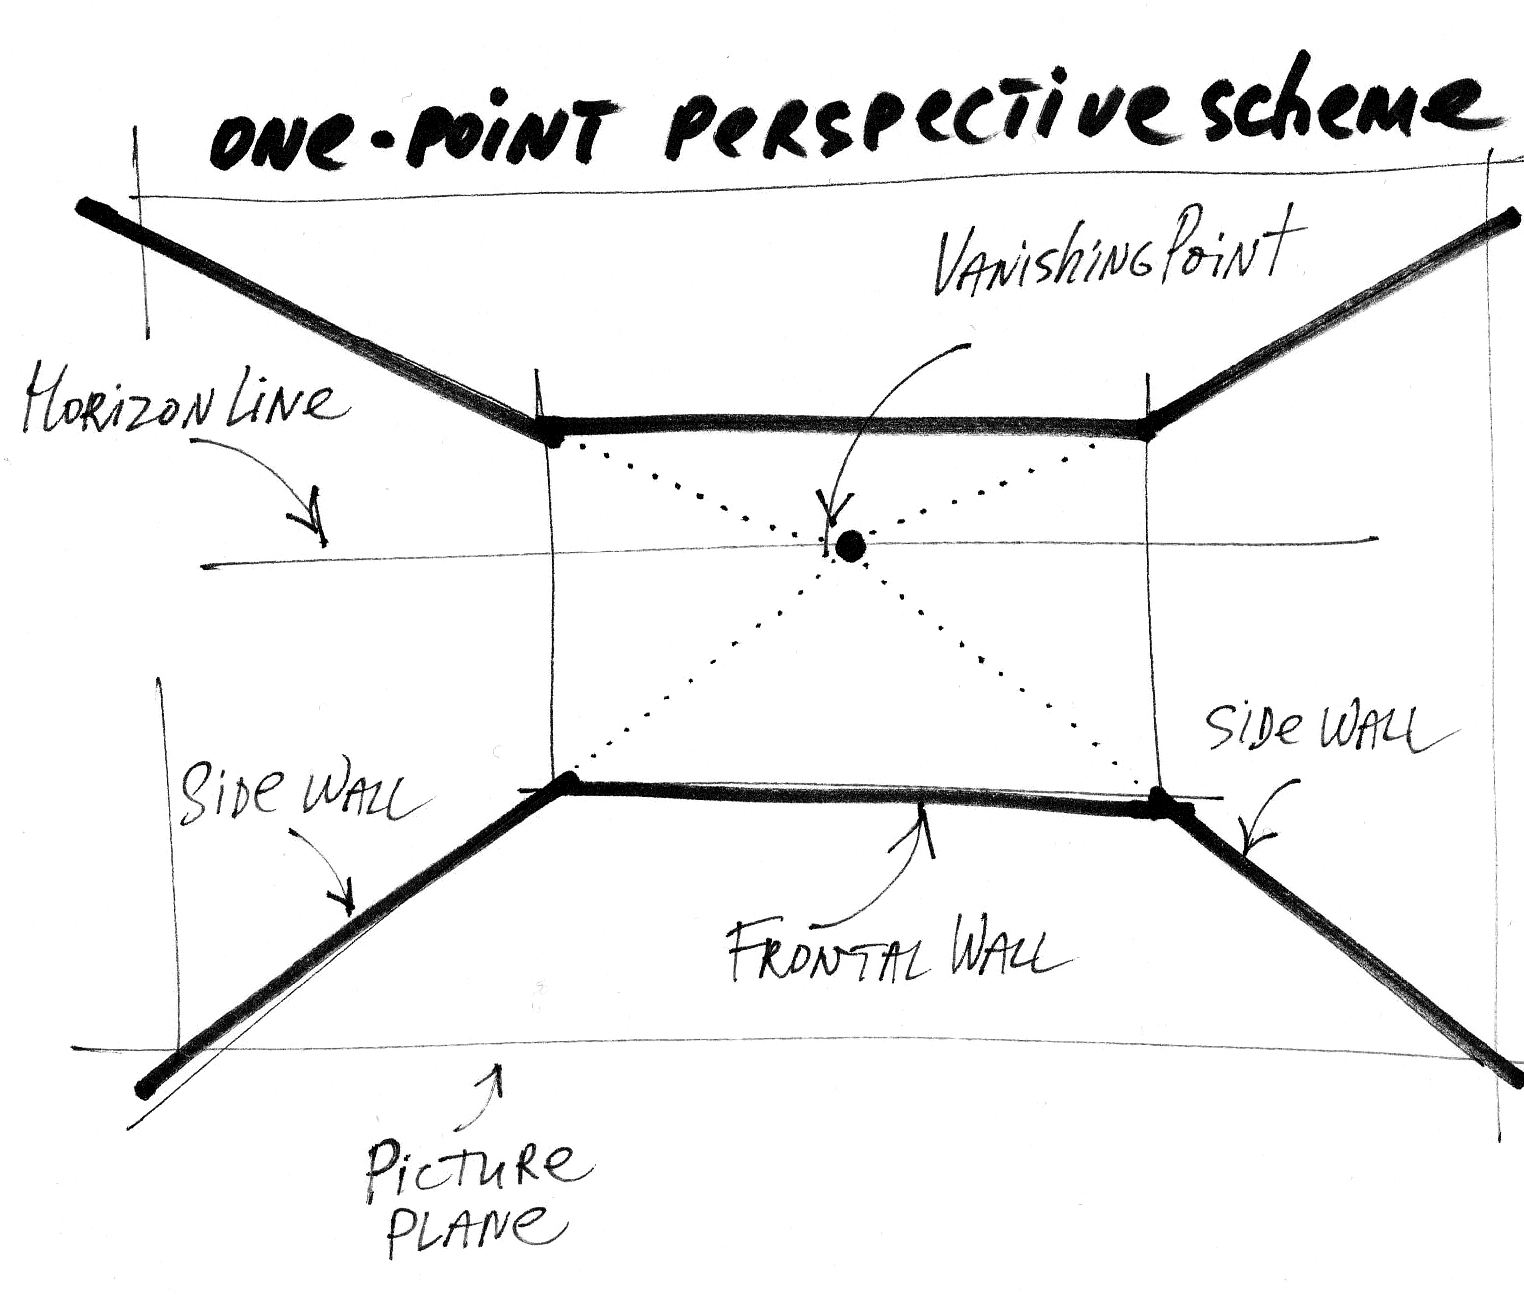
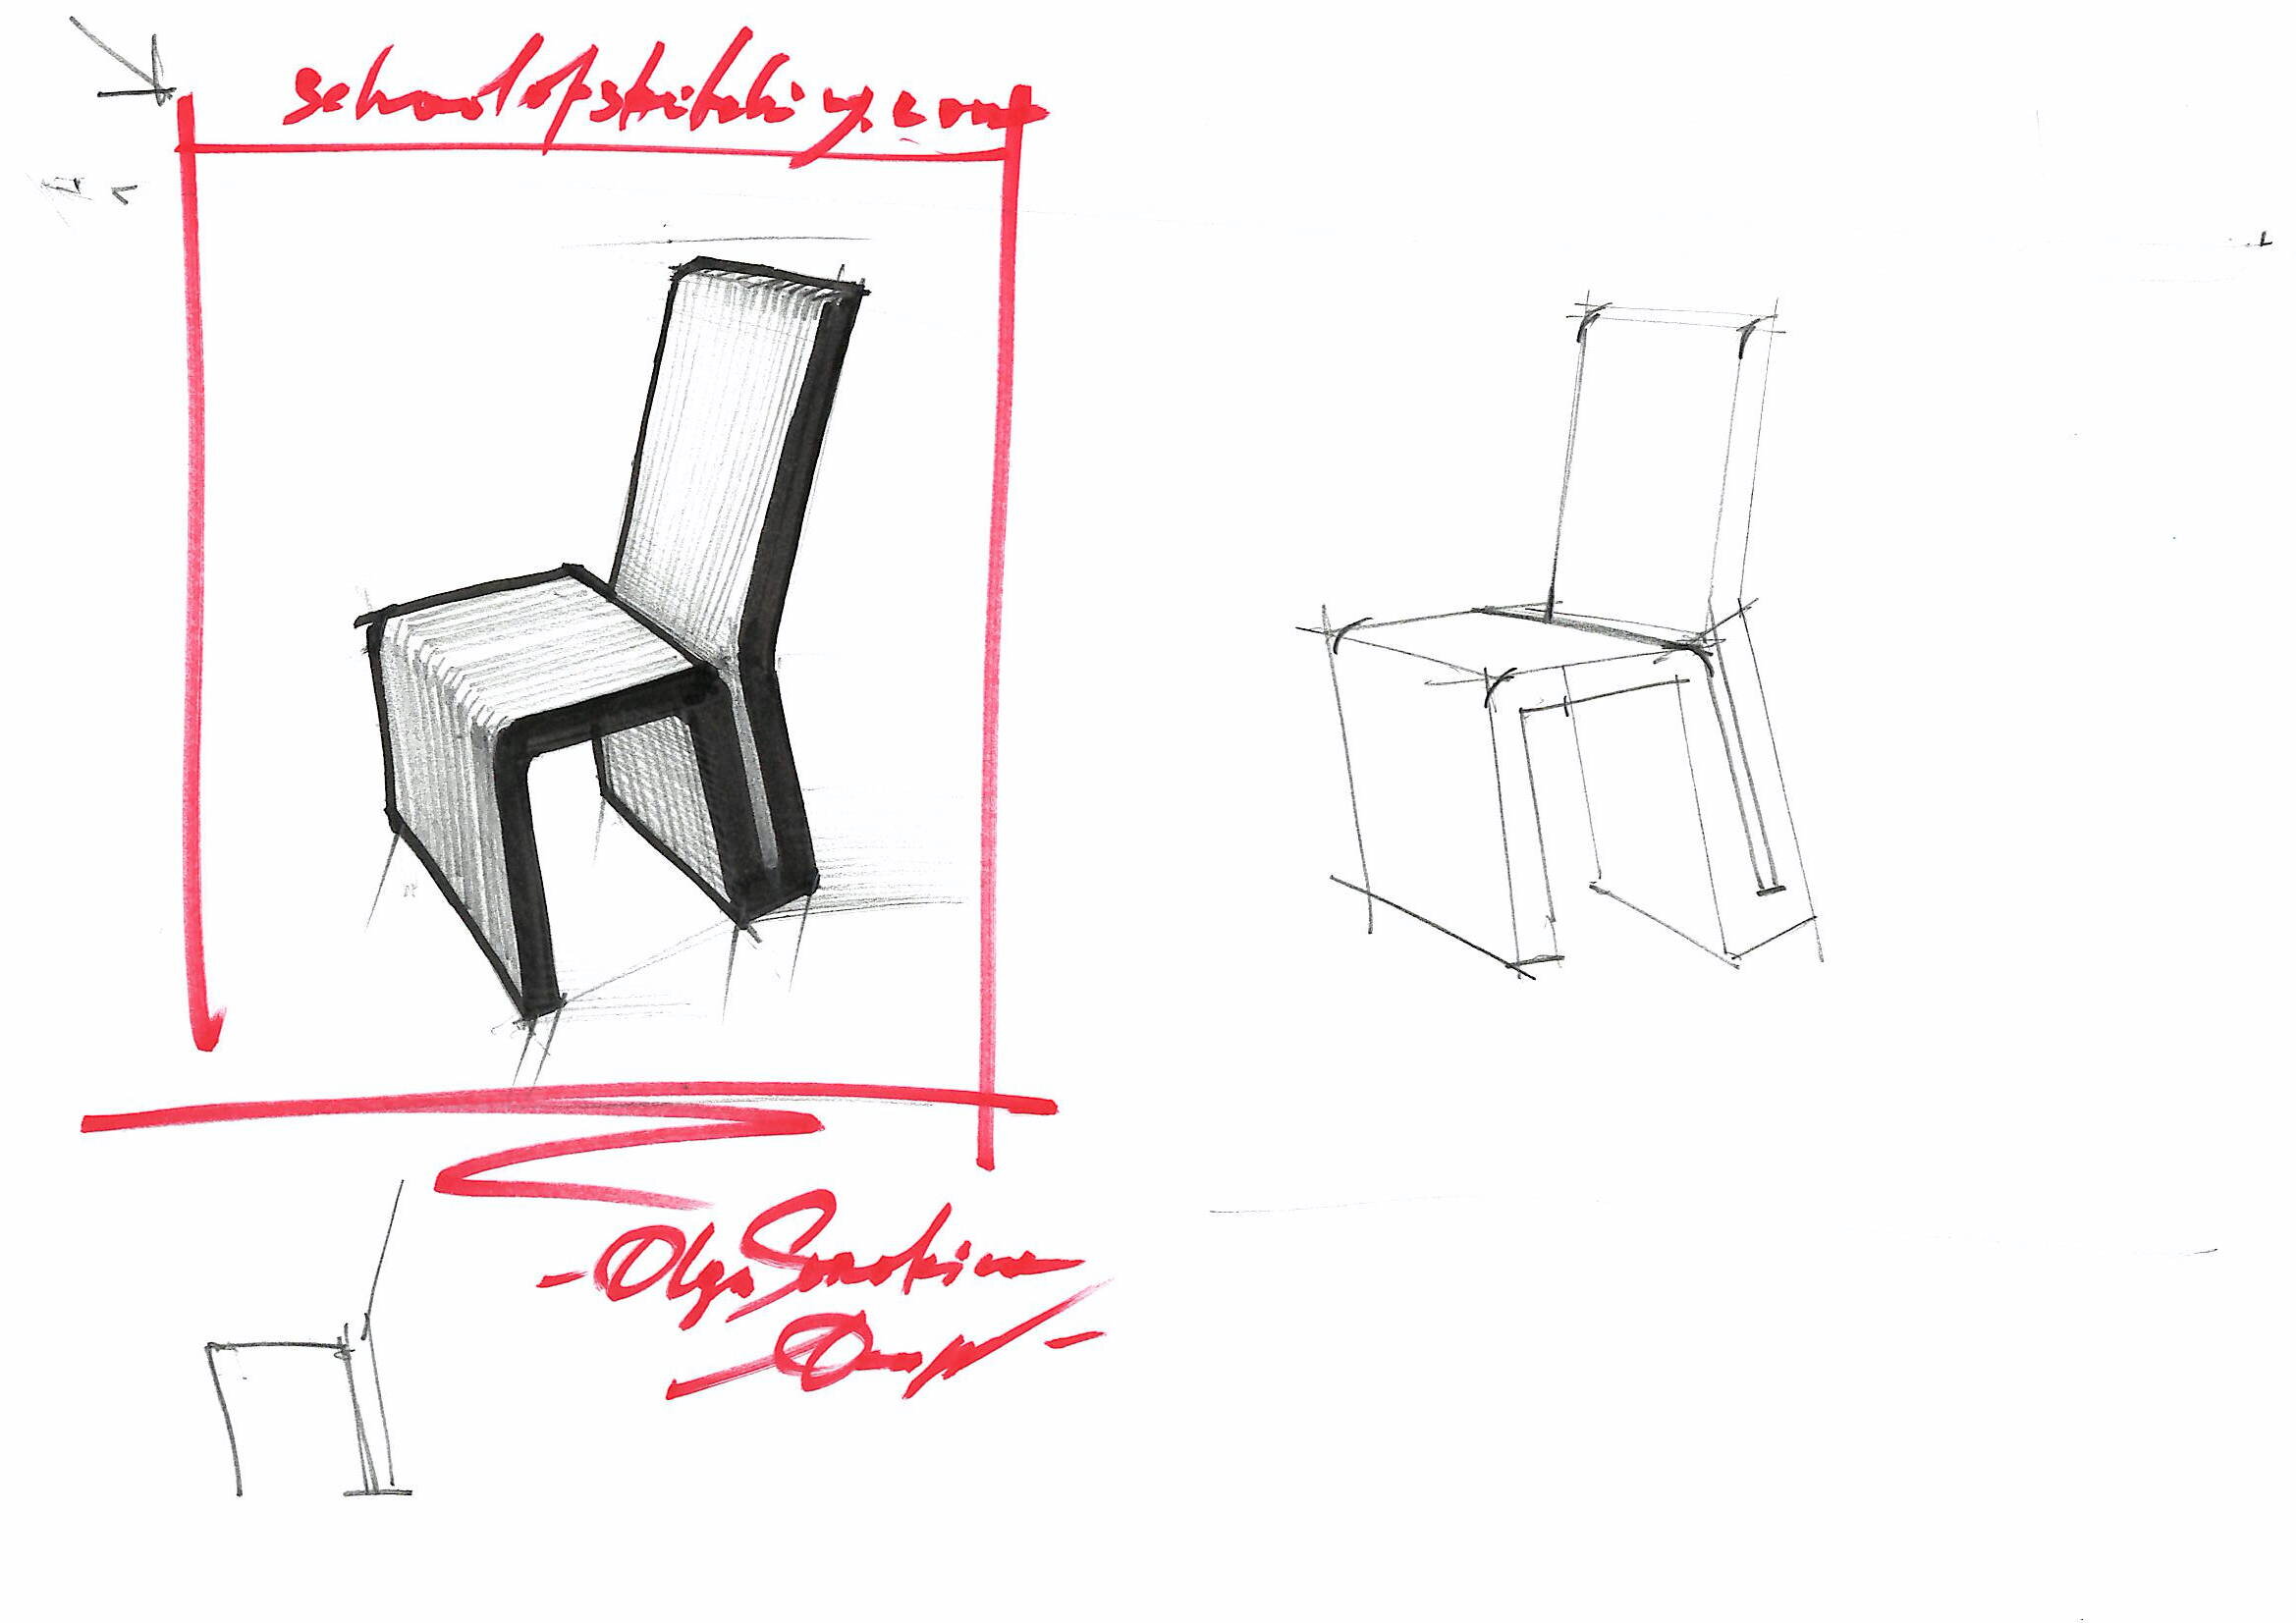
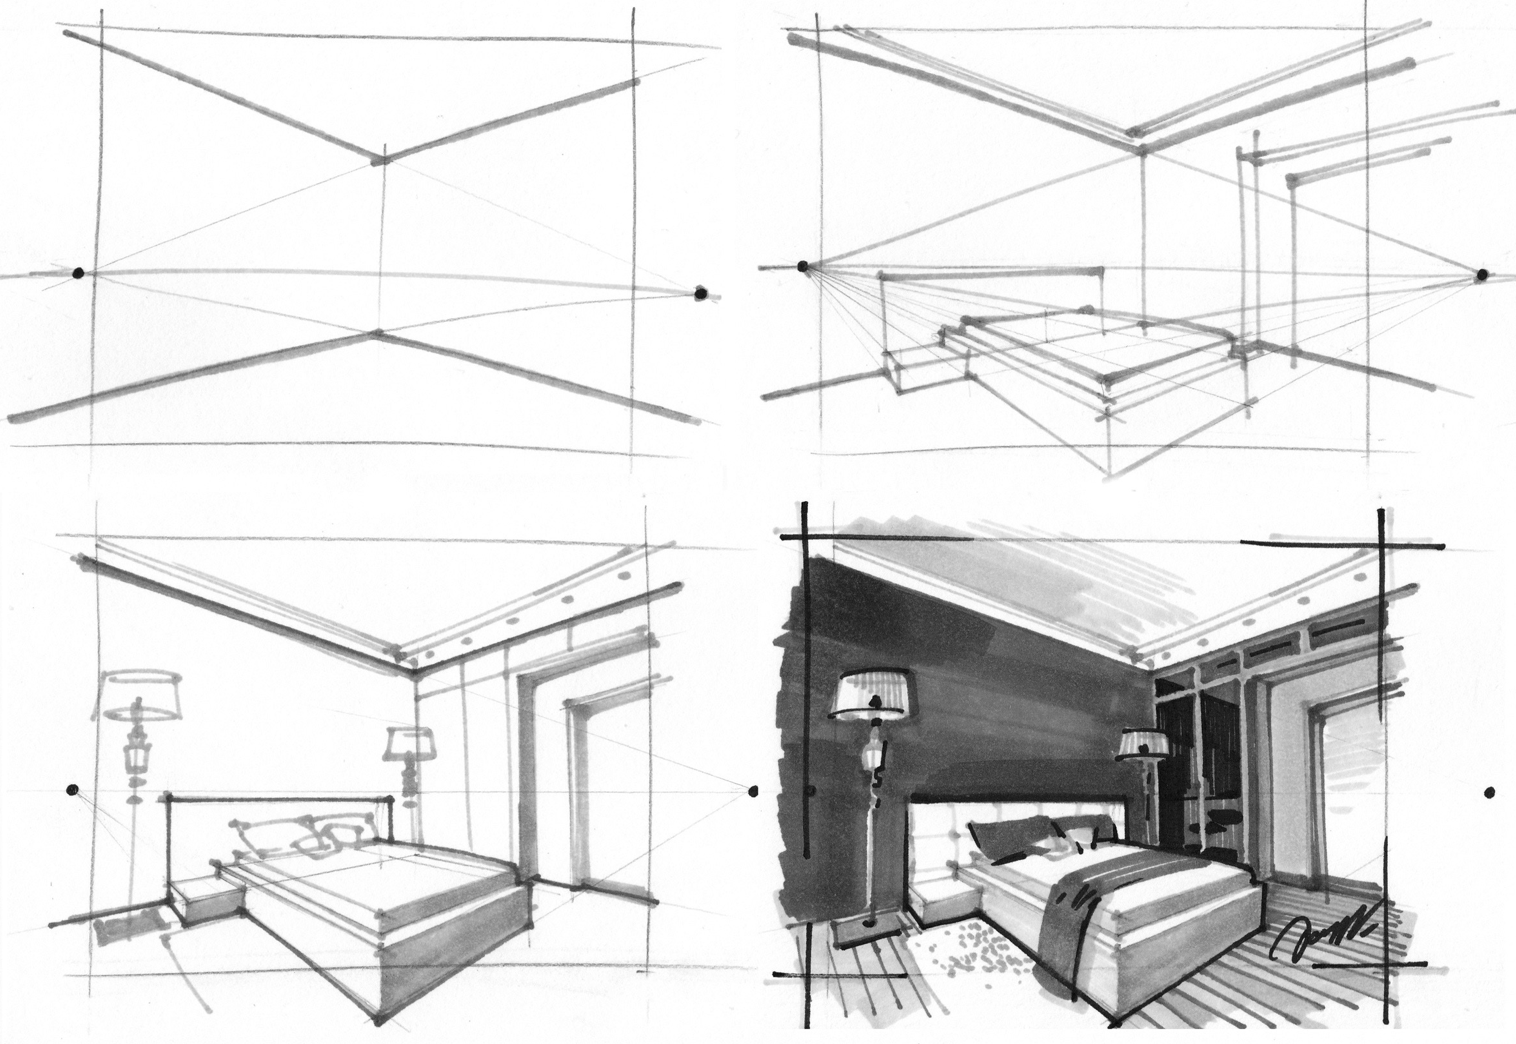
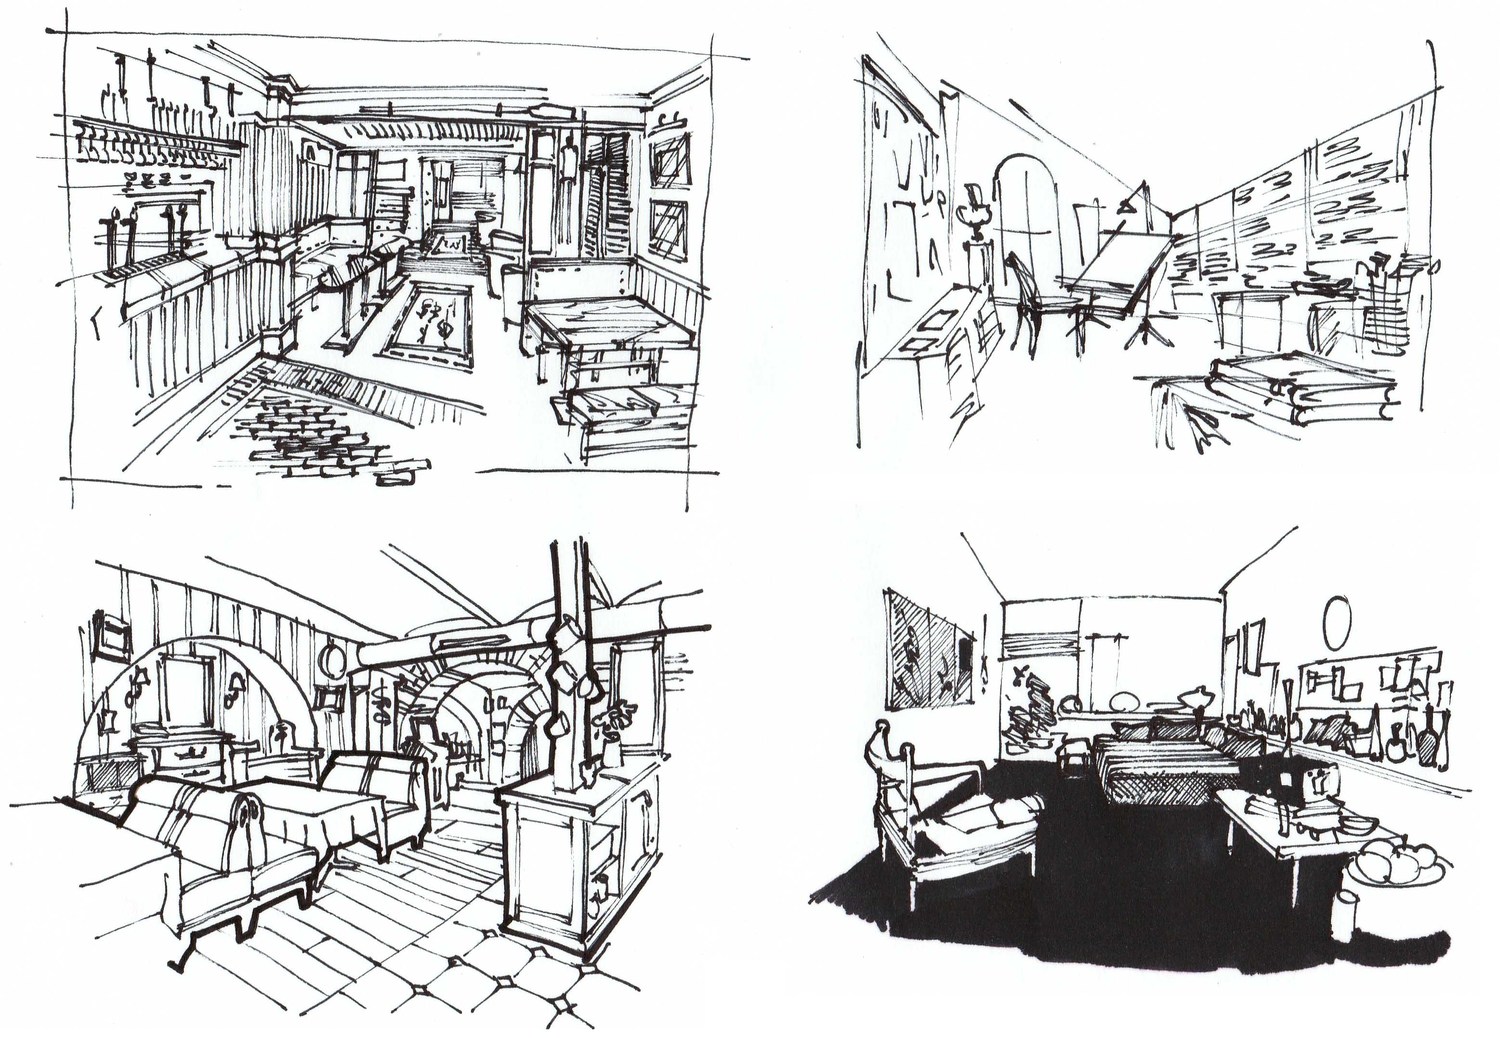
Drawing in 1-point perspective from my online course
“BASE": a Course Which Teaches All the Basic Techniques You Need to Implement Sketching in Your Interior Design Practice
(For Interior Designers & Architects)
2 case: Interior designer’s portfolio
Please remember that interior design is not the same as interior decorating, that is the one big mistake people make all the time. Some customers really think that we just select pillow cushions, and blankets, and picking wall colours all day long. To be true, that is about 10% of what we actually do. Interior design is essentially like architecture, in some countries, it’s even called «interior architecture». You can get your diploma in interior decorating in 2-3 years, whereas interior design typically is a four to six-year degree program.
In interior design, you learn about constructions, floor plans, history of interior design, styles, functionality, ergonomics, lighting, colour theory, client communication, building codes, mechanical systems. It’s a lot more than just designing a room. In this article, I will cover the decorator’s portfolio as well, so keep reading.
Well, here, in an interior designer’s portfolio, your «target audience» can be both a potential employer or a client.
First, let’s talk if it is an employer:
Looking for a position in interior design or architecture firm? Your resume, in that case, should cover your educational background, experience, and qualifications. My recommendation is to focus on your professional skills in this type of portfolio.
For example, you can list your skills, such as:
AutoCAD/ArchiCAD/Revit/Google SketchUp drafting and rendering
3DS MAX rendering + Vray
Sketching and hand rendering
Construction management, etc
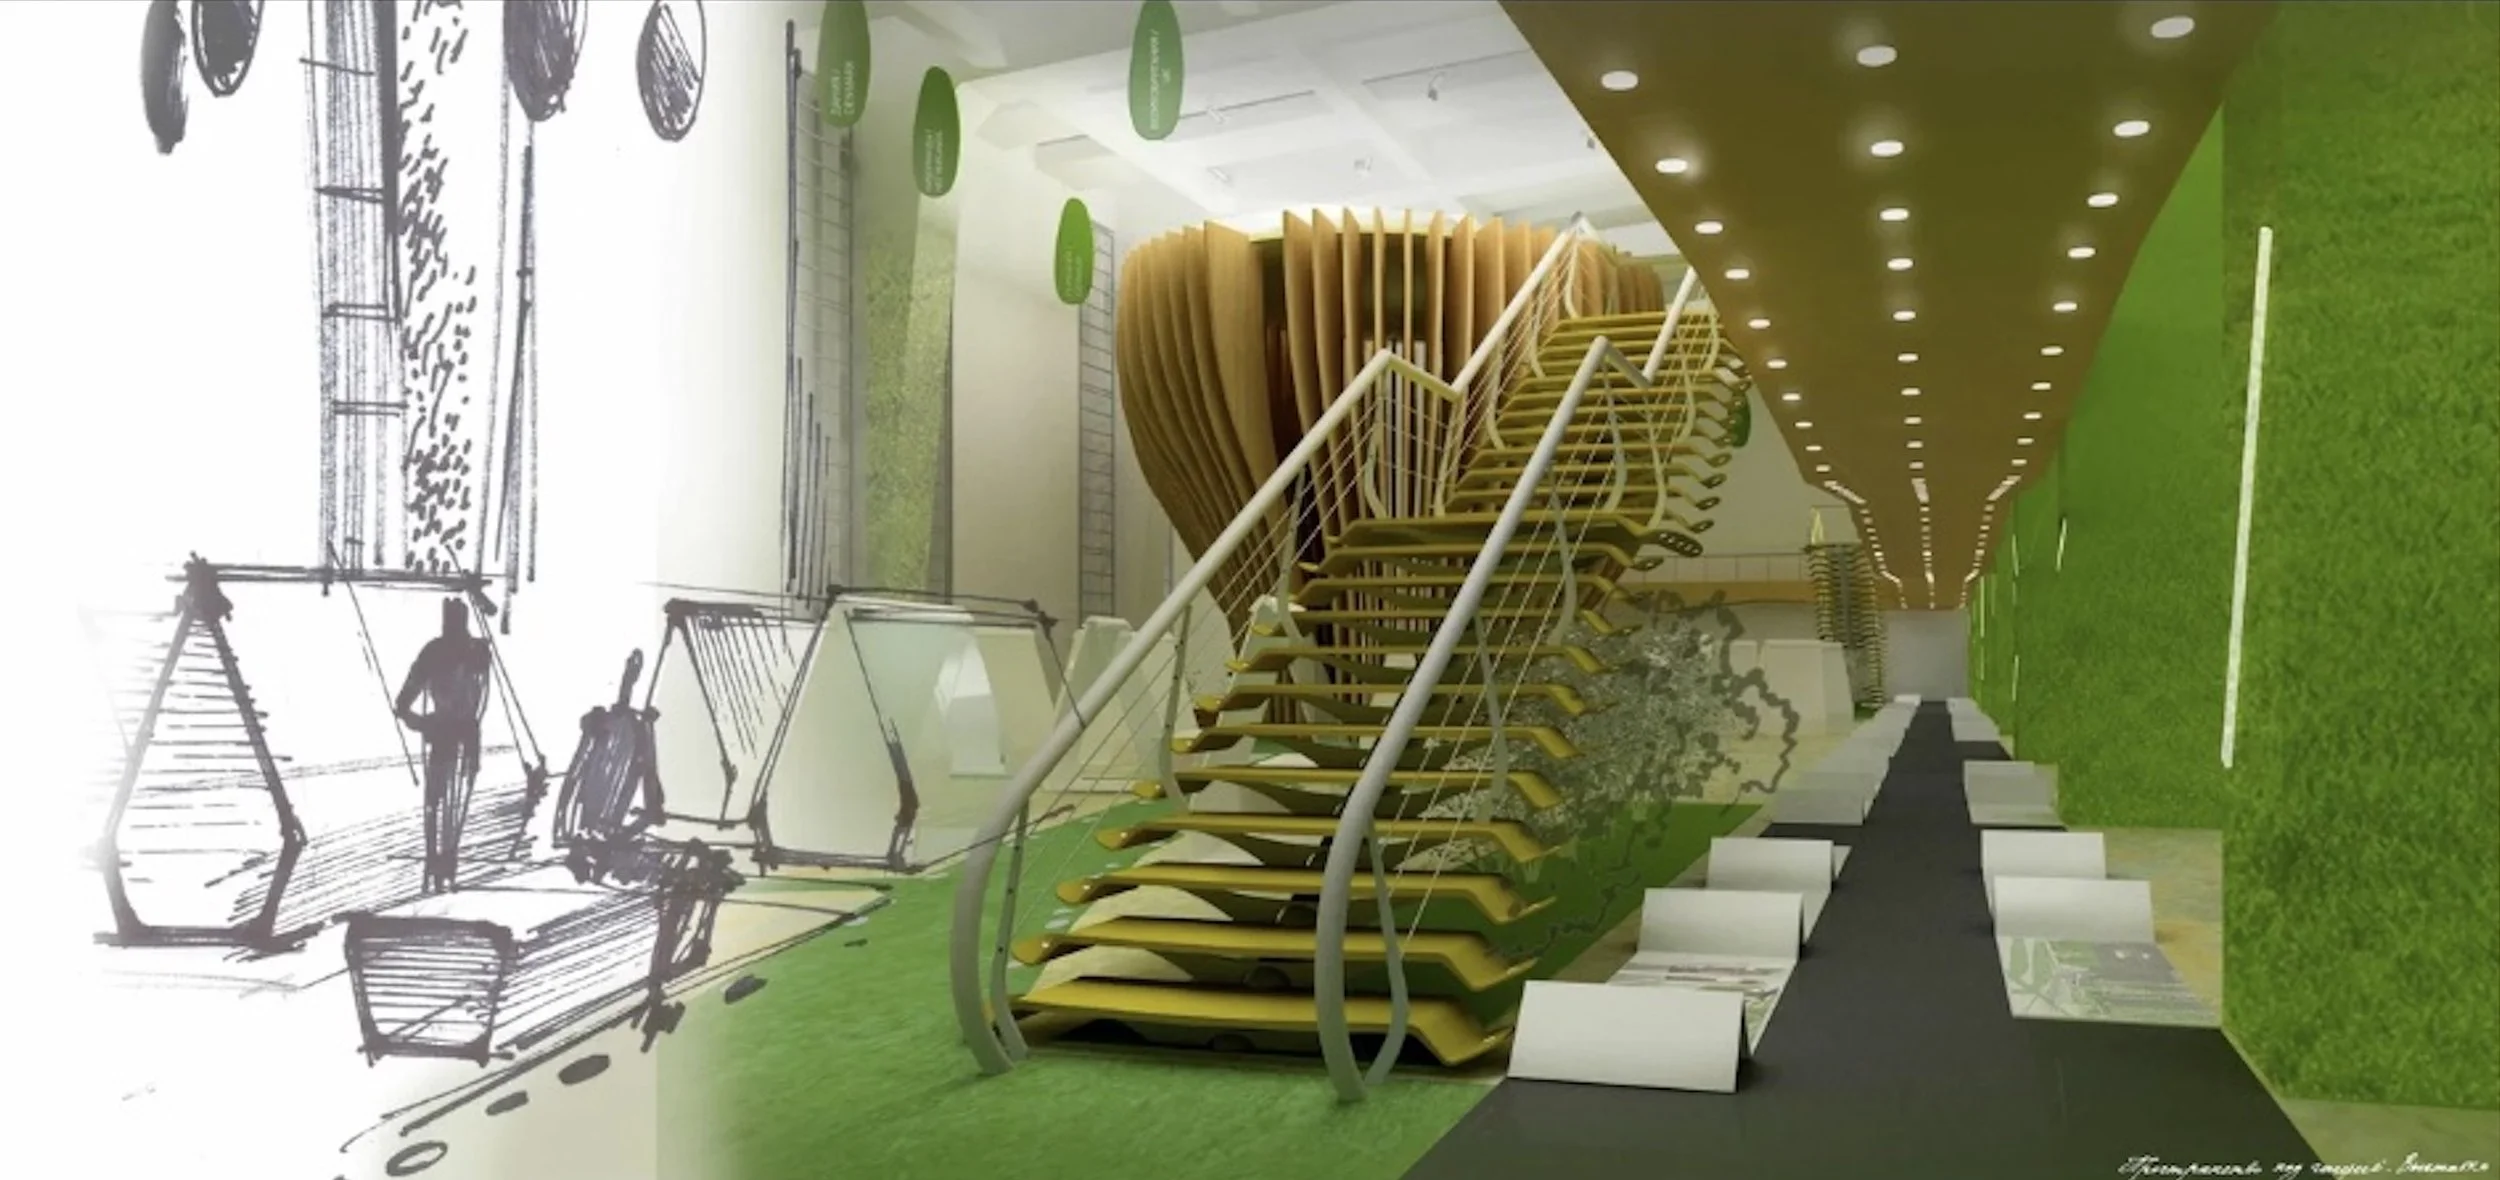
It’s also a good idea to demonstrate a progression of a project from the concept to the final design, show your sketches, sample design boards, floor plans, and any other mechanical plans, elevations, and final 3D renderings.
Now, let’s talk if it is a client and if you already have some experience:
Your resume here can cover not only your experience, educational background, and qualifications but also your design philosophy. Remember to add contacts or your business card.
Include client recommendations if you have any, remember, that testimonials work better than anything.
Show what your customer wants, if he came to you for a residential project, show him your completed projects of apartments, studios, duplexes, houses, etc. I mean, at least 80% of your portfolio should be residential, the other 20% you can make commercial if you wish.
Try to include real photos, not only 3D renderings, layouts, mood boards, and drawings, as photos of completed projects will dramatically enrich your portfolio and gain the trust of the customer. Every time you finish a project, hire a photographer or a friend of yours who can take professional photos of your accomplished interior.
Focus on visuals: photos, 3D views, hand renderings, and sketches; clients love it. Try not to overwhelm your customer with technical drawings and AutoCAD layouts; the majority of them won’t understand all that stuff.
Include project location with its start and completion dates, describe the client’s directive. Keep it short and sweet. You can use here «before» and «after» photos.
If you have any publications in interior design magazines, design awards — wonderful, include them as well. Add certificates and any other documents that show your accomplishments.
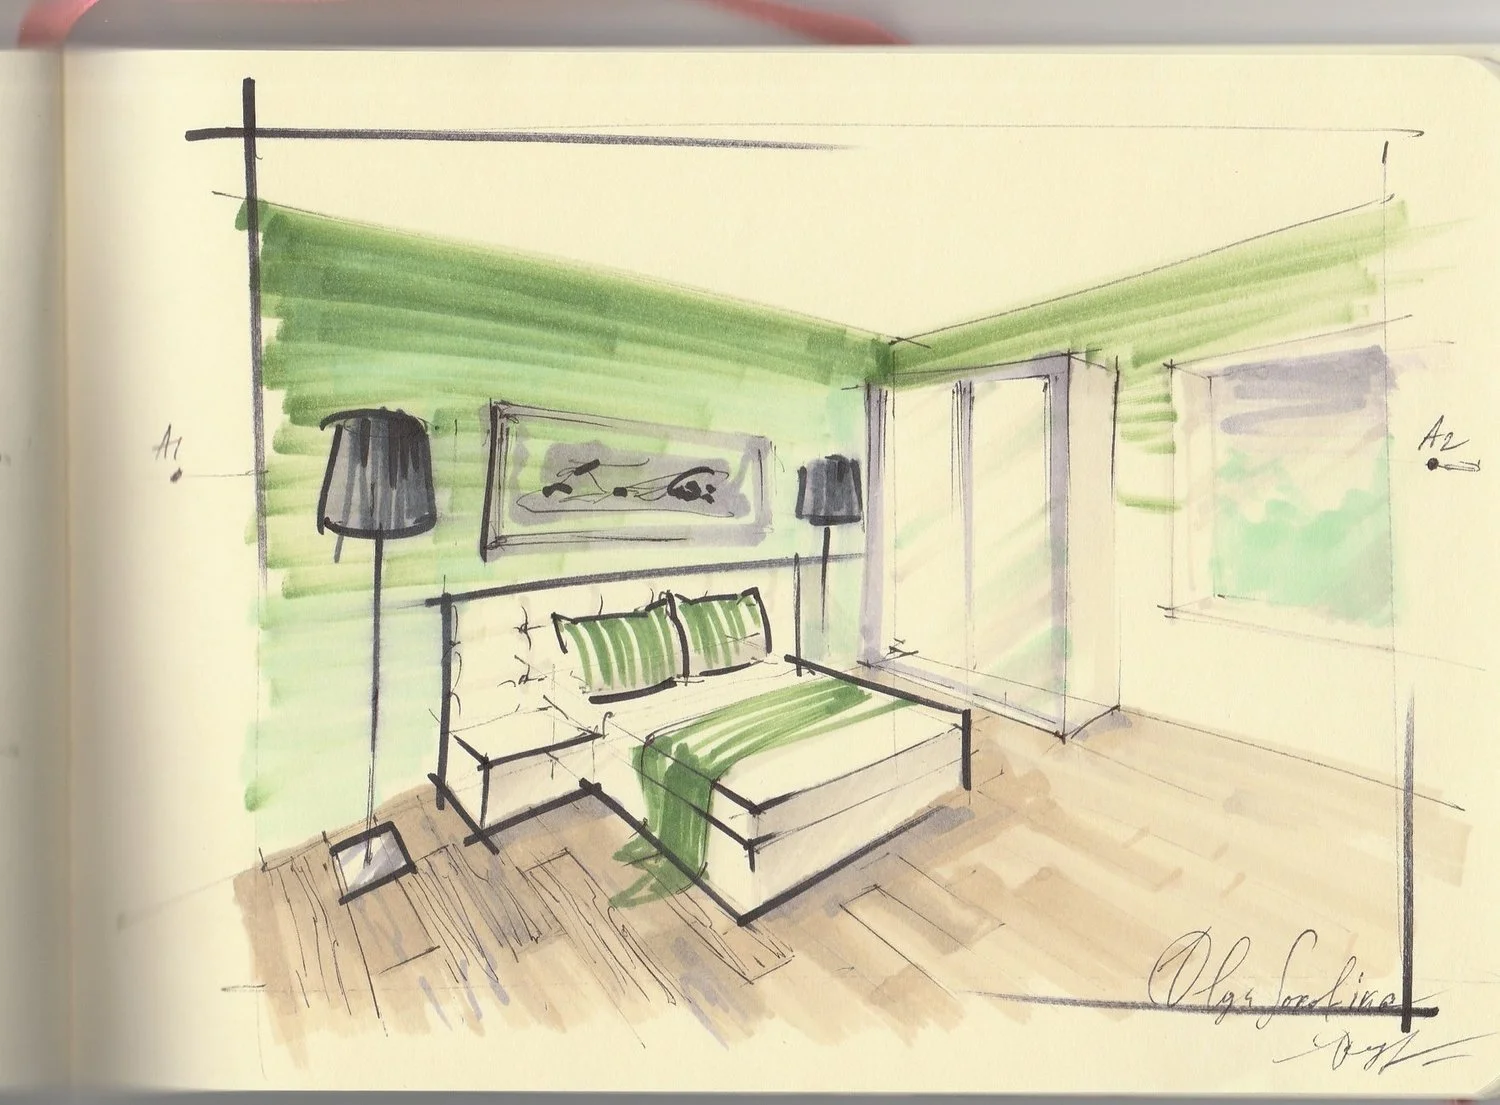
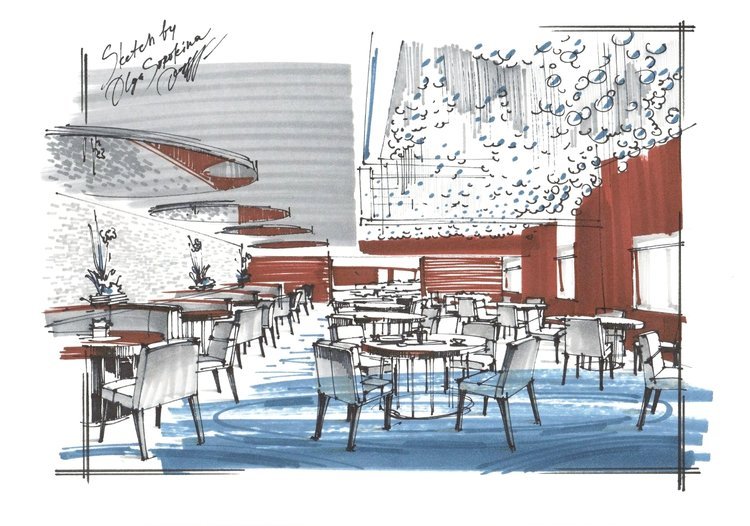
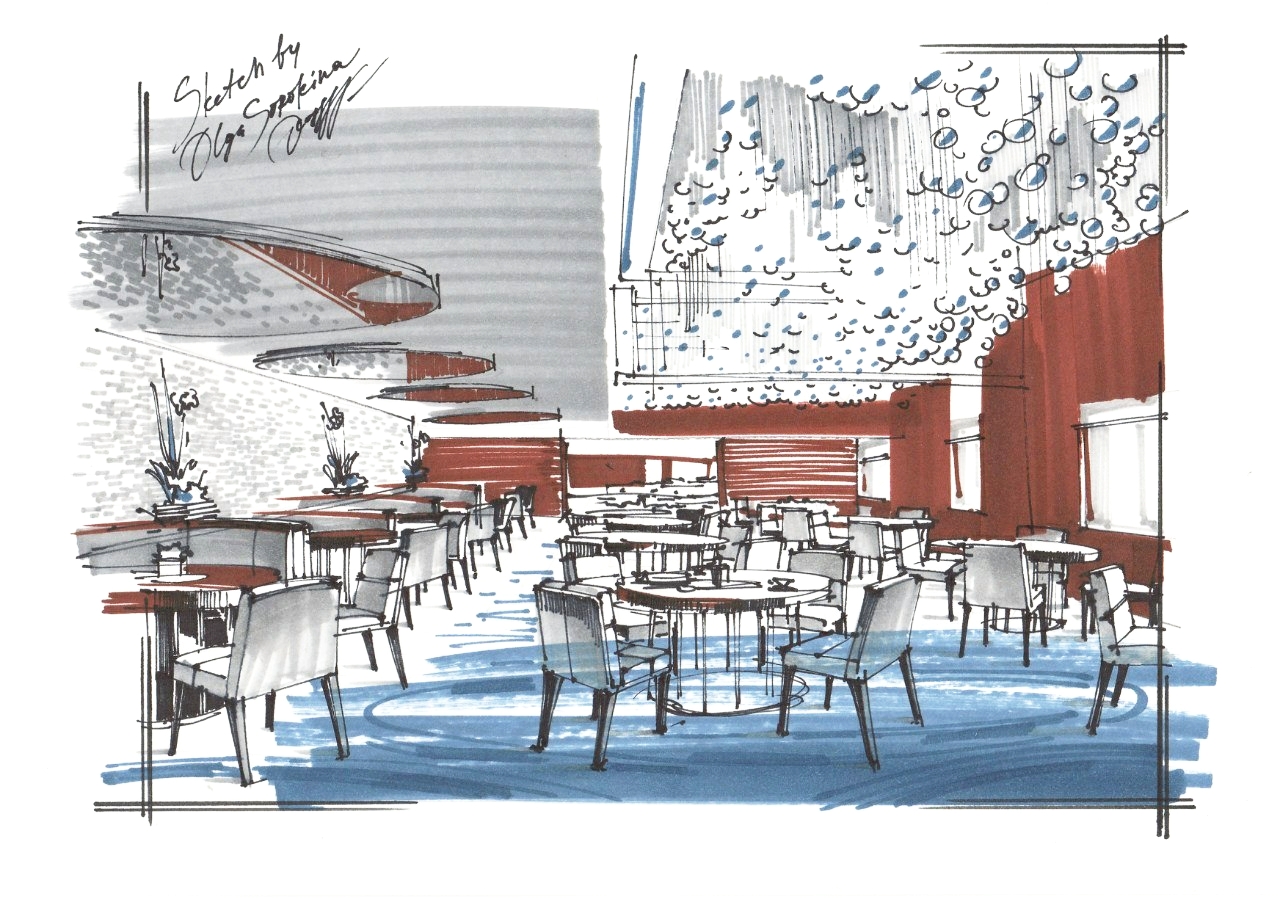
“Focus on visuals: photos, 3D views, hand renderings, and sketches; clients love it.”
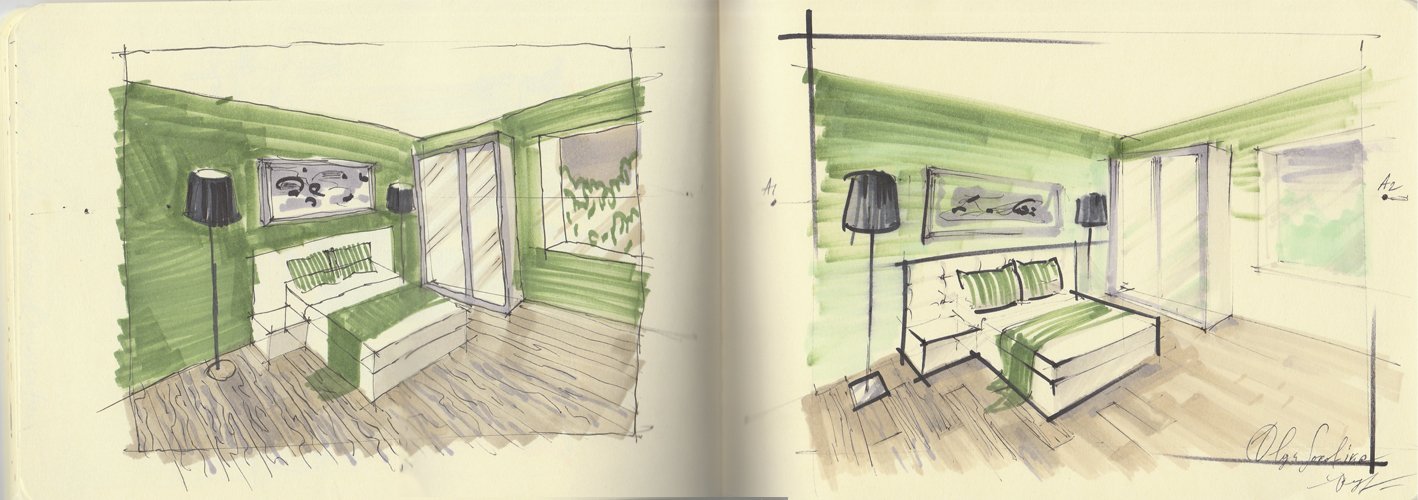
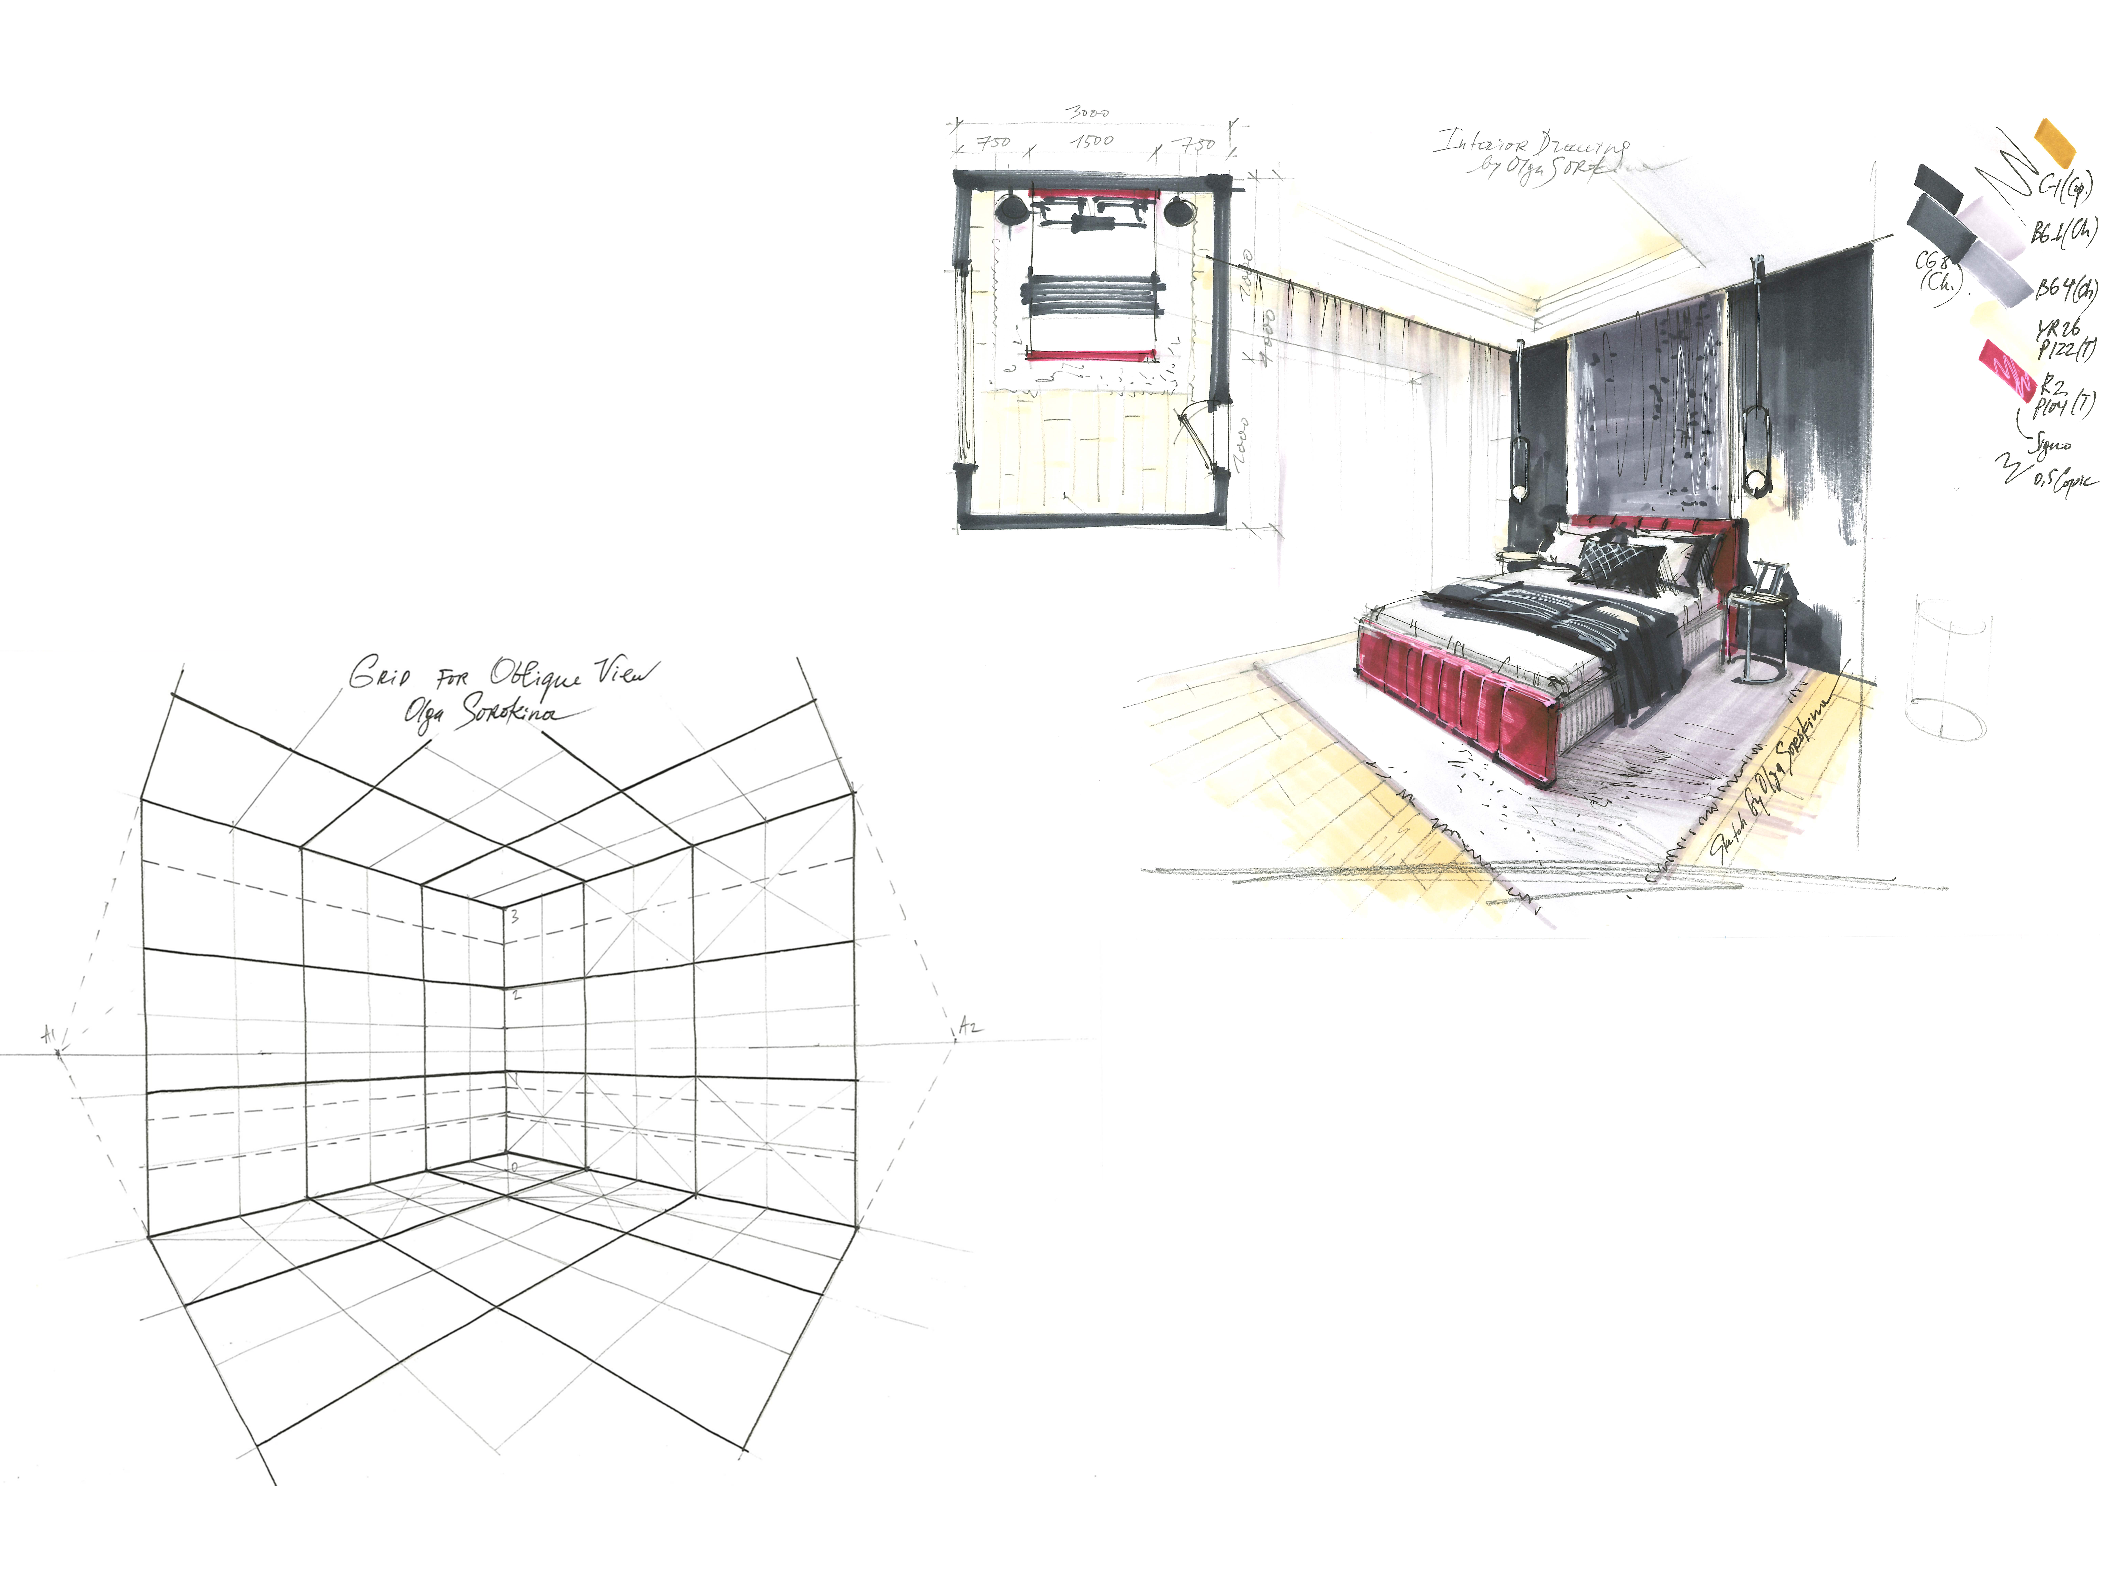
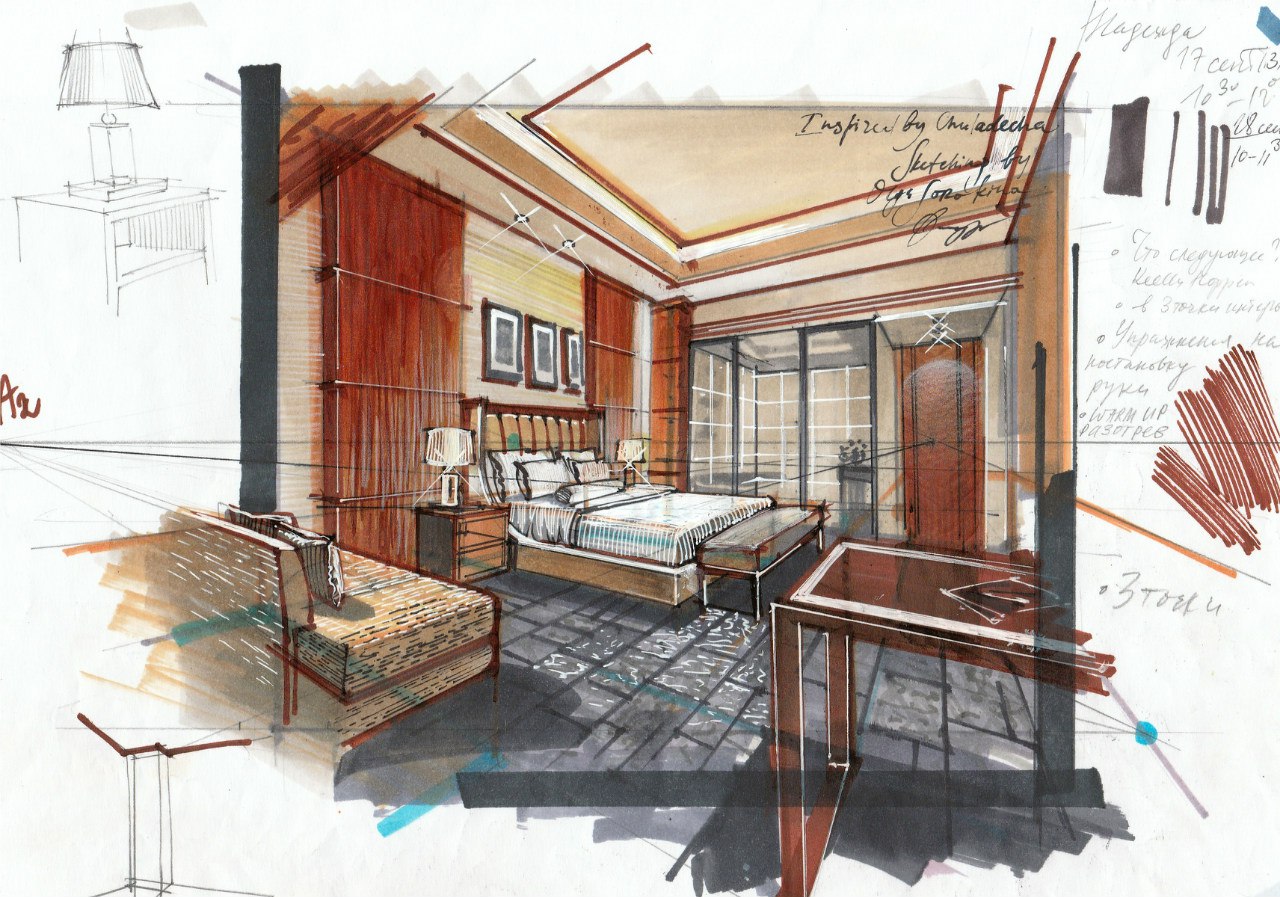
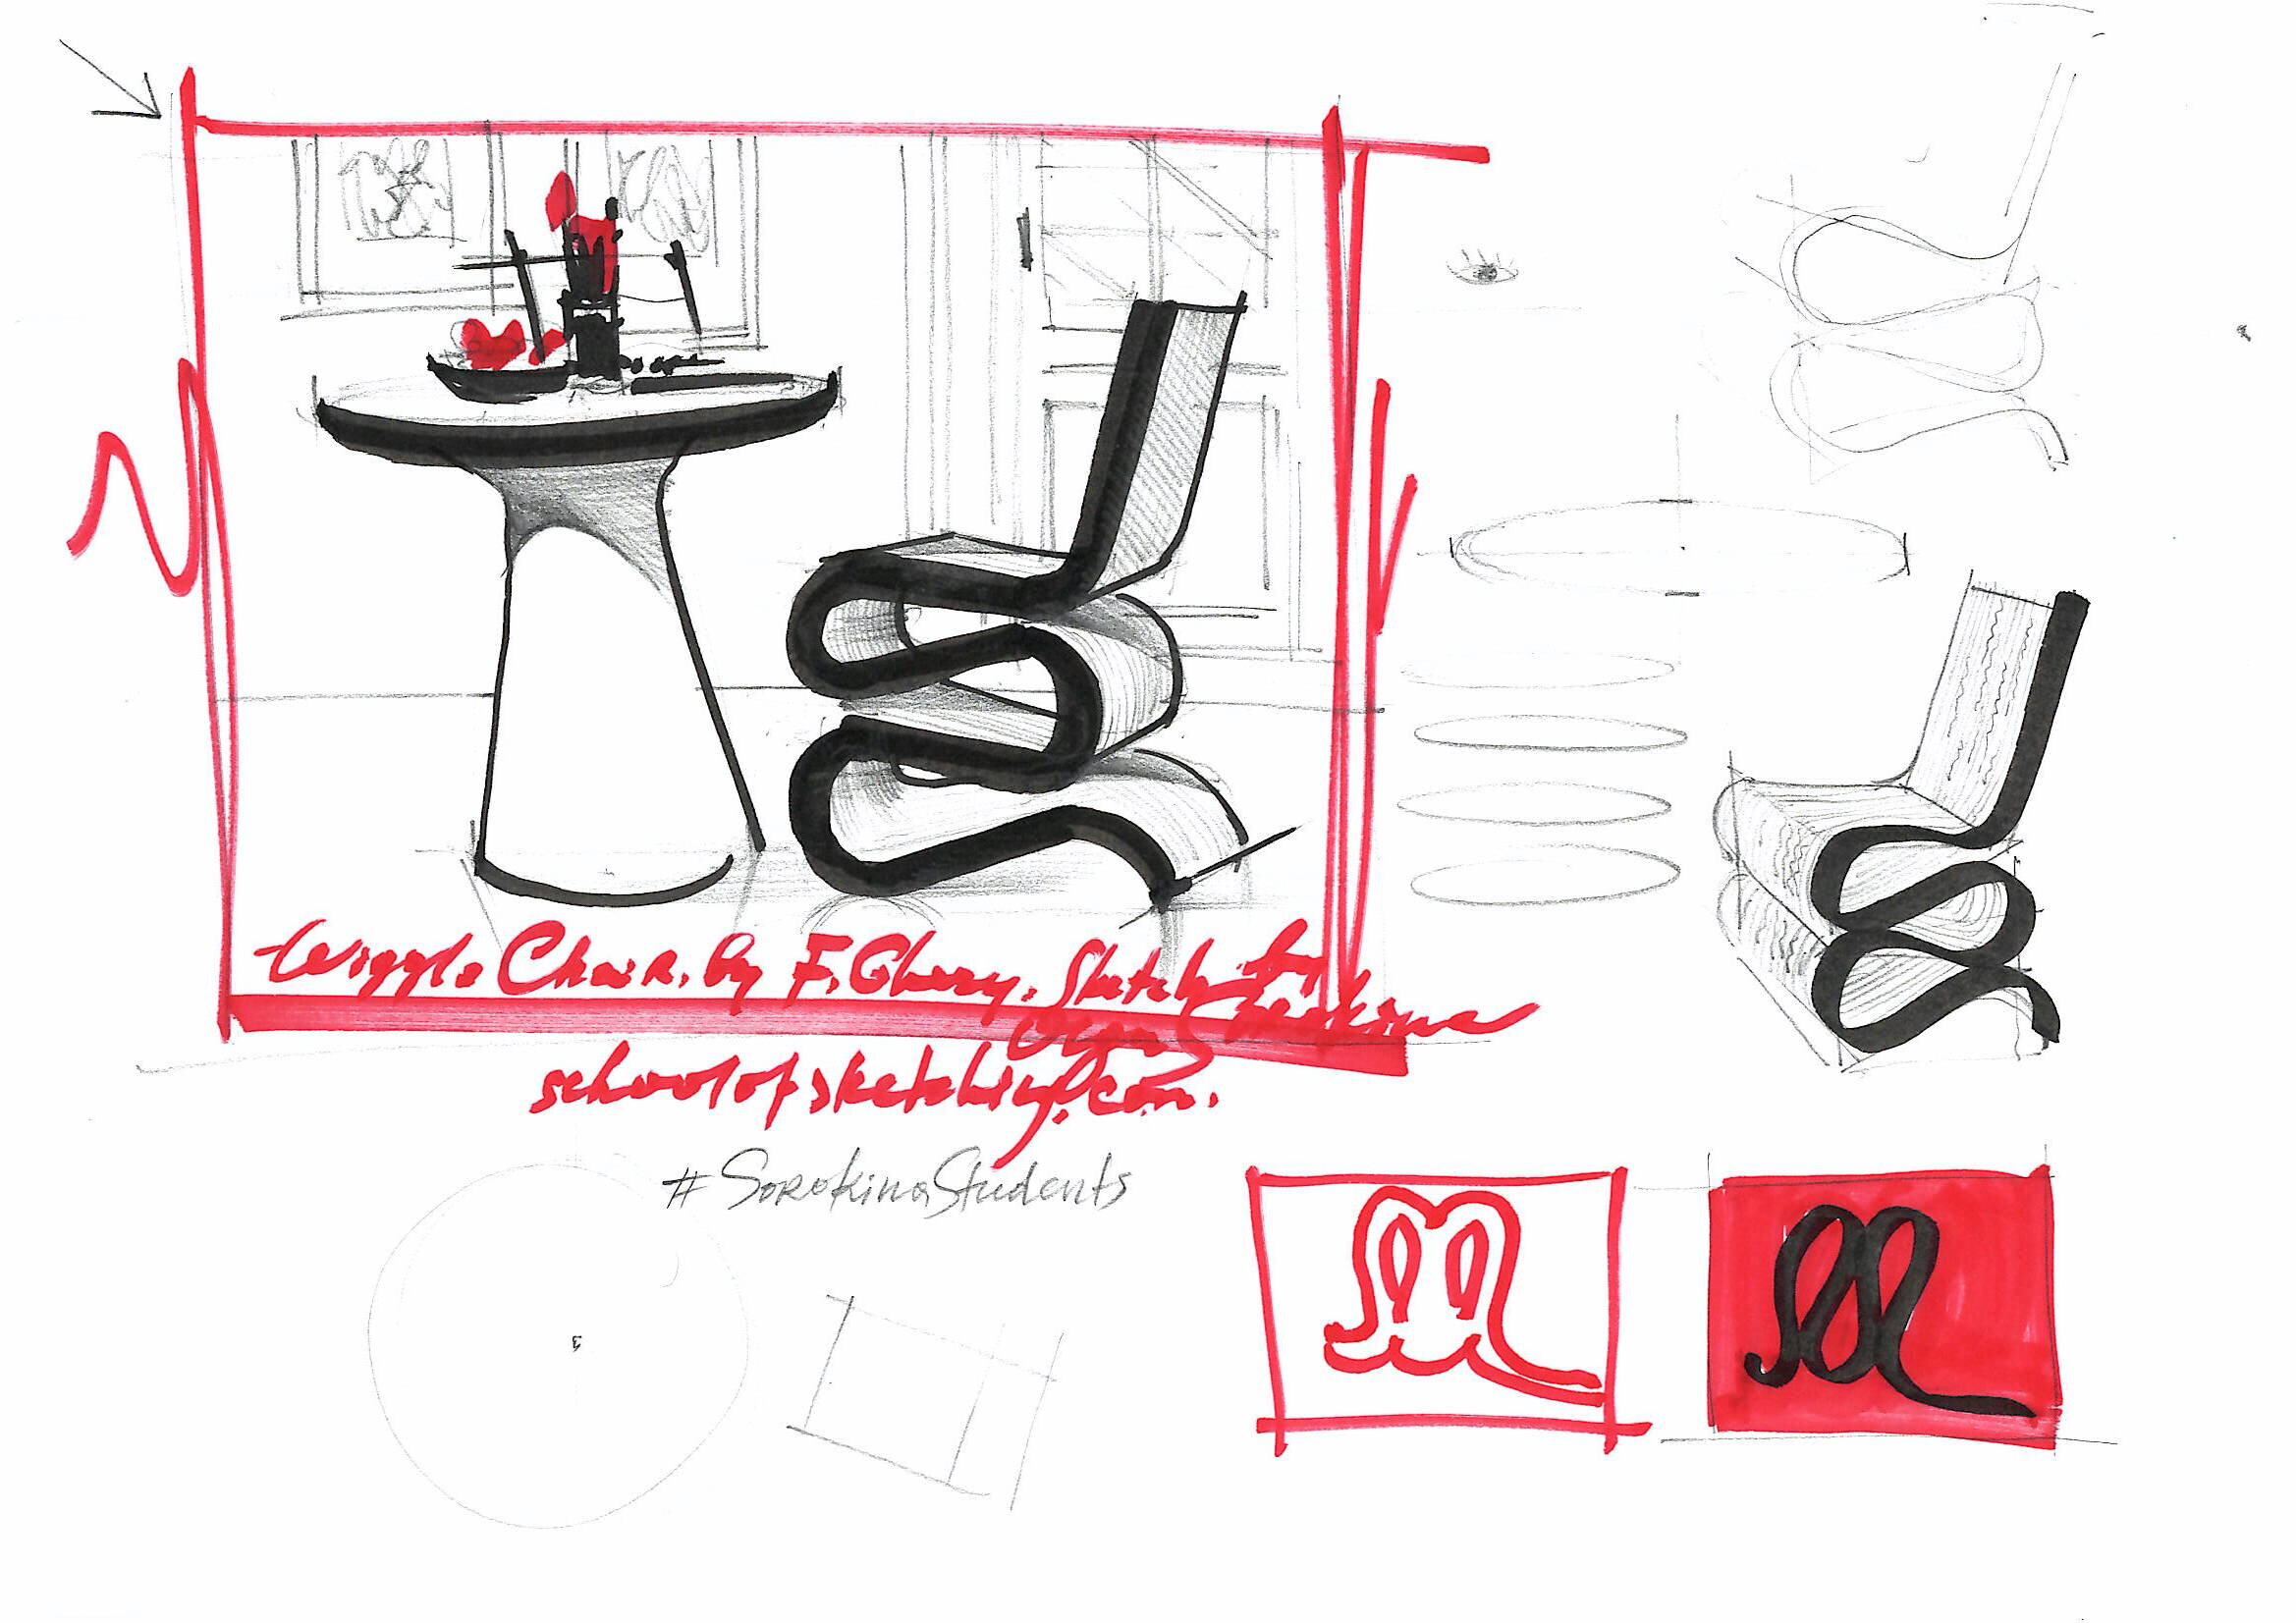
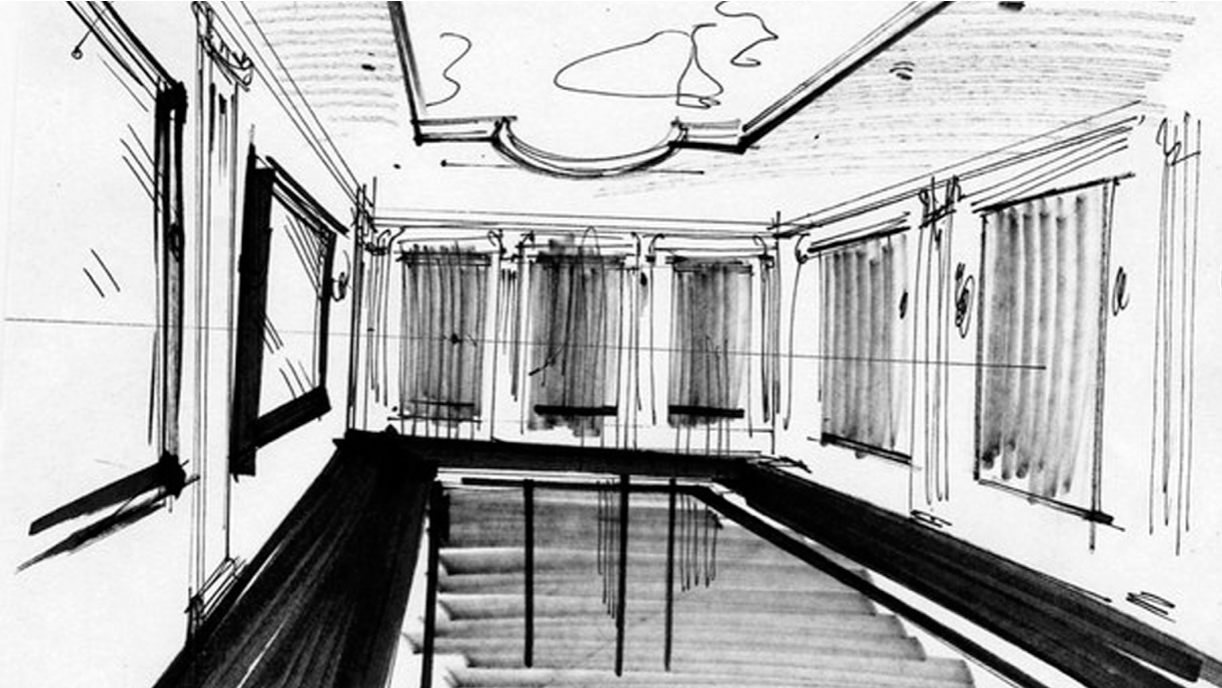
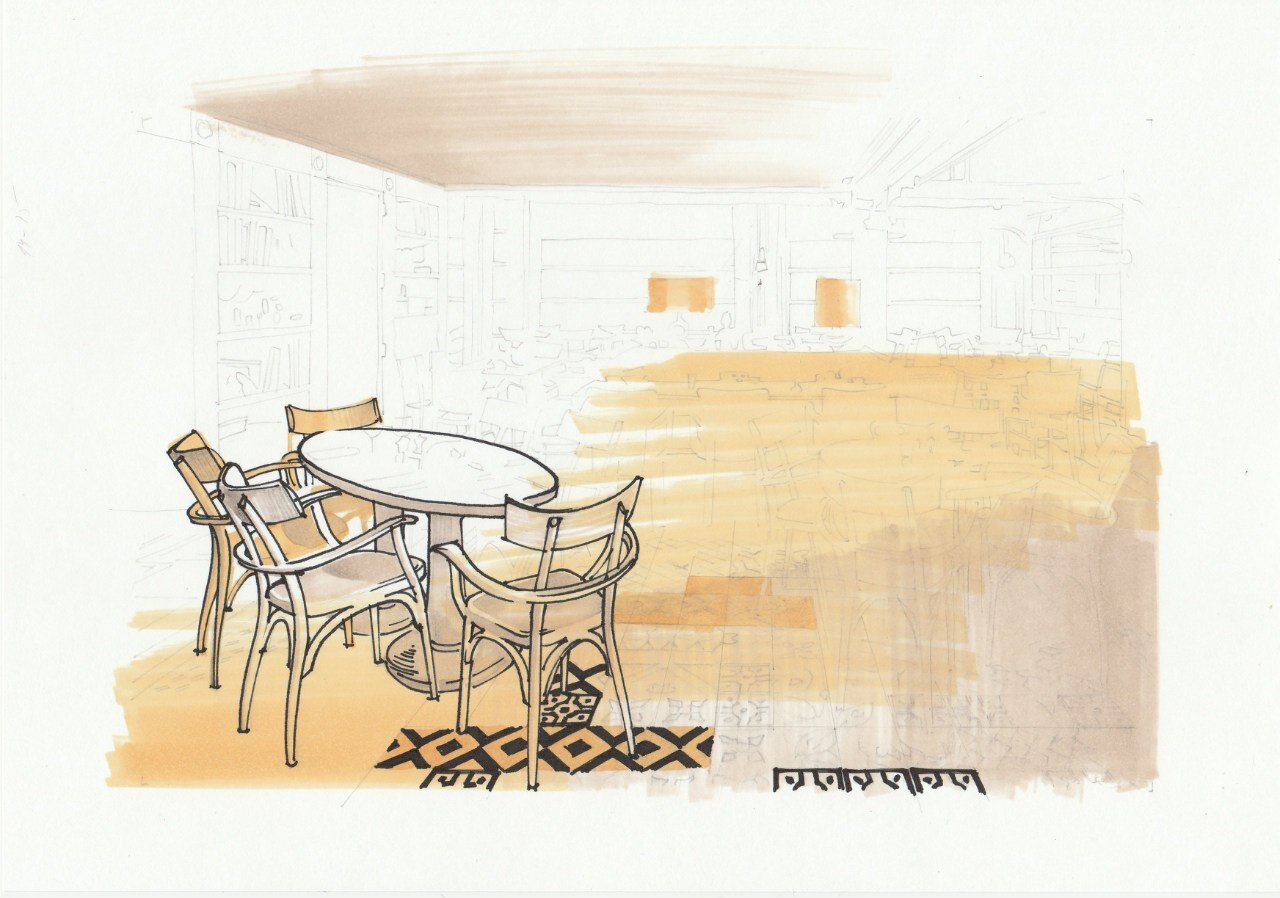
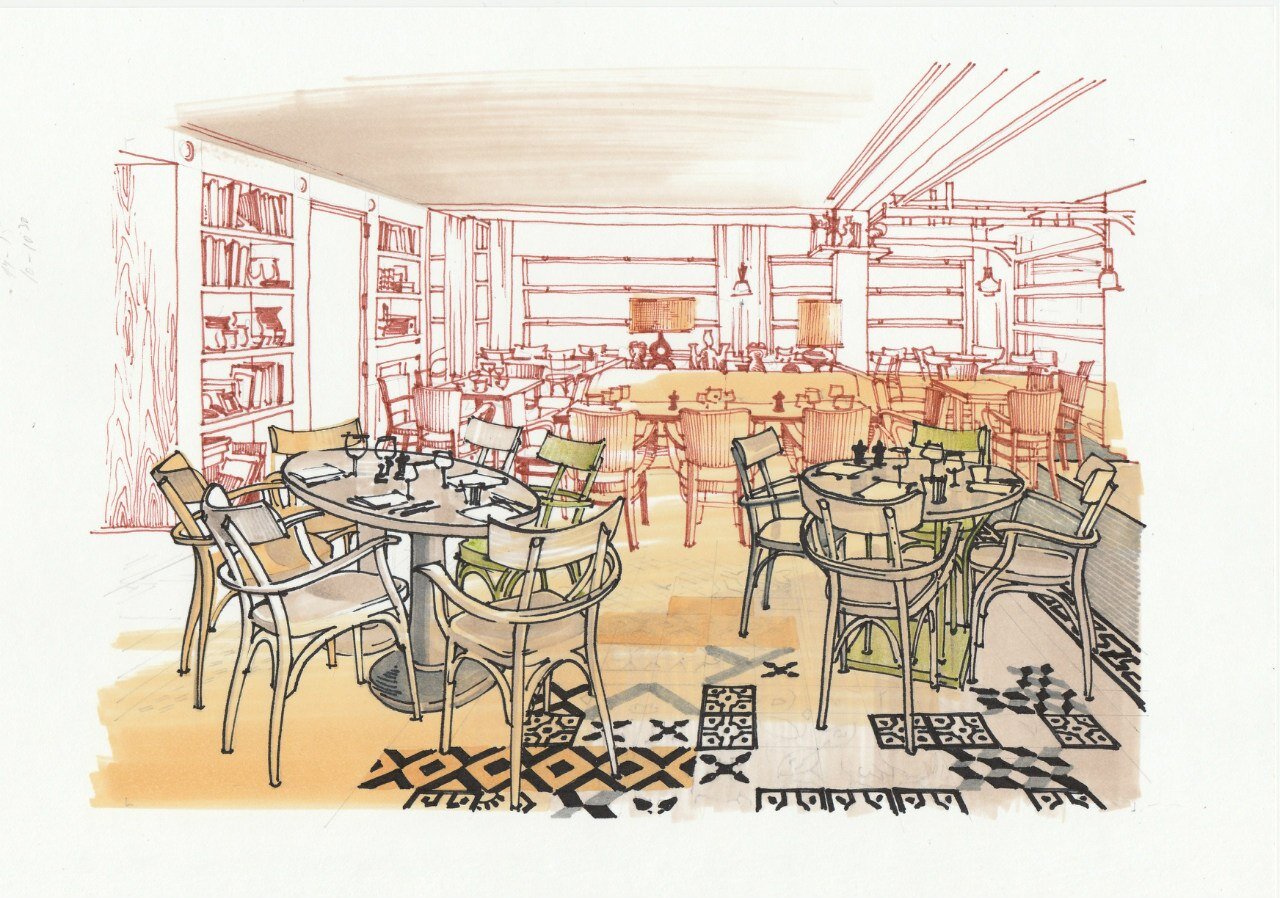
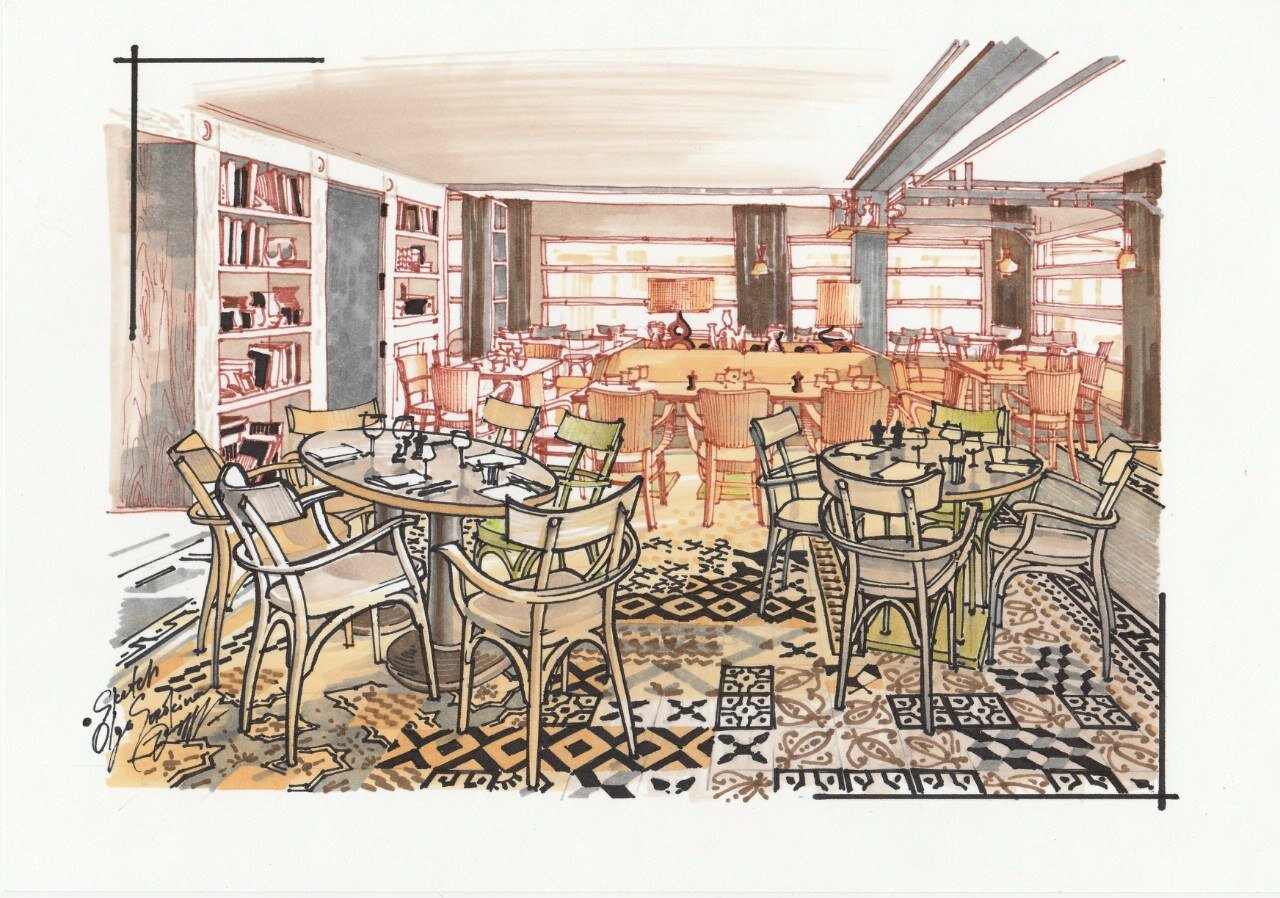
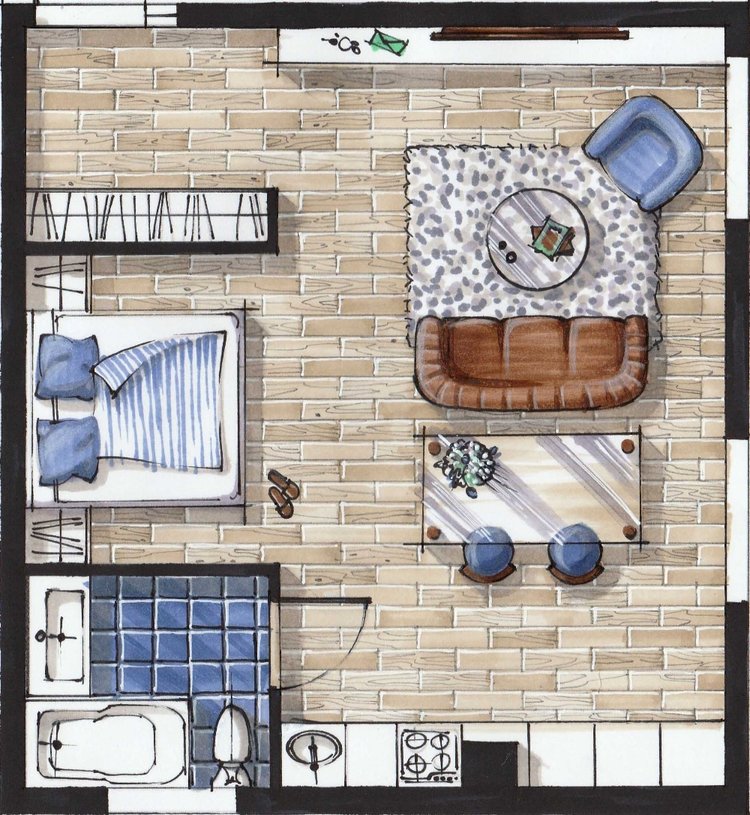
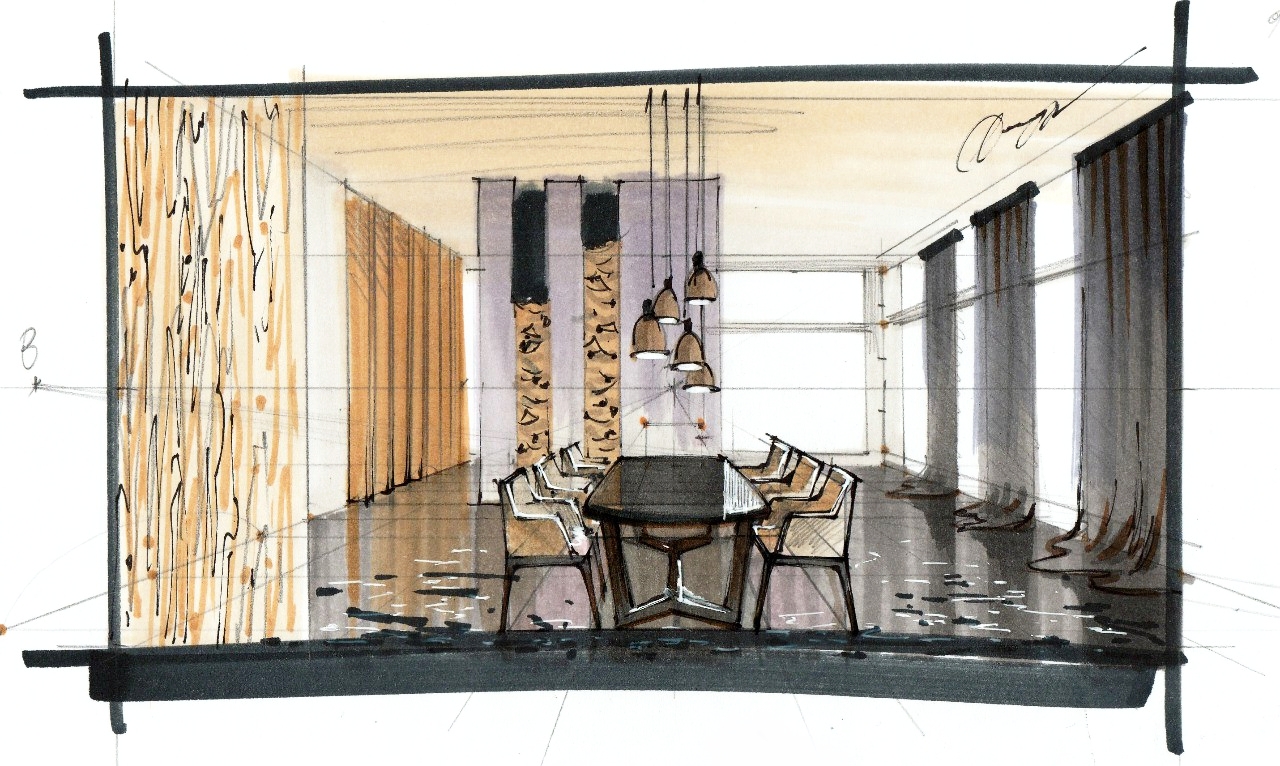
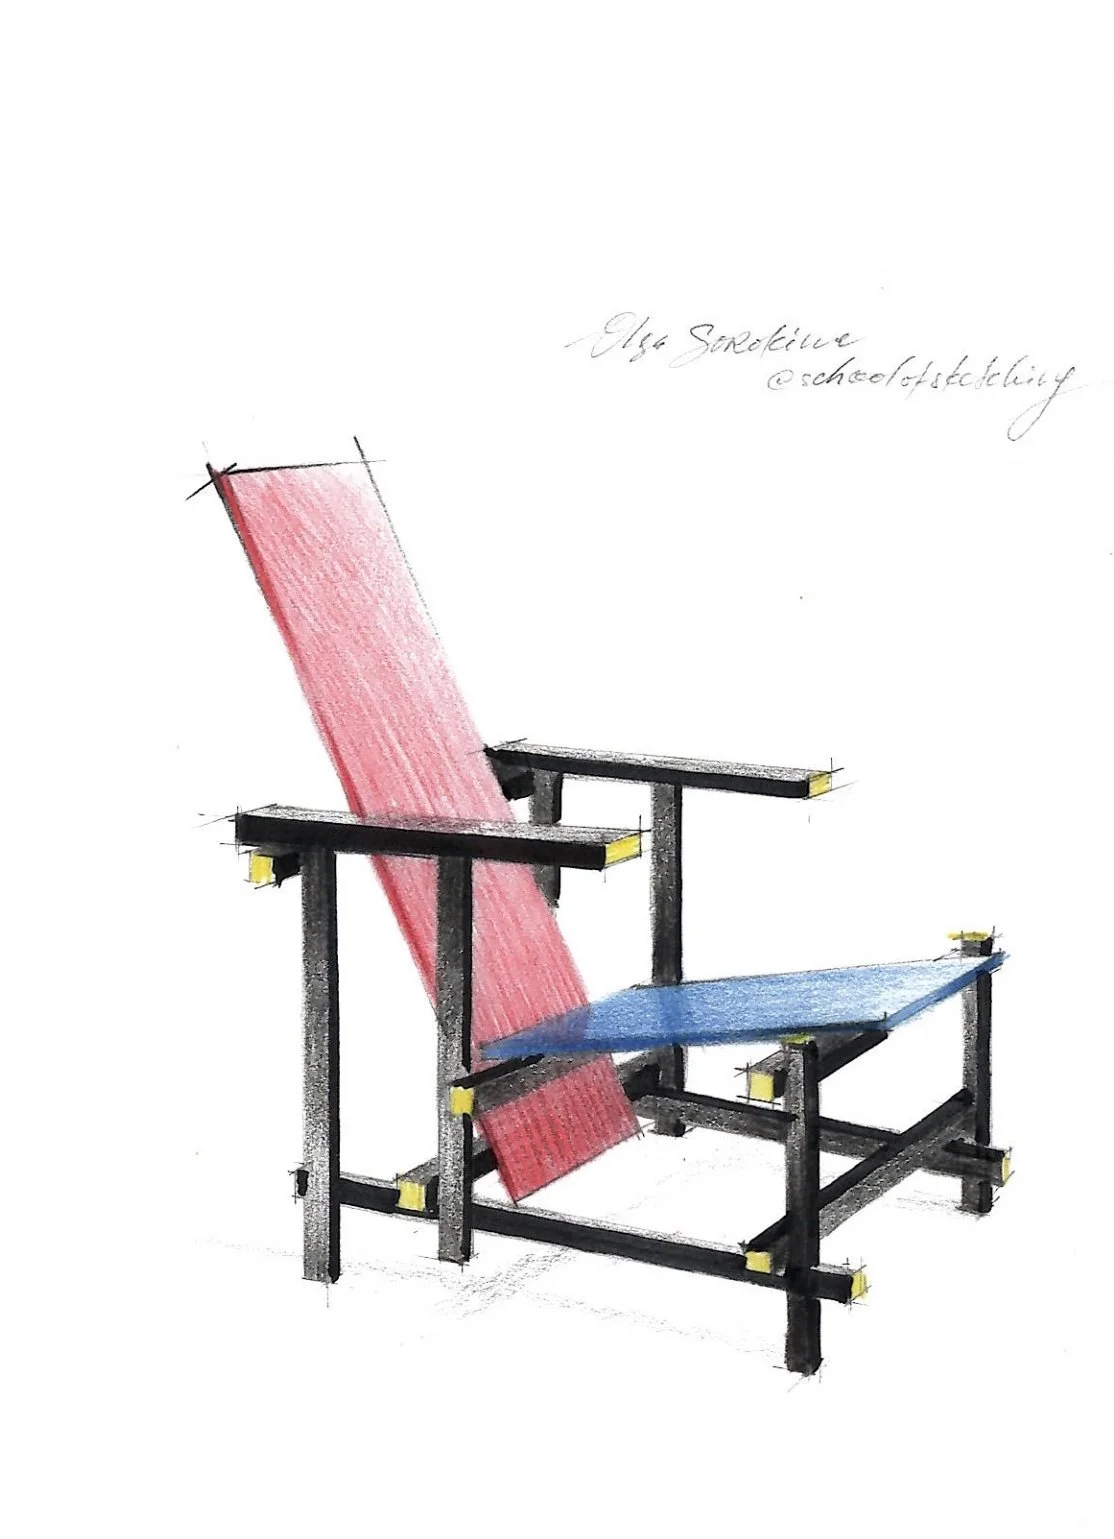
Here I used Chartpak and Copic markers. Learn about my online course
“TEXTURES“: a Beginner Course on Essentials of Sketching with Markers
(For Interior Design Students and Those New to Sketching)
You want to sell with your portfolio your creative services and your expertise. Remember that the best interior designer with the worst sales skills will never have as much business as the worst interior designer with the best sales skills. Think about what your client really wants and needs and how you are going to be able to deliver on those wants and needs. How will he benefit from you rather than the other interior designer? What value do you bring to the table?
Another important thing is to keep your portfolio up-to-date, so check it once a year or every other year and delete some outdated projects and include your new designs. If you don’t want to offer it, don’t show it, let it be your mantra for the portfolio creation process. I mean, if your goal is to work on restaurants and hotels in a contemporary style, don’t show your clients examples of residentials in classic.
“The best interior designer with the worst sales skills will never have as much business as the worst interior designer with the best sales skills.”
3 case: Interior decorator’s portfolio
So you are a brand new interior decorator, and you don’t have a portfolio built up yet. Let’s assume that your «target audience» is a potential customer. If you have not yet been able to do your first real design project, my advice is to create an imaginary one, but following all the steps of a real project.
You can include some educational projects you’ve done, such as private, commercial, hospitality interiors. The simplest and fastest way to fill in your portfolio with projects is to create mood boards. It’s not the most sustainable option, but if you are on a deadline, it can be the most effective solution for you. Visuals speak loudly, they really do, people love to see visuals! Why do you think Instagram and Pinterest are so popular these days?
“If you don’t want to offer it, don’t show it.”
Spend a couple of days and create mood boards for imaginary clients; for example, dream up a studio apartment for a young couple, a living room for an architect, an apartment for fashion designer, and so on. Create all sorts of rooms and spaces for whoever you can dream up. Take it seriously, think about these people and what their lives are. What you envision their space to be? Create a bunch of mood boards and put those on your portfolio.
A great idea would be to accompany those mood boards with floor plans to show your technical skills and knowledge of ergonomics. A huge benefit to doing that is that you can nail down your process so you can know how much time it takes you, so in a situation with a real and not fake client, you know how to charge properly for your expertise.
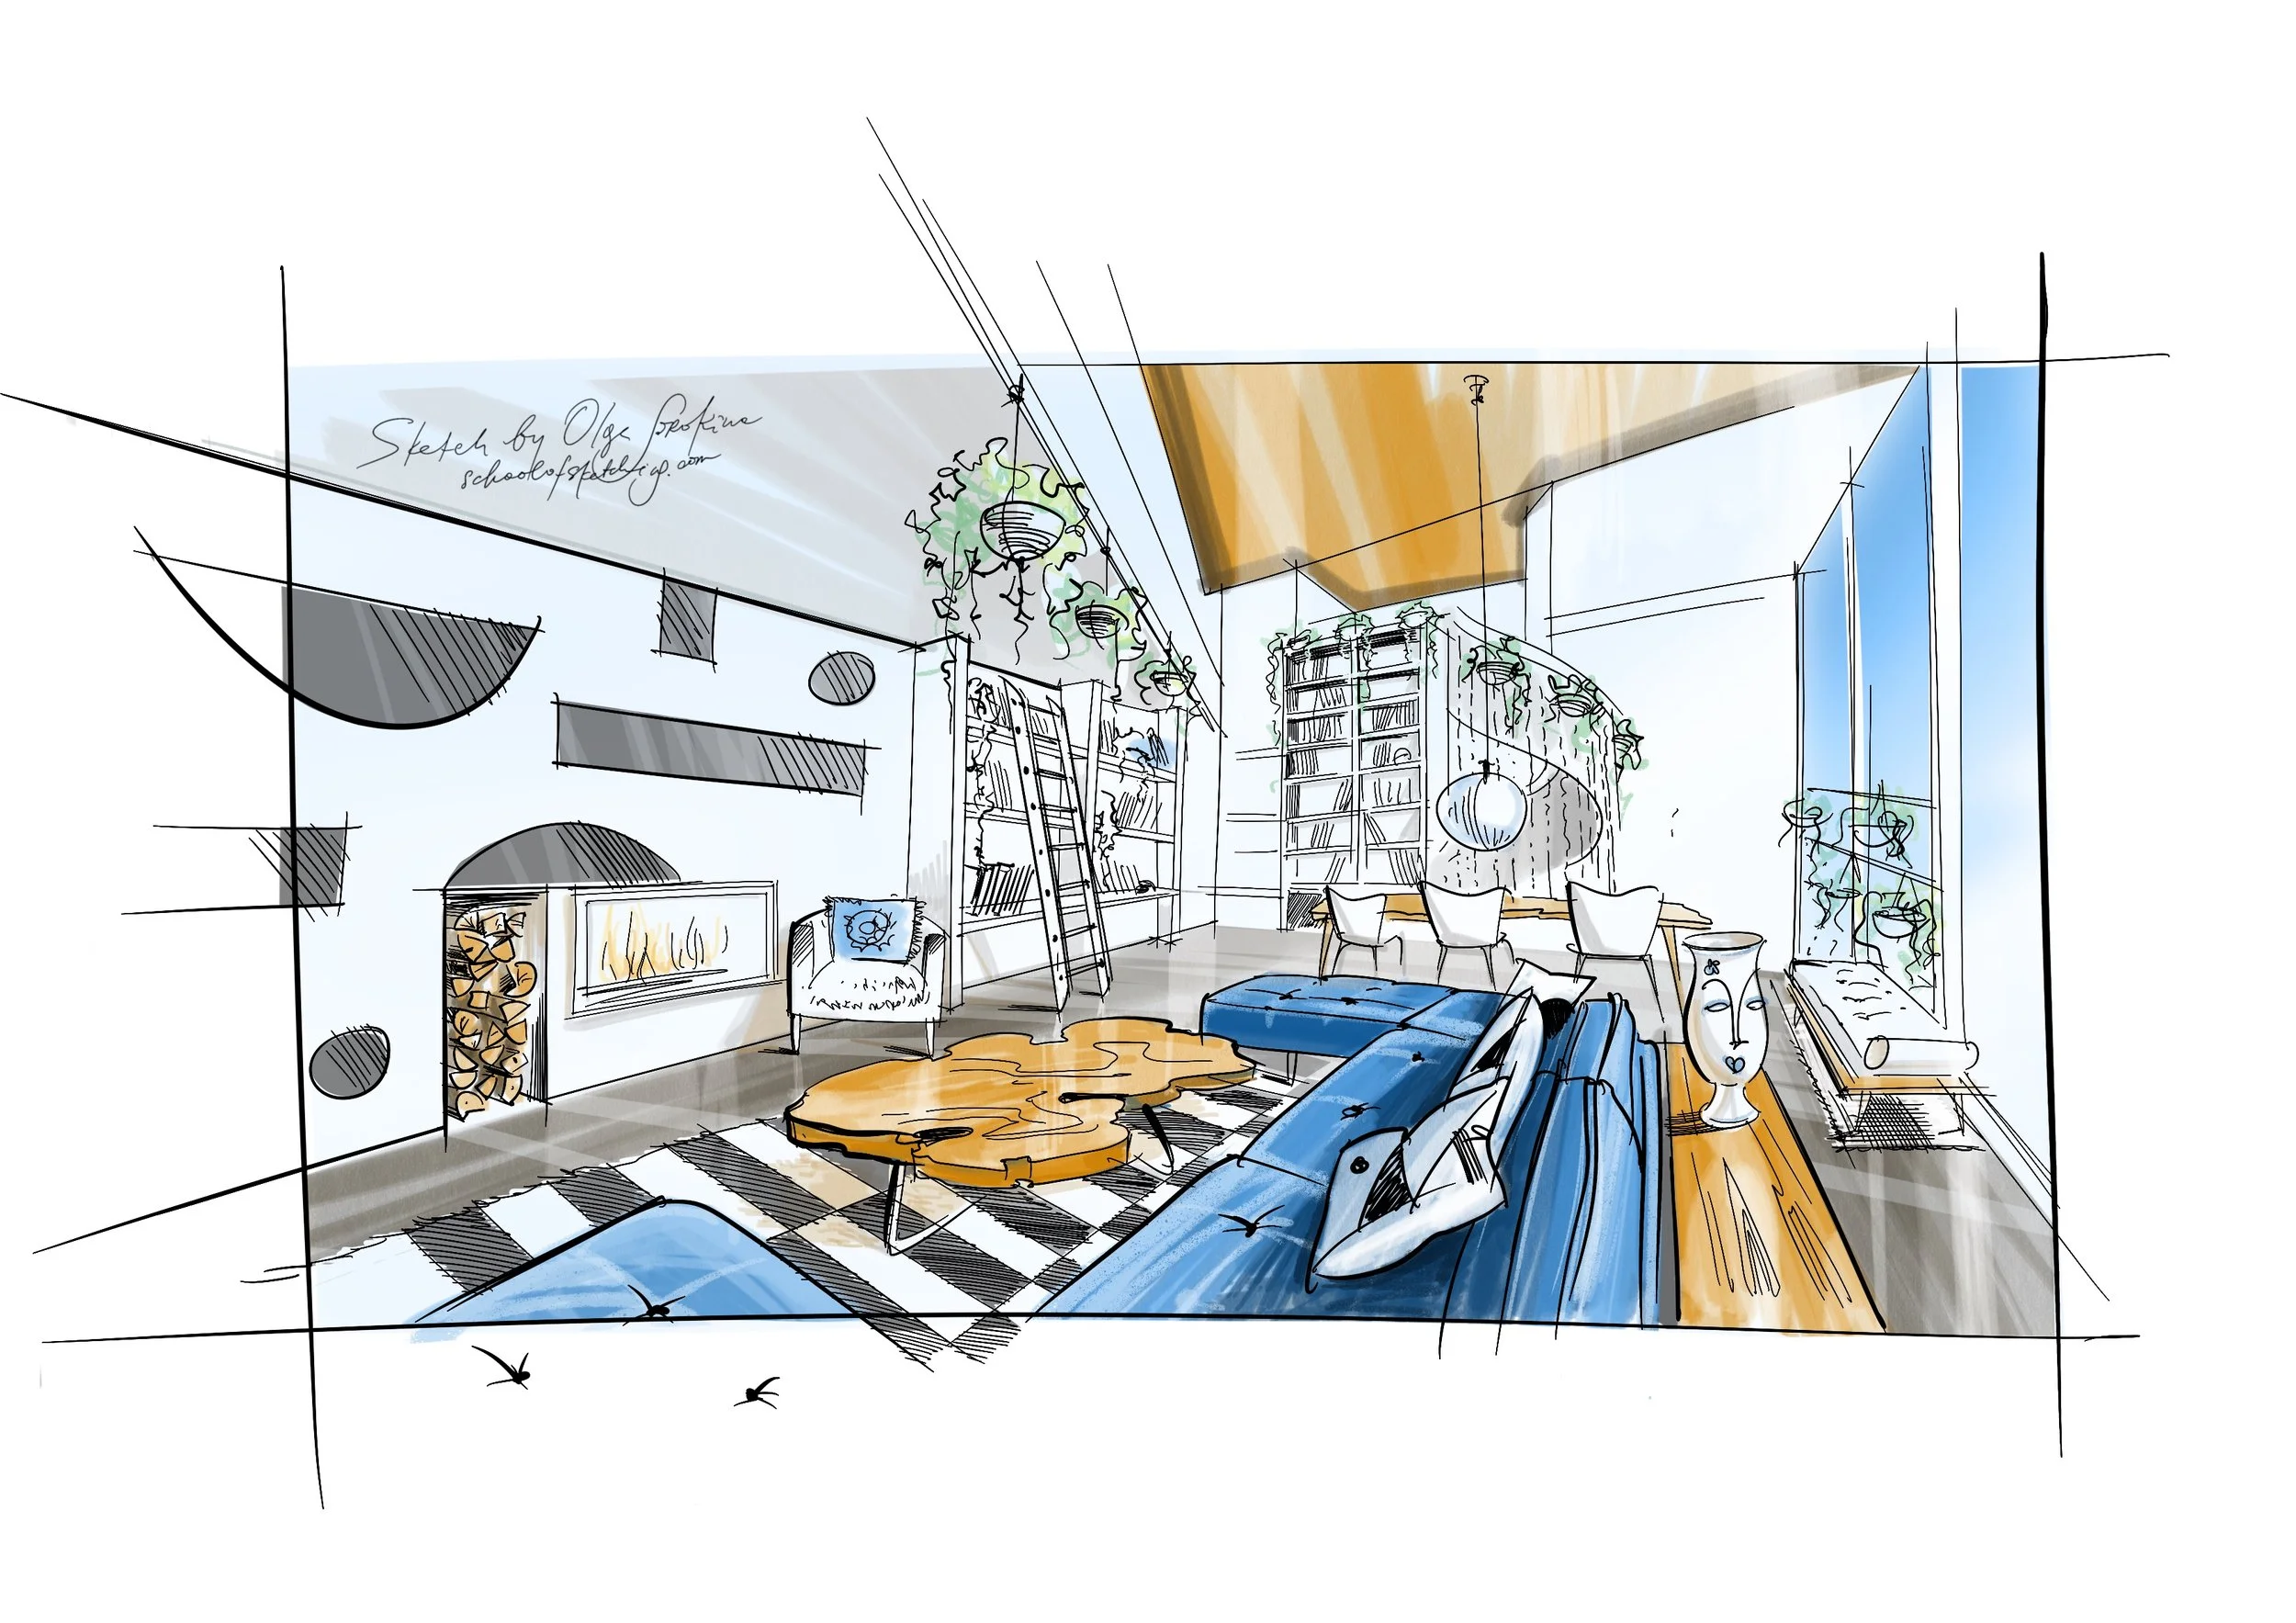
Dream to draw interior sketches like a pro?
Watch sample tutorial from my online course “BASE“:
4 case: Portfolio for you to apply for interior design school/college/university
You need a good portfolio to get accepted into interior design school or university. Usually, you have to have good grades as well because it’s a competitive program.
In this case, your «target audience» is, as you can probably guess, the selection committee. First, I would recommend checking their website; most programs will have a list of requirements that they would like to see.
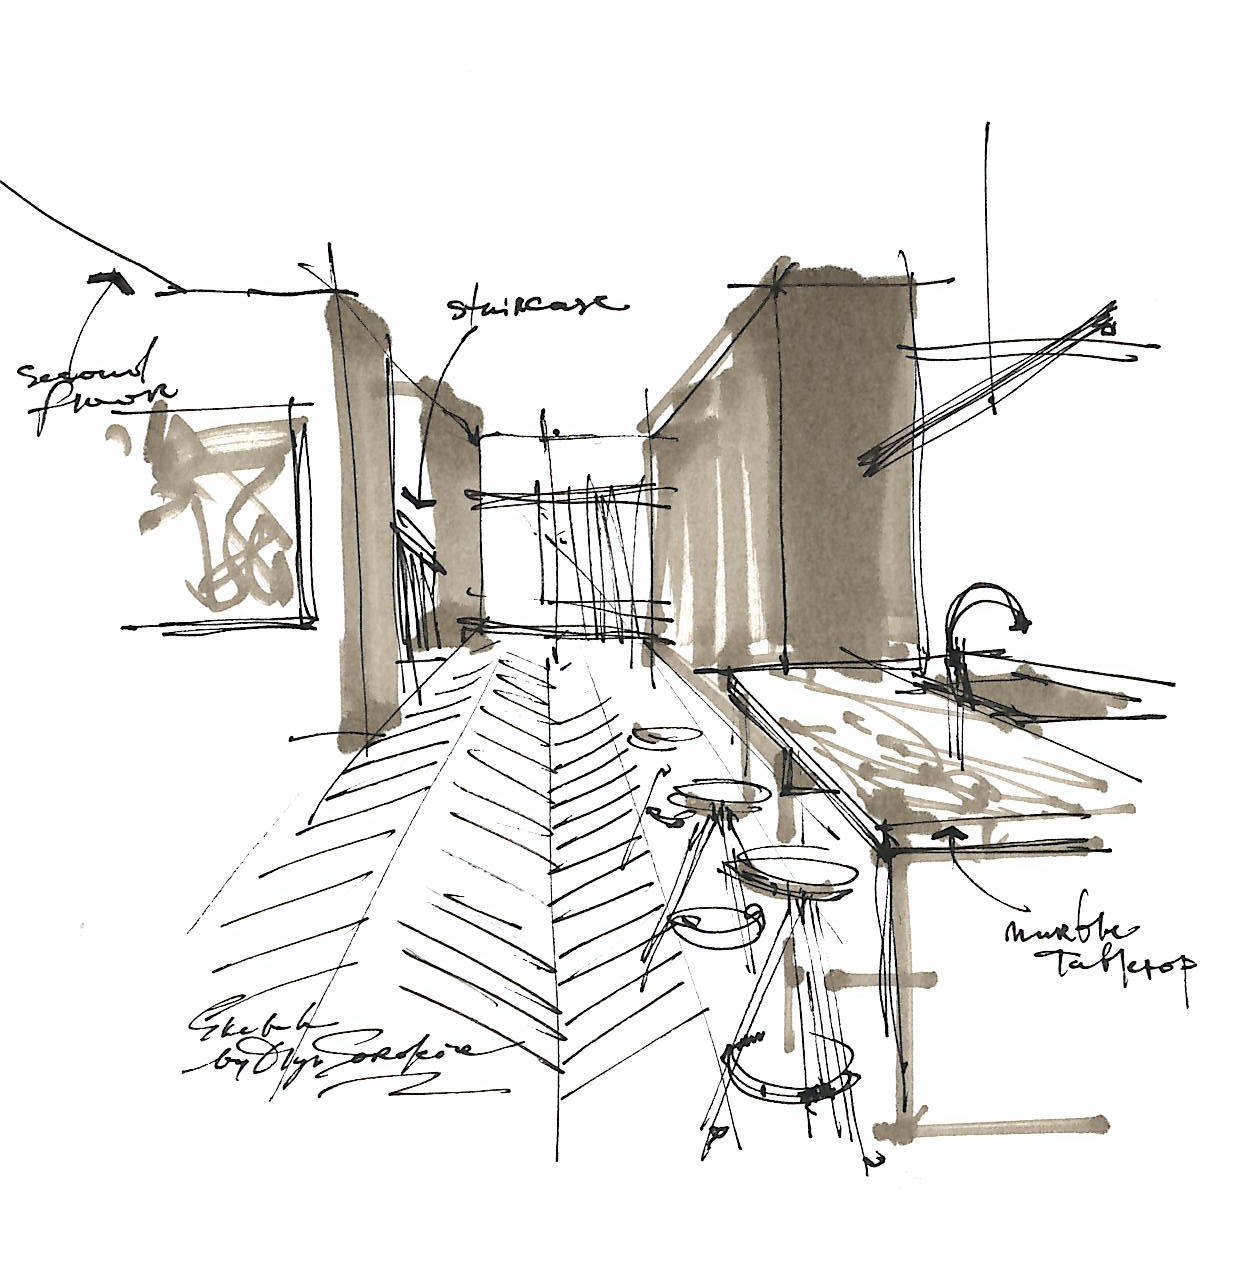
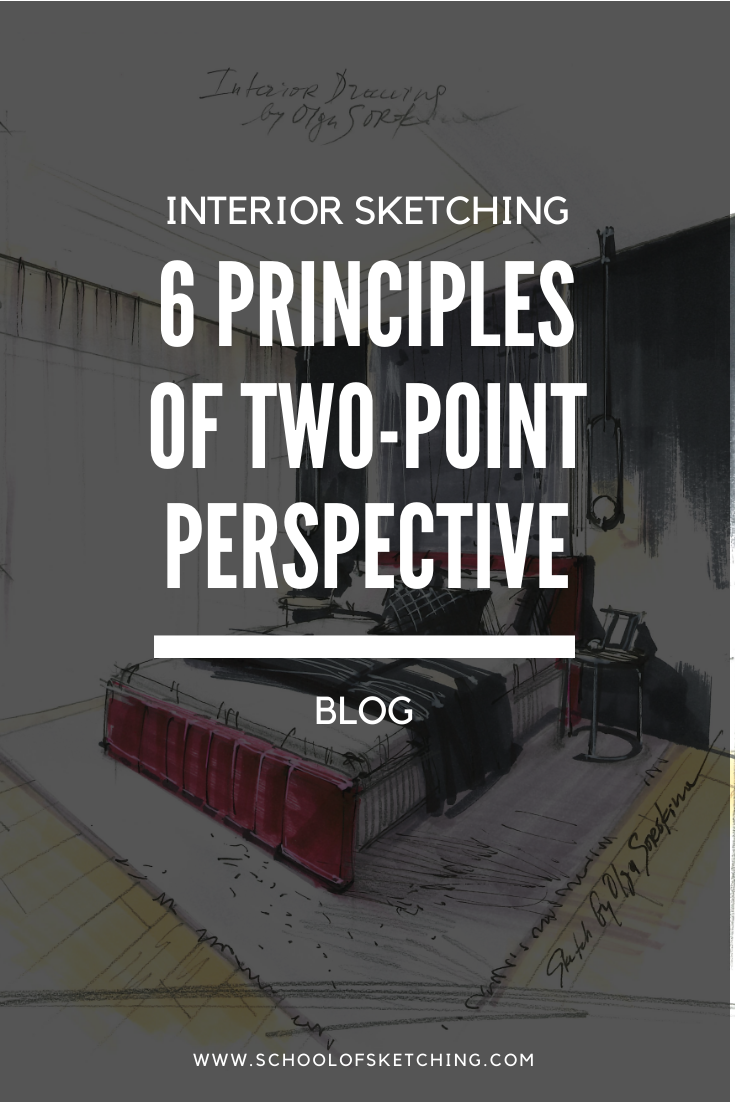
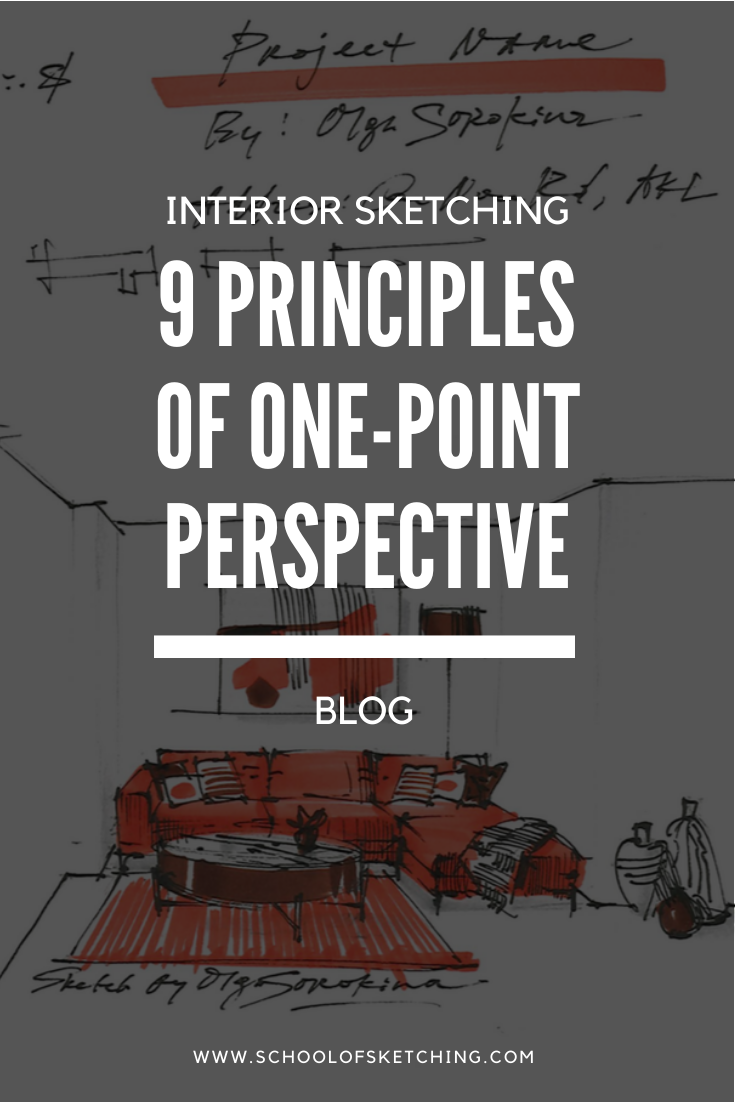
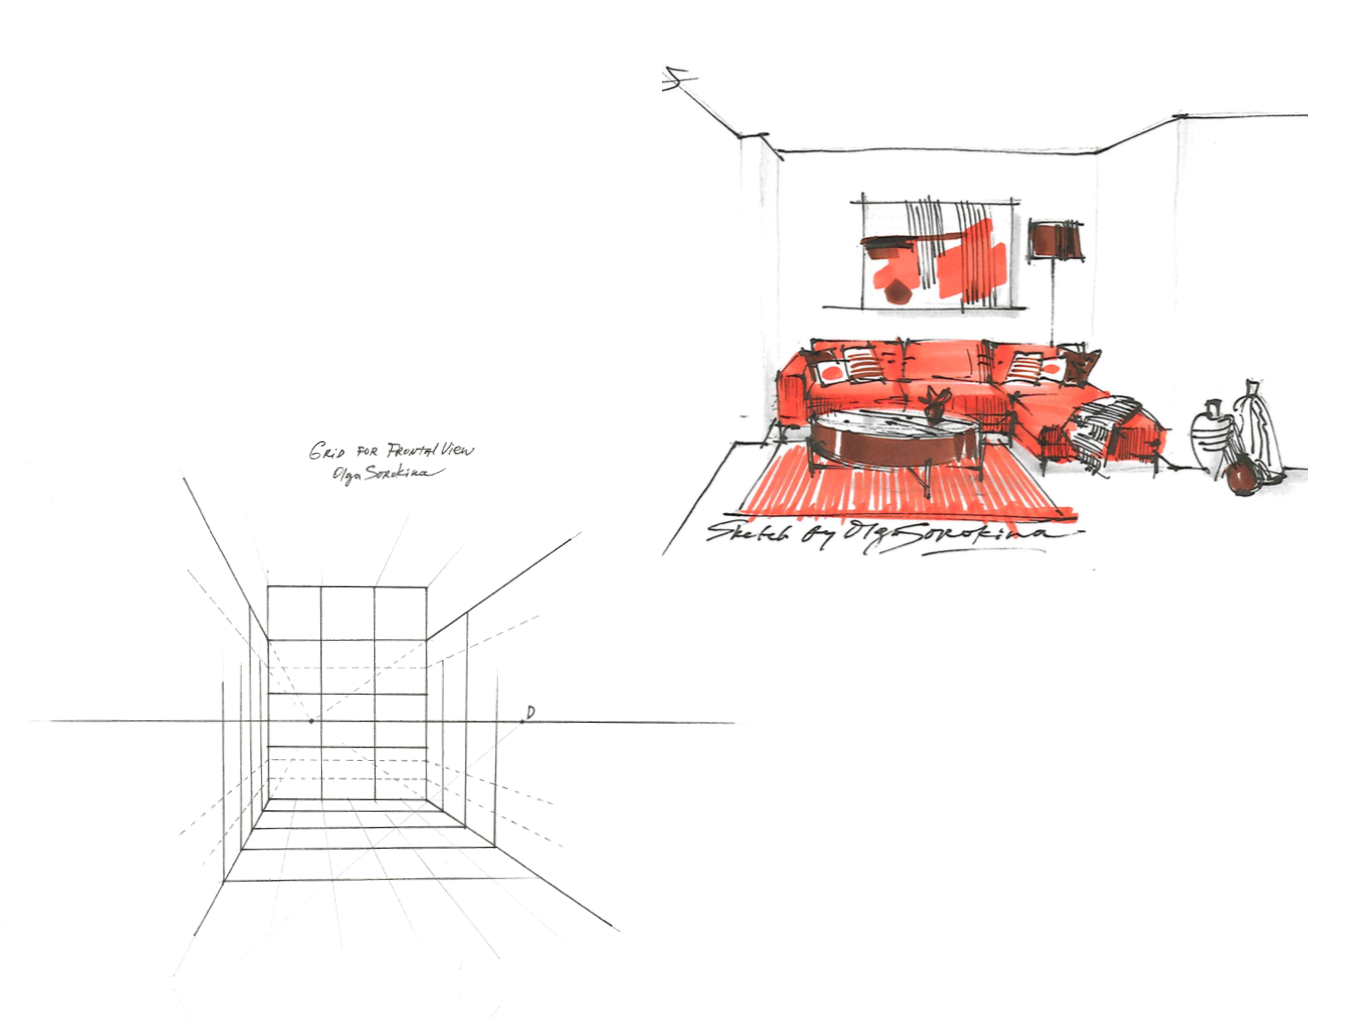
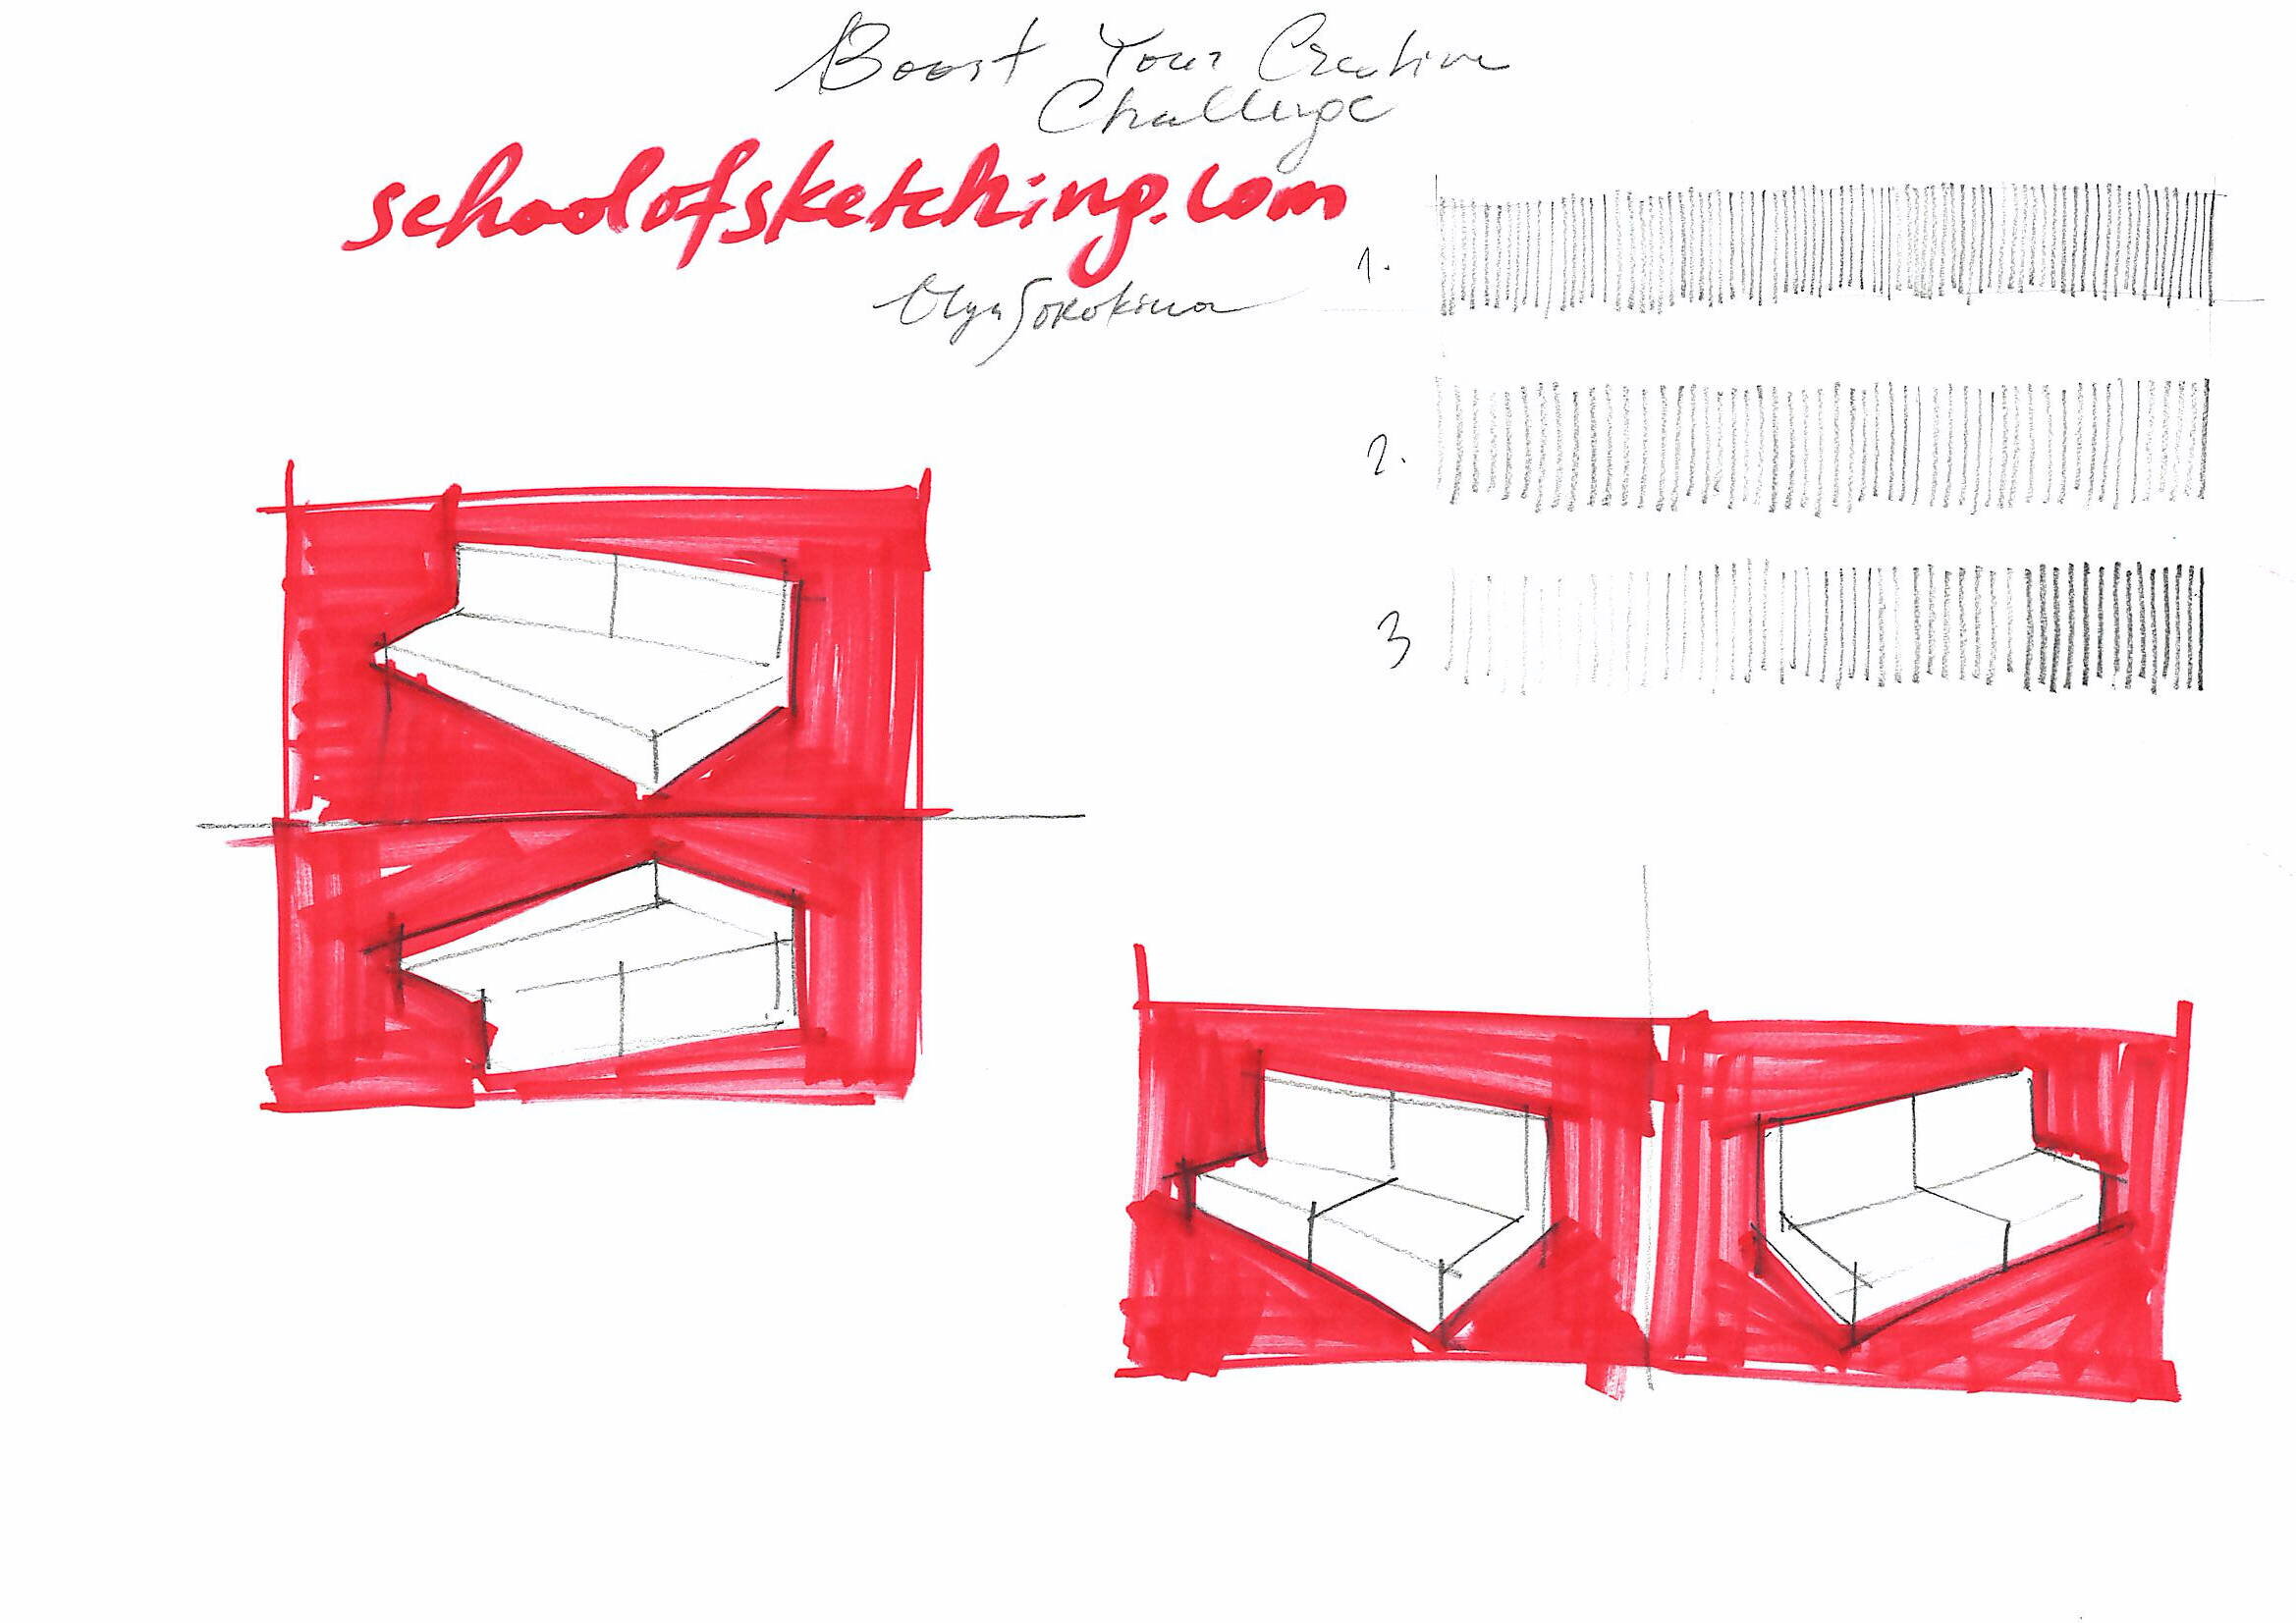
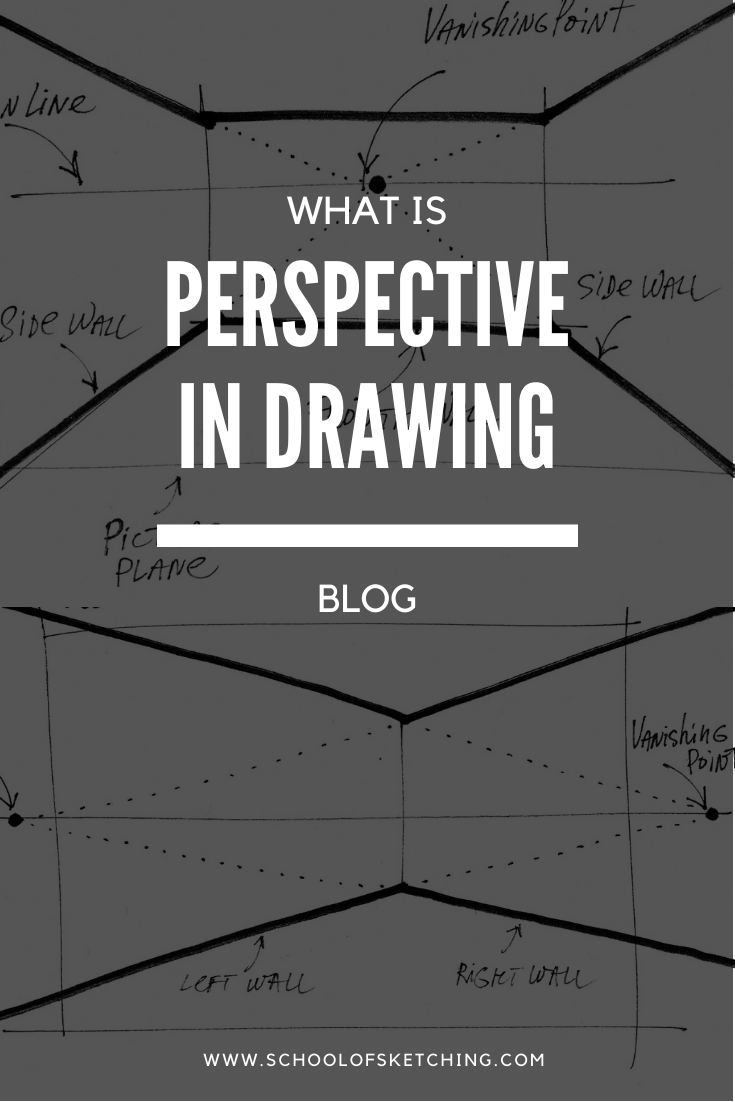
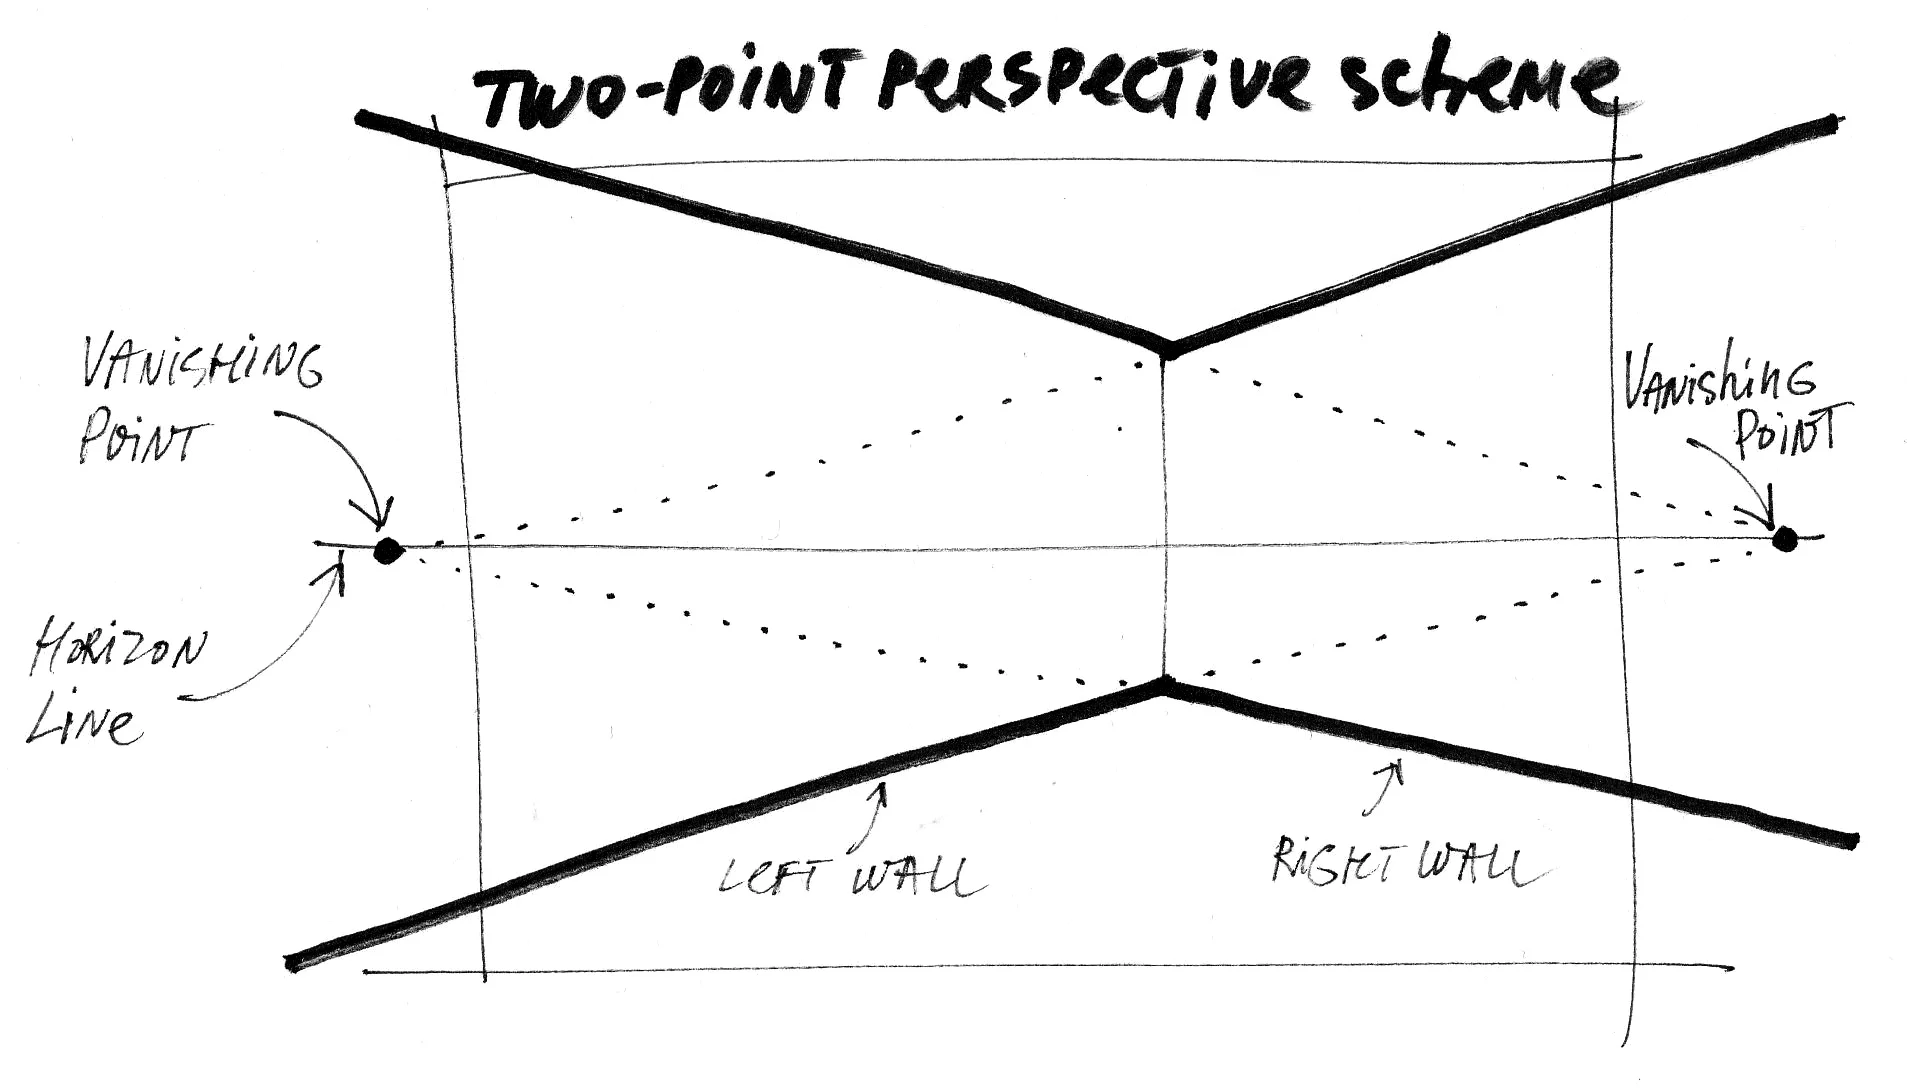
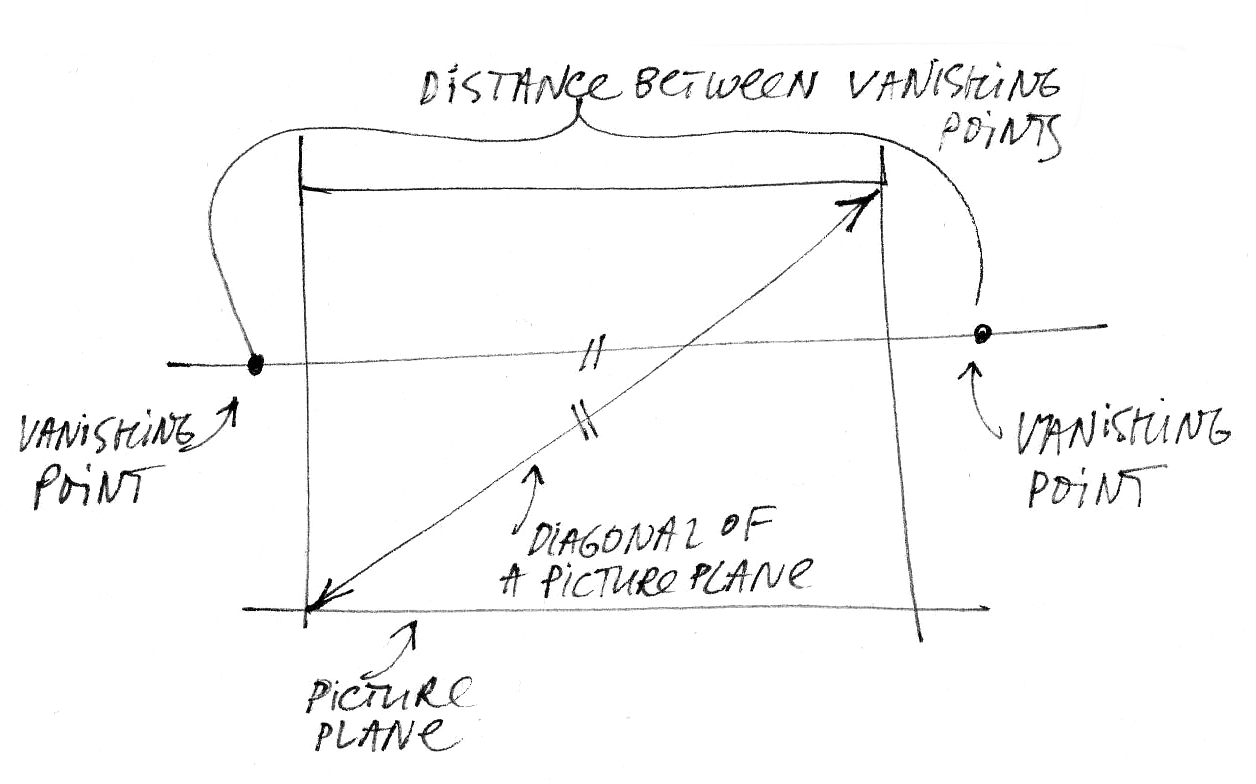
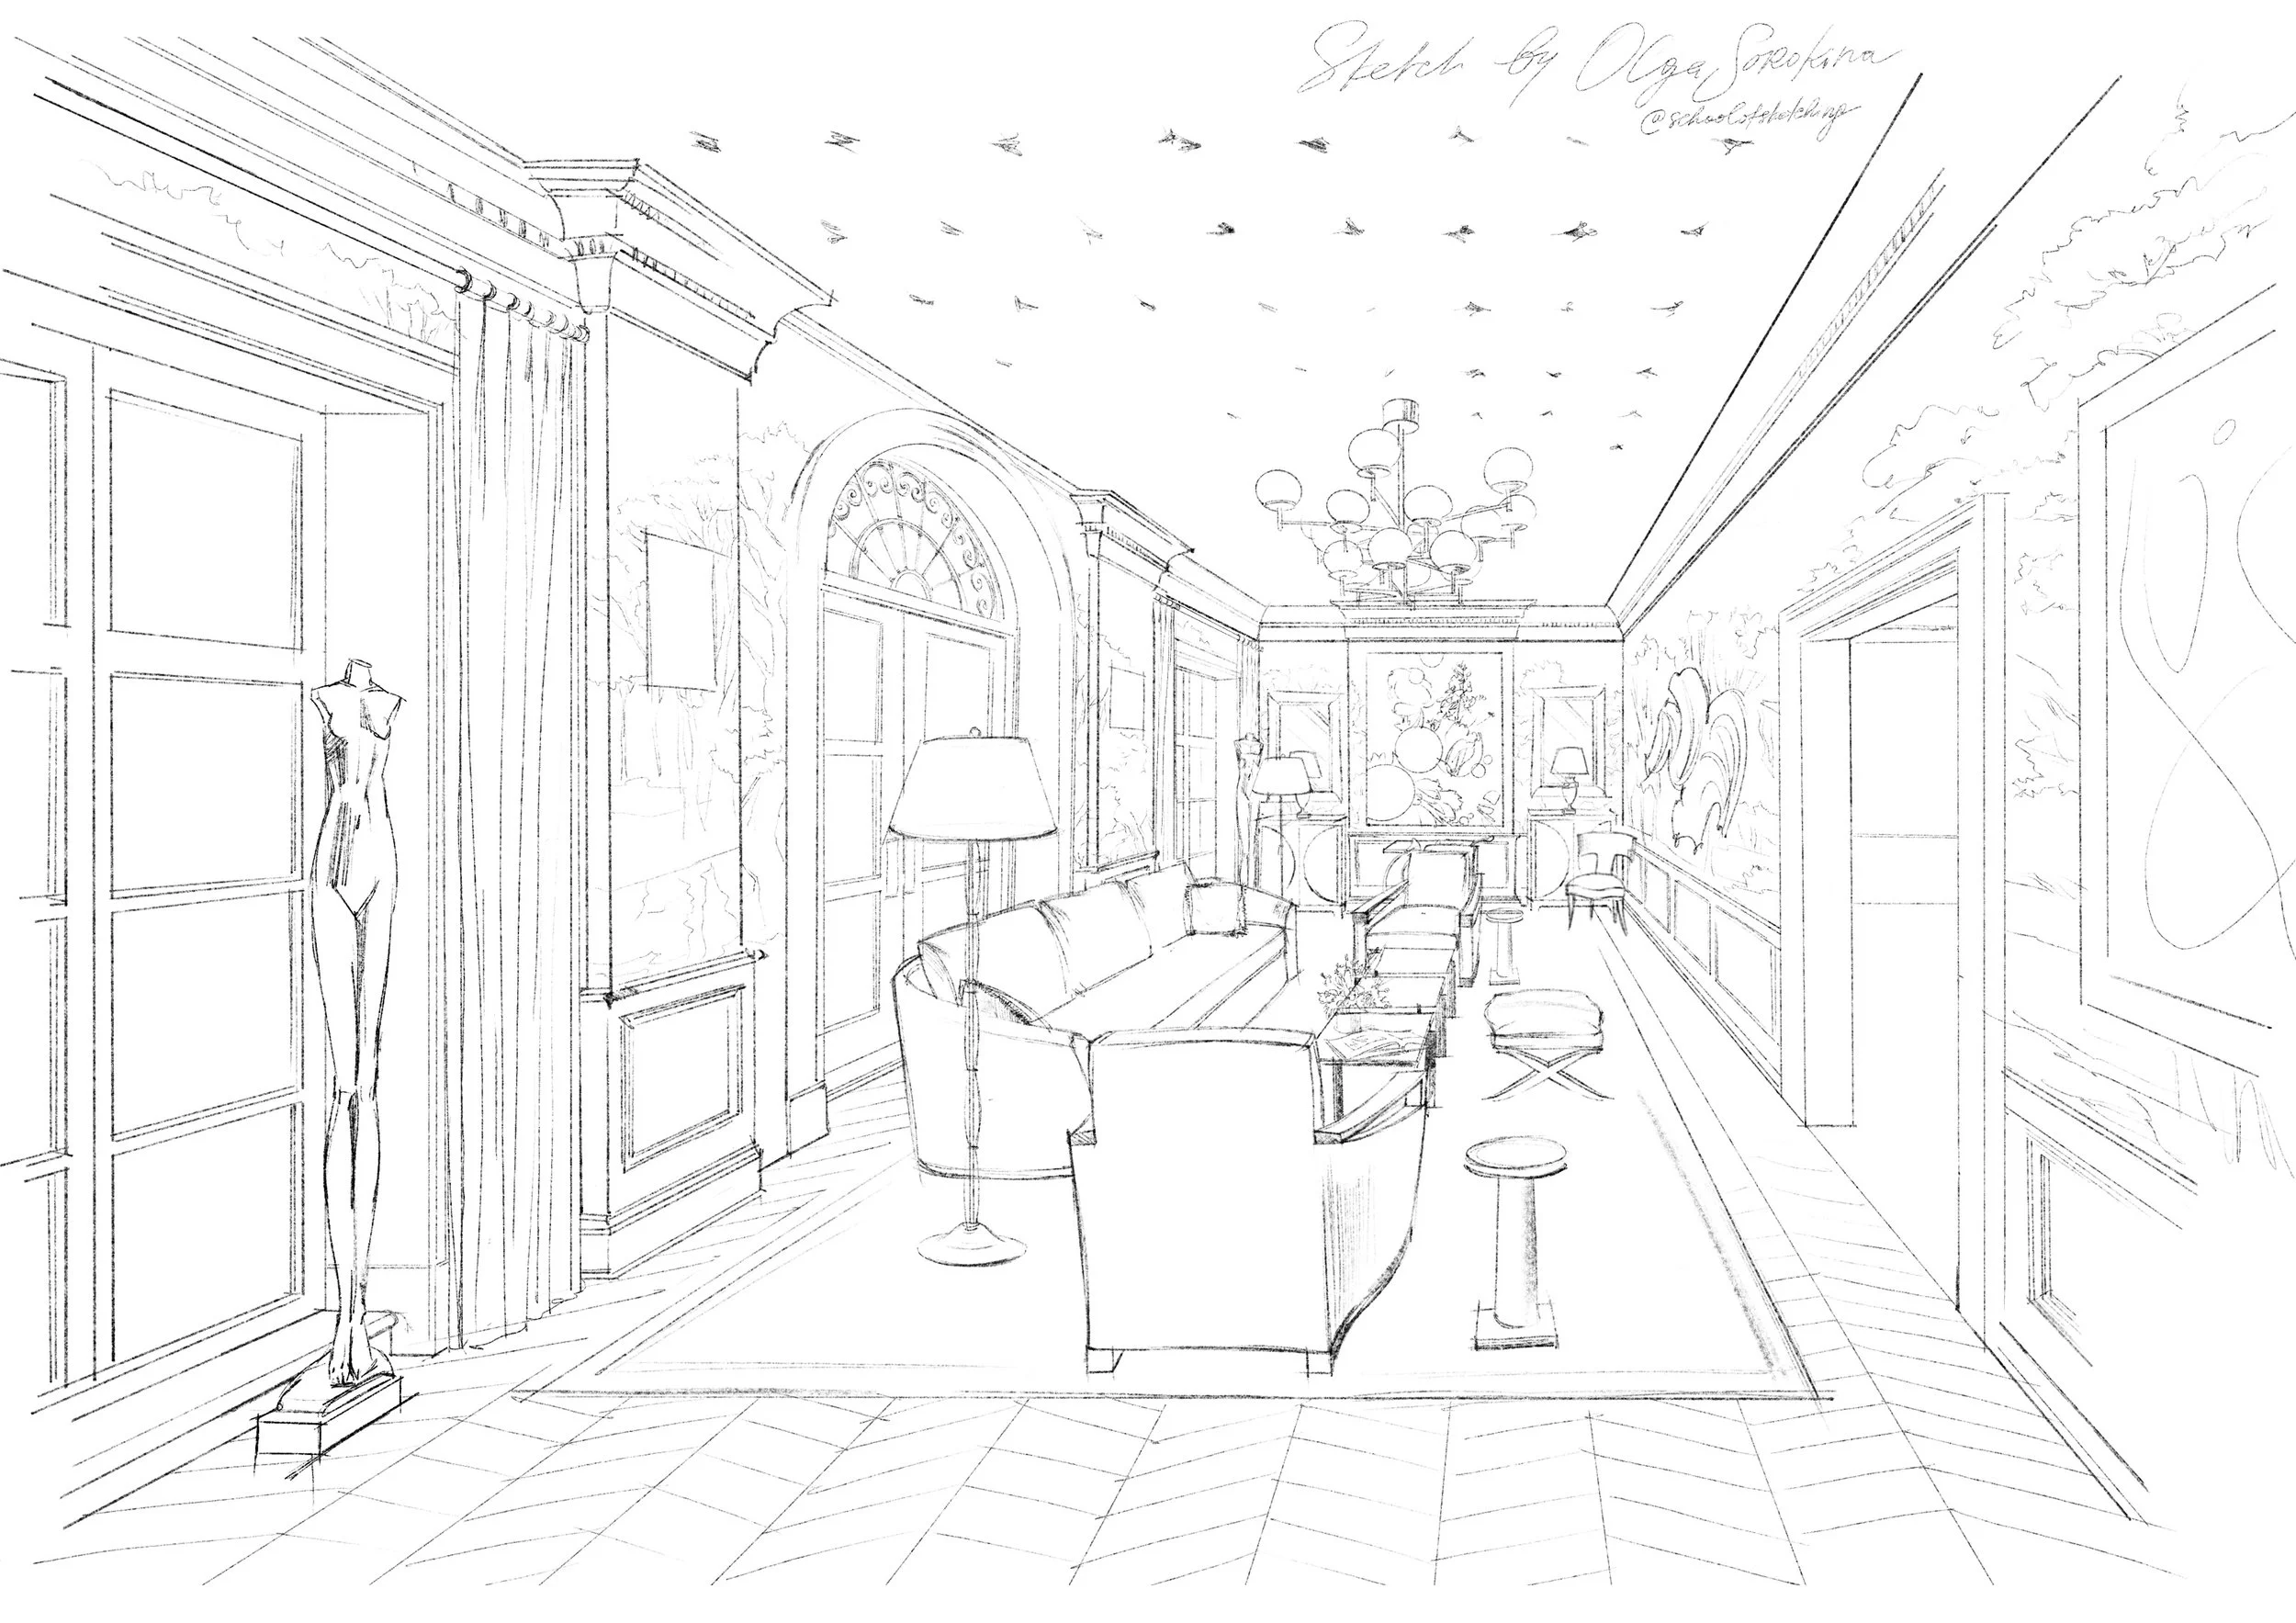
They want it clean and simple, just show your artistic abilities so that these people know that you do have some sort of design background. The main thing here is to practice your perspective drawing (especially one and two-point perspective), floor plan drafting. Check my free online challenge where I cover the basics of a one and two-point perspective.
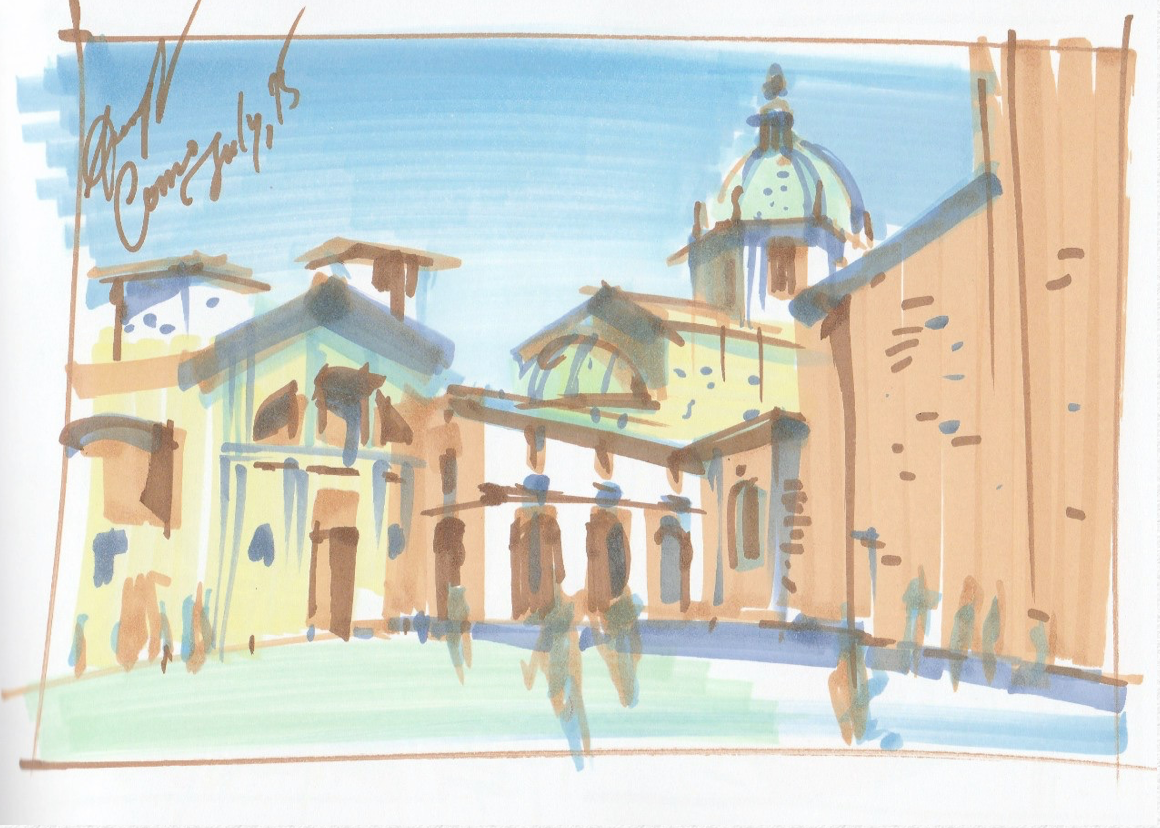
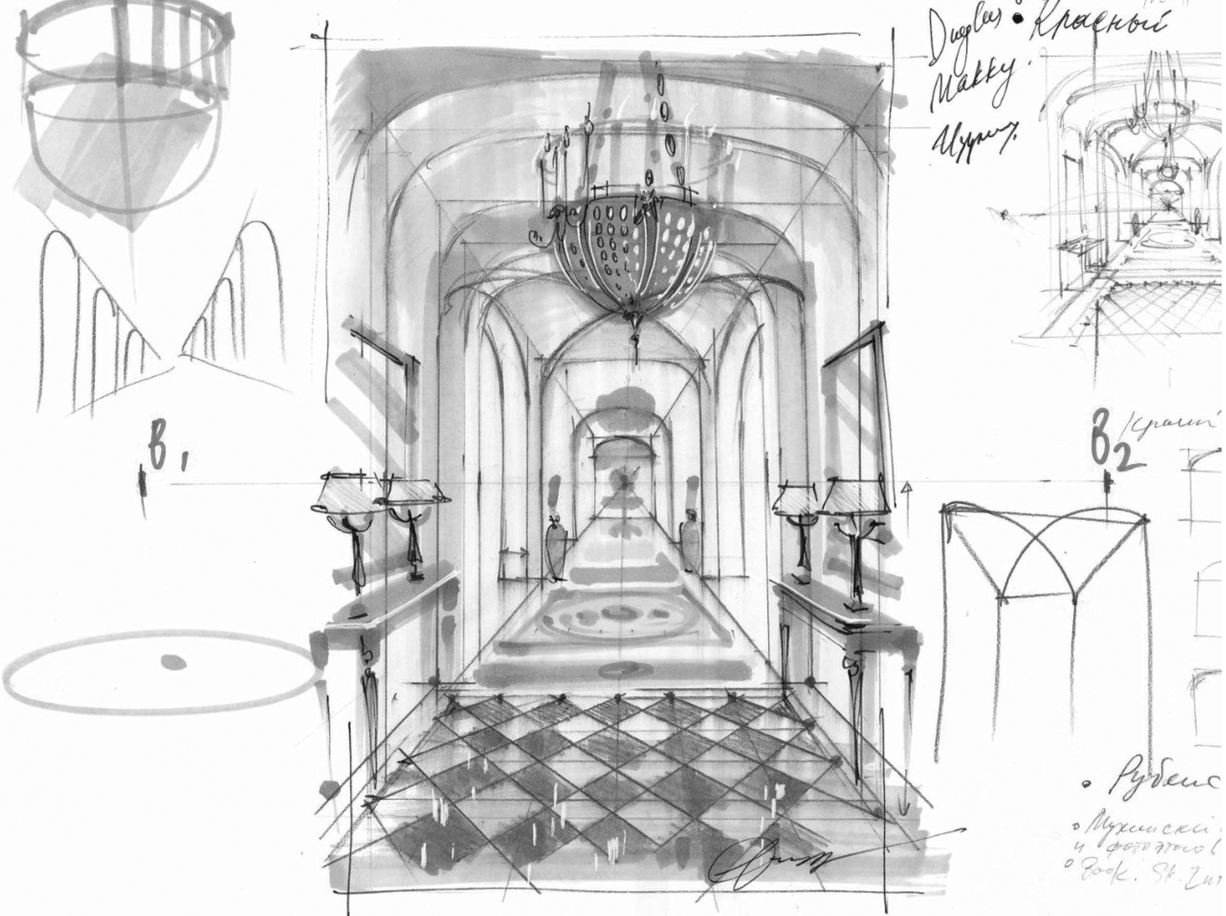
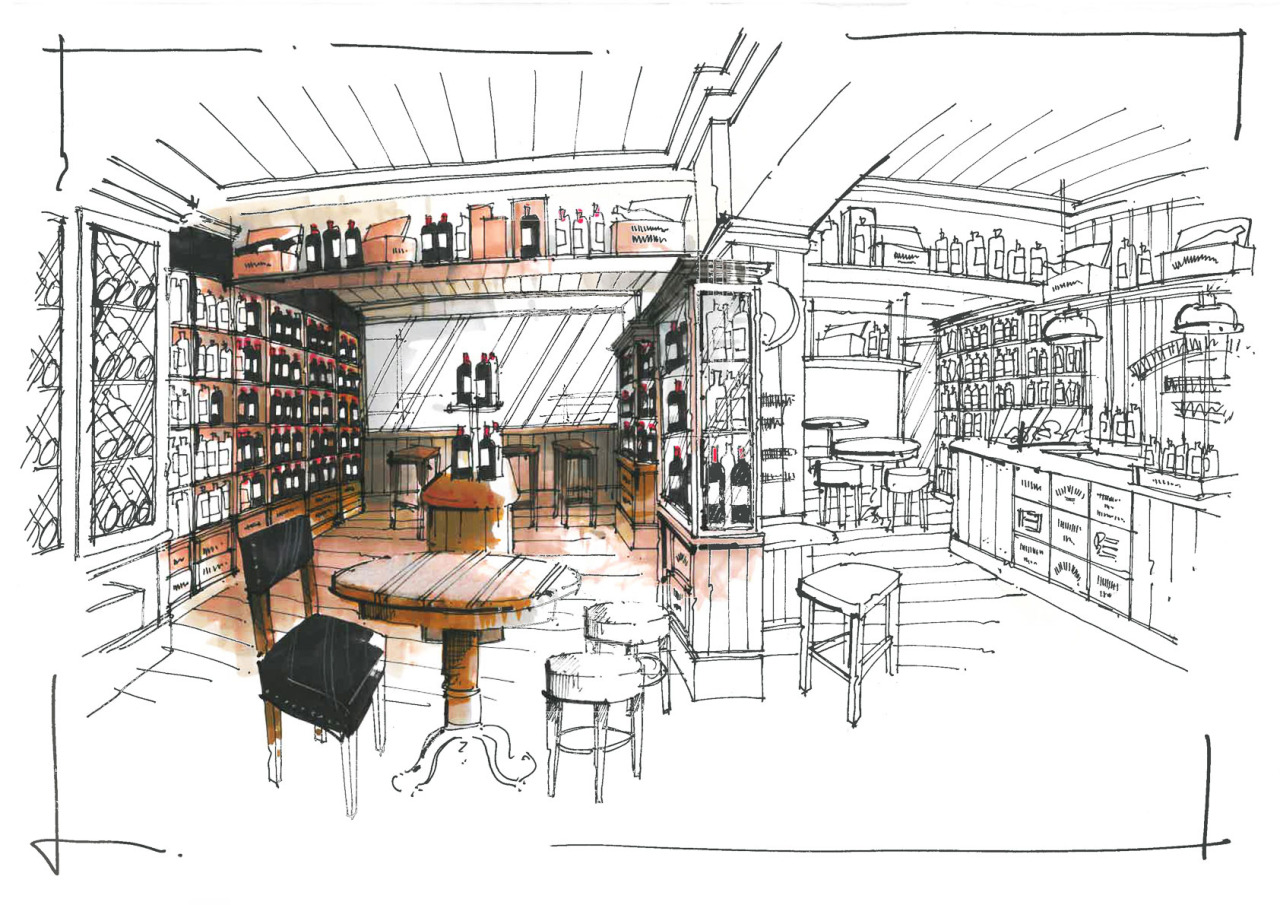
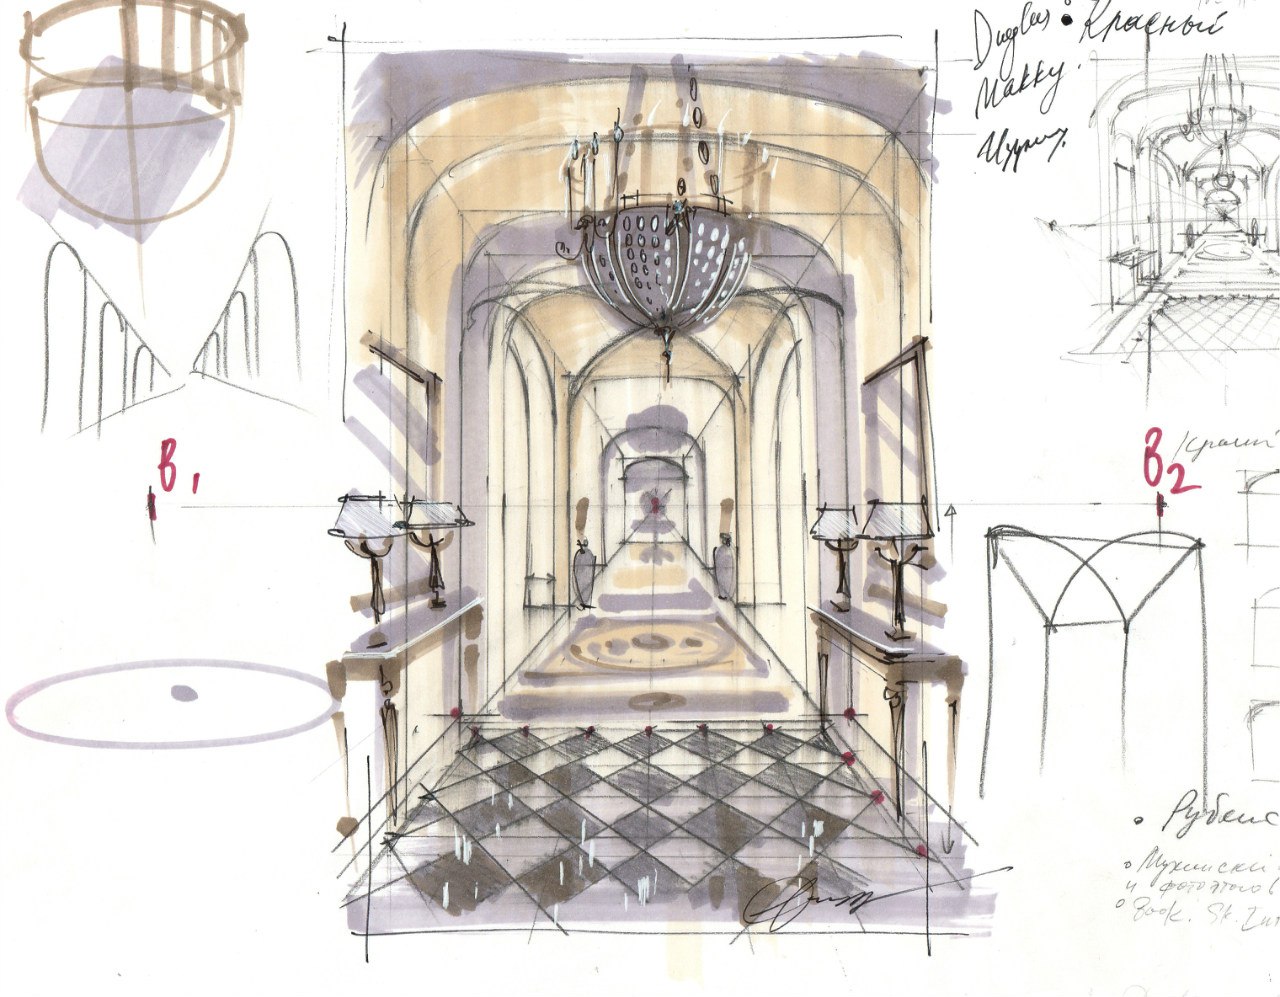
My marker drawing on A4 format
Usually, you had to go for an interview and show them pieces of artwork, life drawings, classic still-life drawings, maybe Photoshop collages, you have to show your artistic abilities and that you could drop. Just collect your art pieces, take photos of them. You can simply create a digital portfolio in Word or PowerPoint by labelling your art pieces, add sizing and description, for example, 50x60 cm, oil on canvas, name, etc. When entering an interior design school, it is a great advantage that you have those drawing skills.
Remember that each design school’s committee wants the best possible students to study in that school because their successful graduates and their testimonials are their best ads and marketing tools.
Good luck to you if you are currently applying for colleges or universities!
Portfolio format
There are all sorts of portfolio formats:
Wire-bound presentations
Foam core/foamboard mounted prints
Video presentations
Digital version (link to iCloud or Google Drive doc, PDF version)
Online portfolio on your website (check these examples)
If you choose a printed version, I would recommend horizontal A3 format (it is portfolio classic) as in square, A4, or vertically oriented format you will find that it’s harder to make a good composition and show your projects properly. Make sure you use high-quality images for your portfolio, so they look nice when printed. Use high-quality paper, the feeling even the texture, the feeling in the hands of your portfolio, fonts, and colour brightness matters.
Online or PDF format is so accessible now, it’s eco-friendly, and it’s most significant advantage is that colours look so much deeper and brighter in comparison with the printed version.
You can create your portfolio in Adobe Photoshop, Corel Draw, InDesign, Apple Pages, Keynote, PowerPoint. Select the program you love and feel familiar with it.
Check also Instagram @letsshowitbetter, where Steven shares his tips on presentation boards. Steven and I both were speakers at ArchiMentors Summit, which took place October-November, 2020.
Extra Resources & Inspiration
You might find these links helpful to create the best possible portfolio:
Book «Design Portfolios»: link
Portfolio examples on Pinterest: link
Inspirational examples on issue.com: link
Some examples from Behance: link
I believe we, as creatives, can find inspiration pretty much from any sources; it might be a well-design magazine, nice typography, a good book on graphic design, even old-school posters — just look around!
P.S. Well, my creative friend, I hope you enjoyed this article. May I ask you to share it on your social media, please. Thanks in advance and good luck with your portfolio! I’m sure it will look amazing!
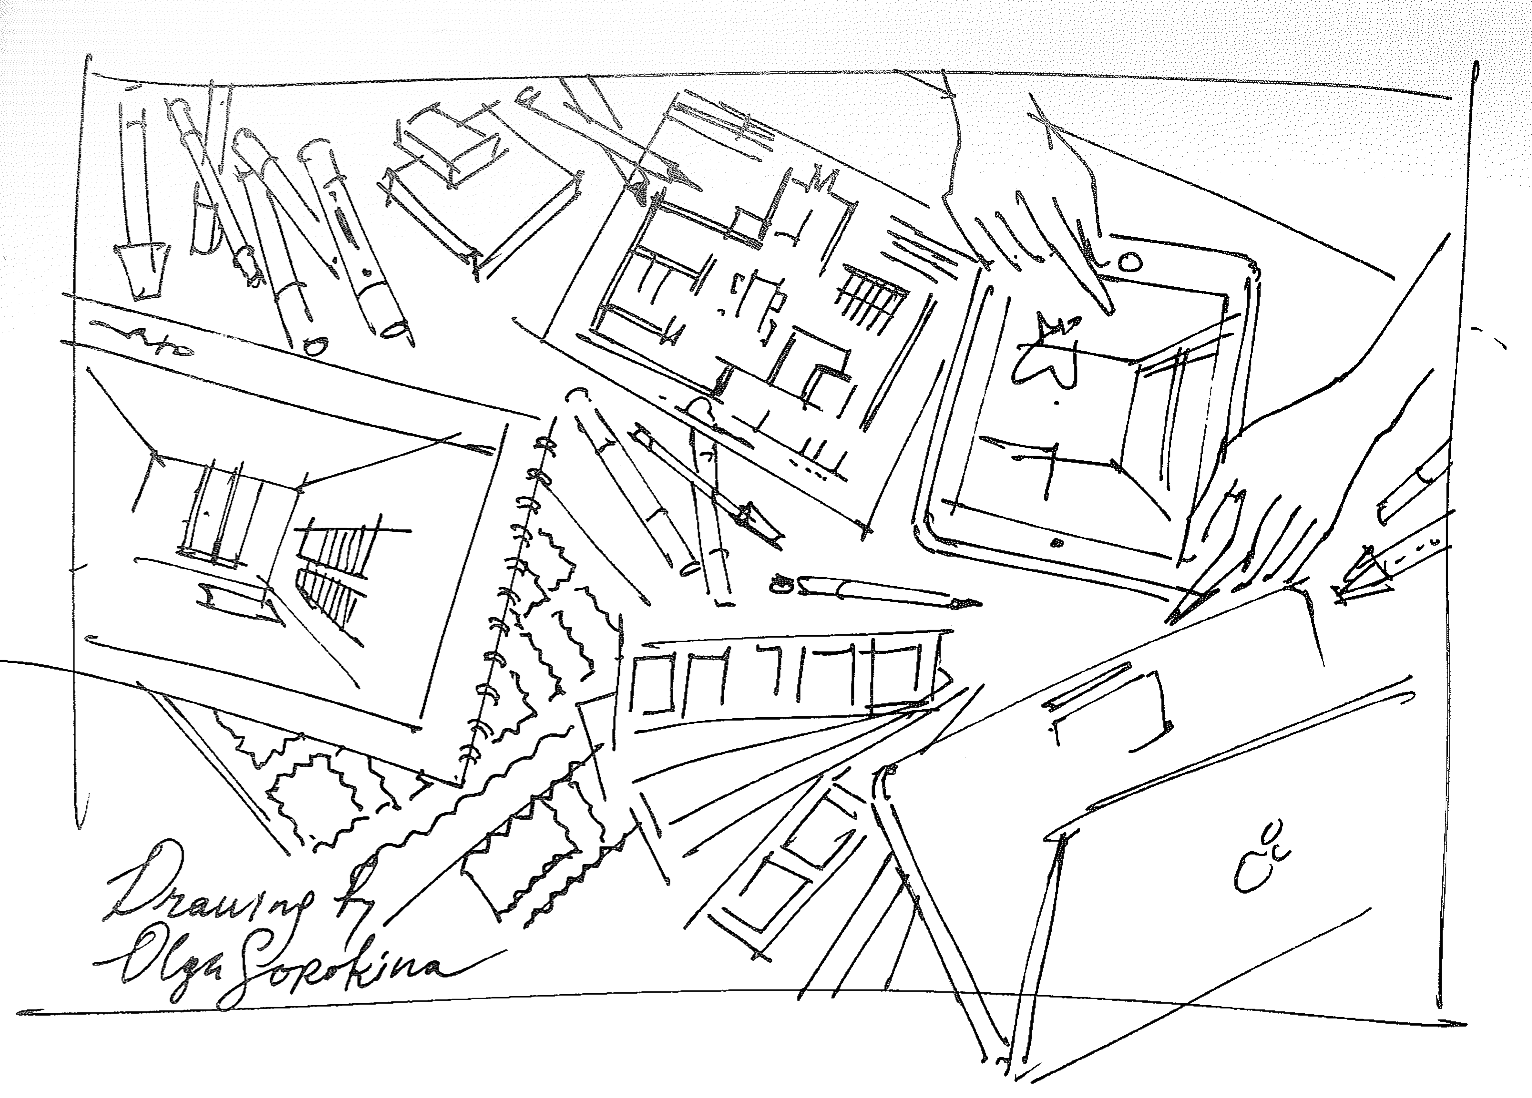
© Olga Sorokina
Your # 1 Online Course Which Teaches
All the Basic Techniques You Need to Implement Sketching in Your Interior Design Practice:
HERE IS YOUR SPECIAL GIFT:
MY FREE ONLINE CHALLENGE ON PERSPECTIVE BASICS FOR INTERIOR DESIGNERS
(10K+ PARTICIPANTS)

Read other articles on my blog:


check my podcast episodes
(MEANINGFUL CONVERSATIONS WITH ARCHITECTS, ARTISTS, AND DESIGNERs)